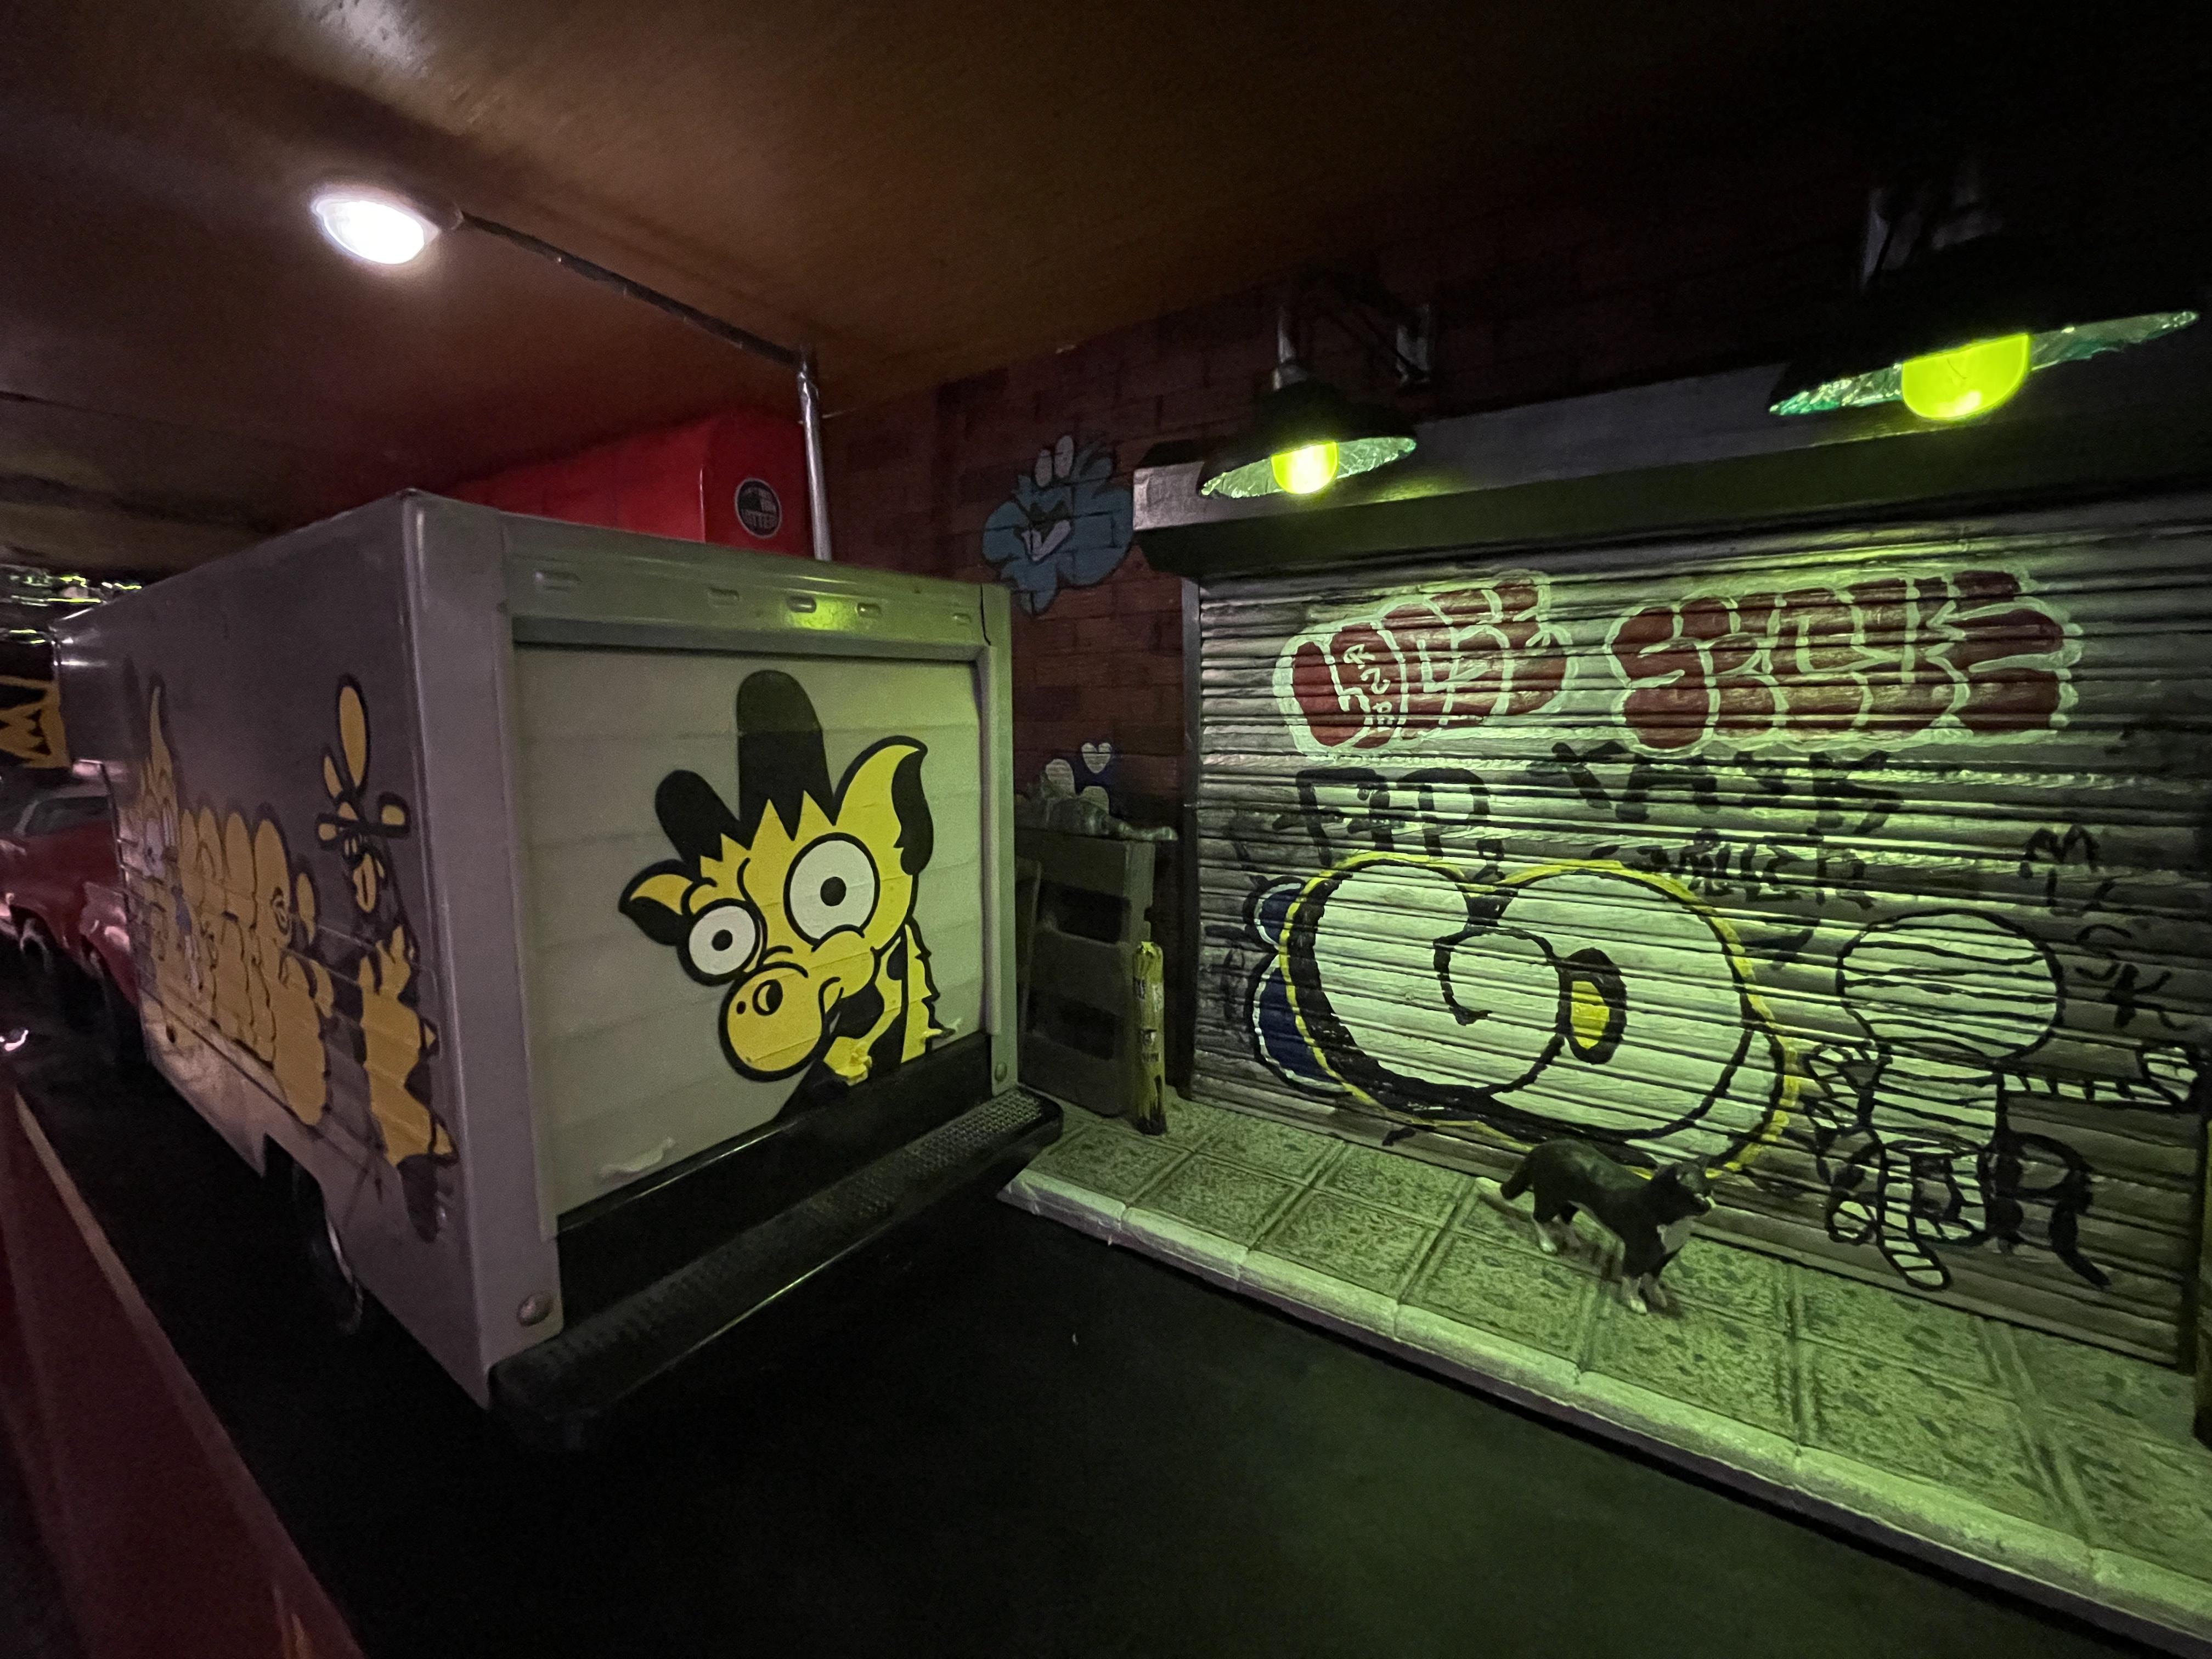
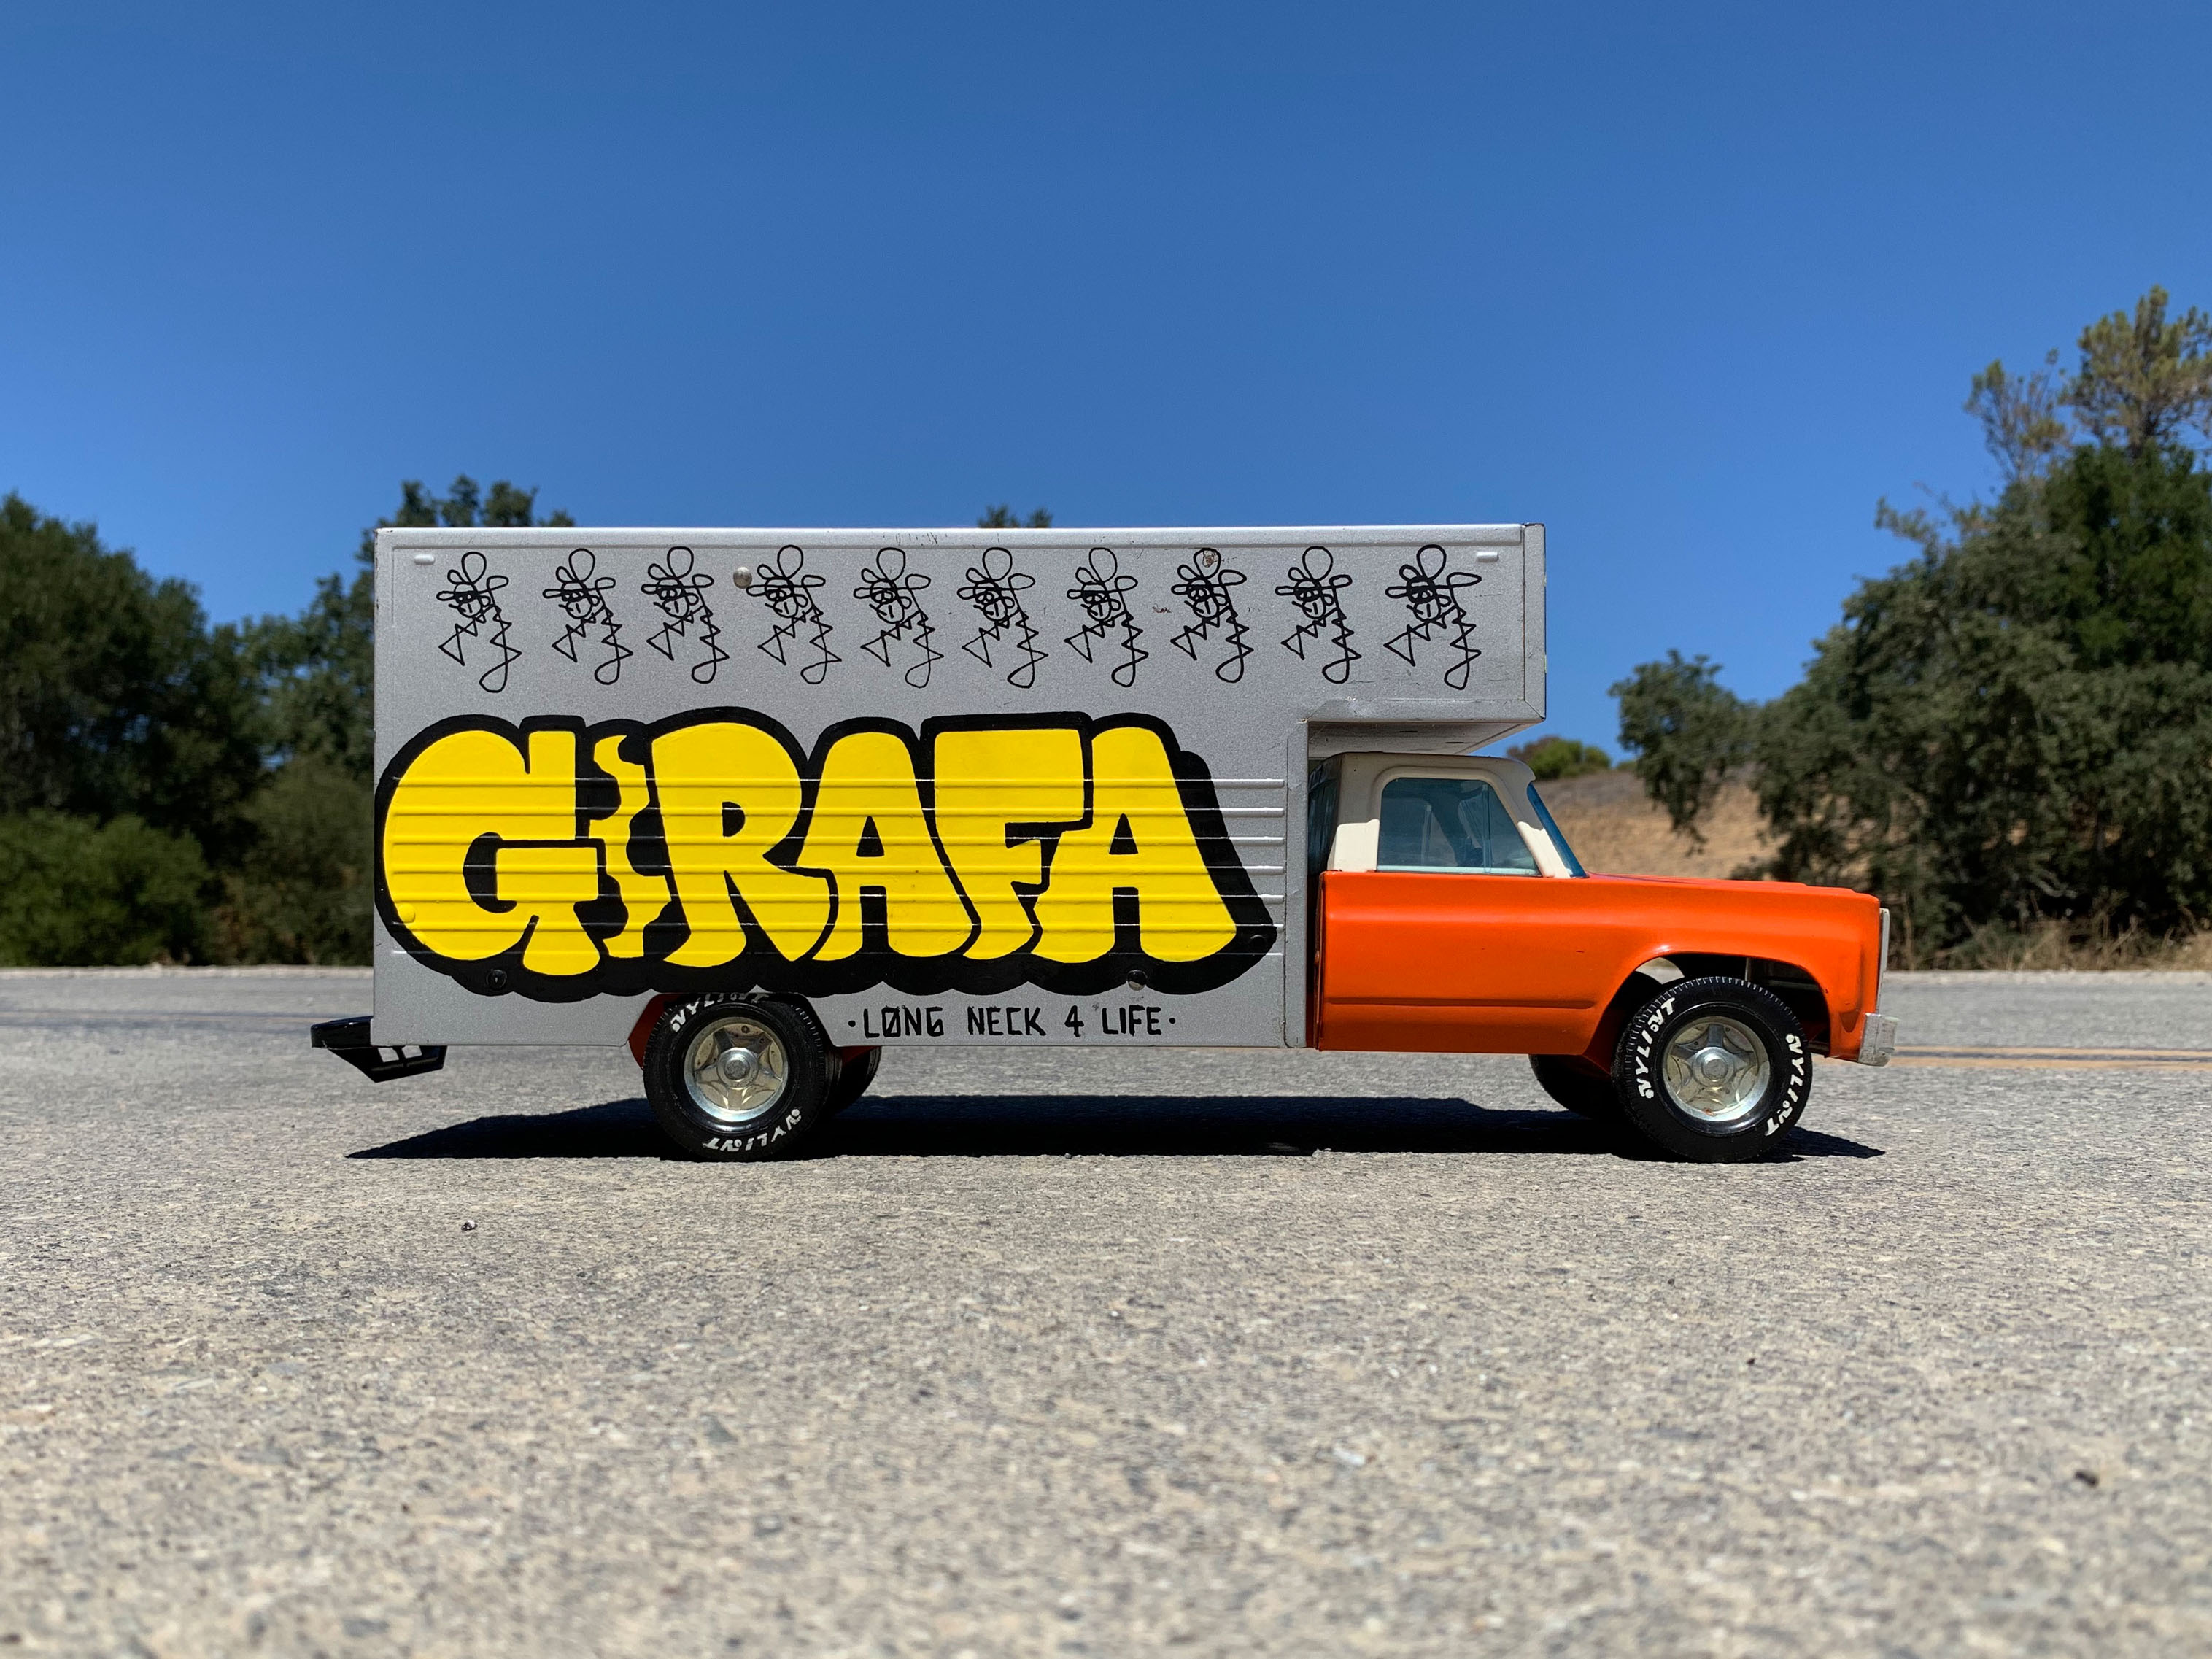
Earlier I wrote about the keychain I helped Girafa create, and he gifted me a custom painted U-haul toy truck:
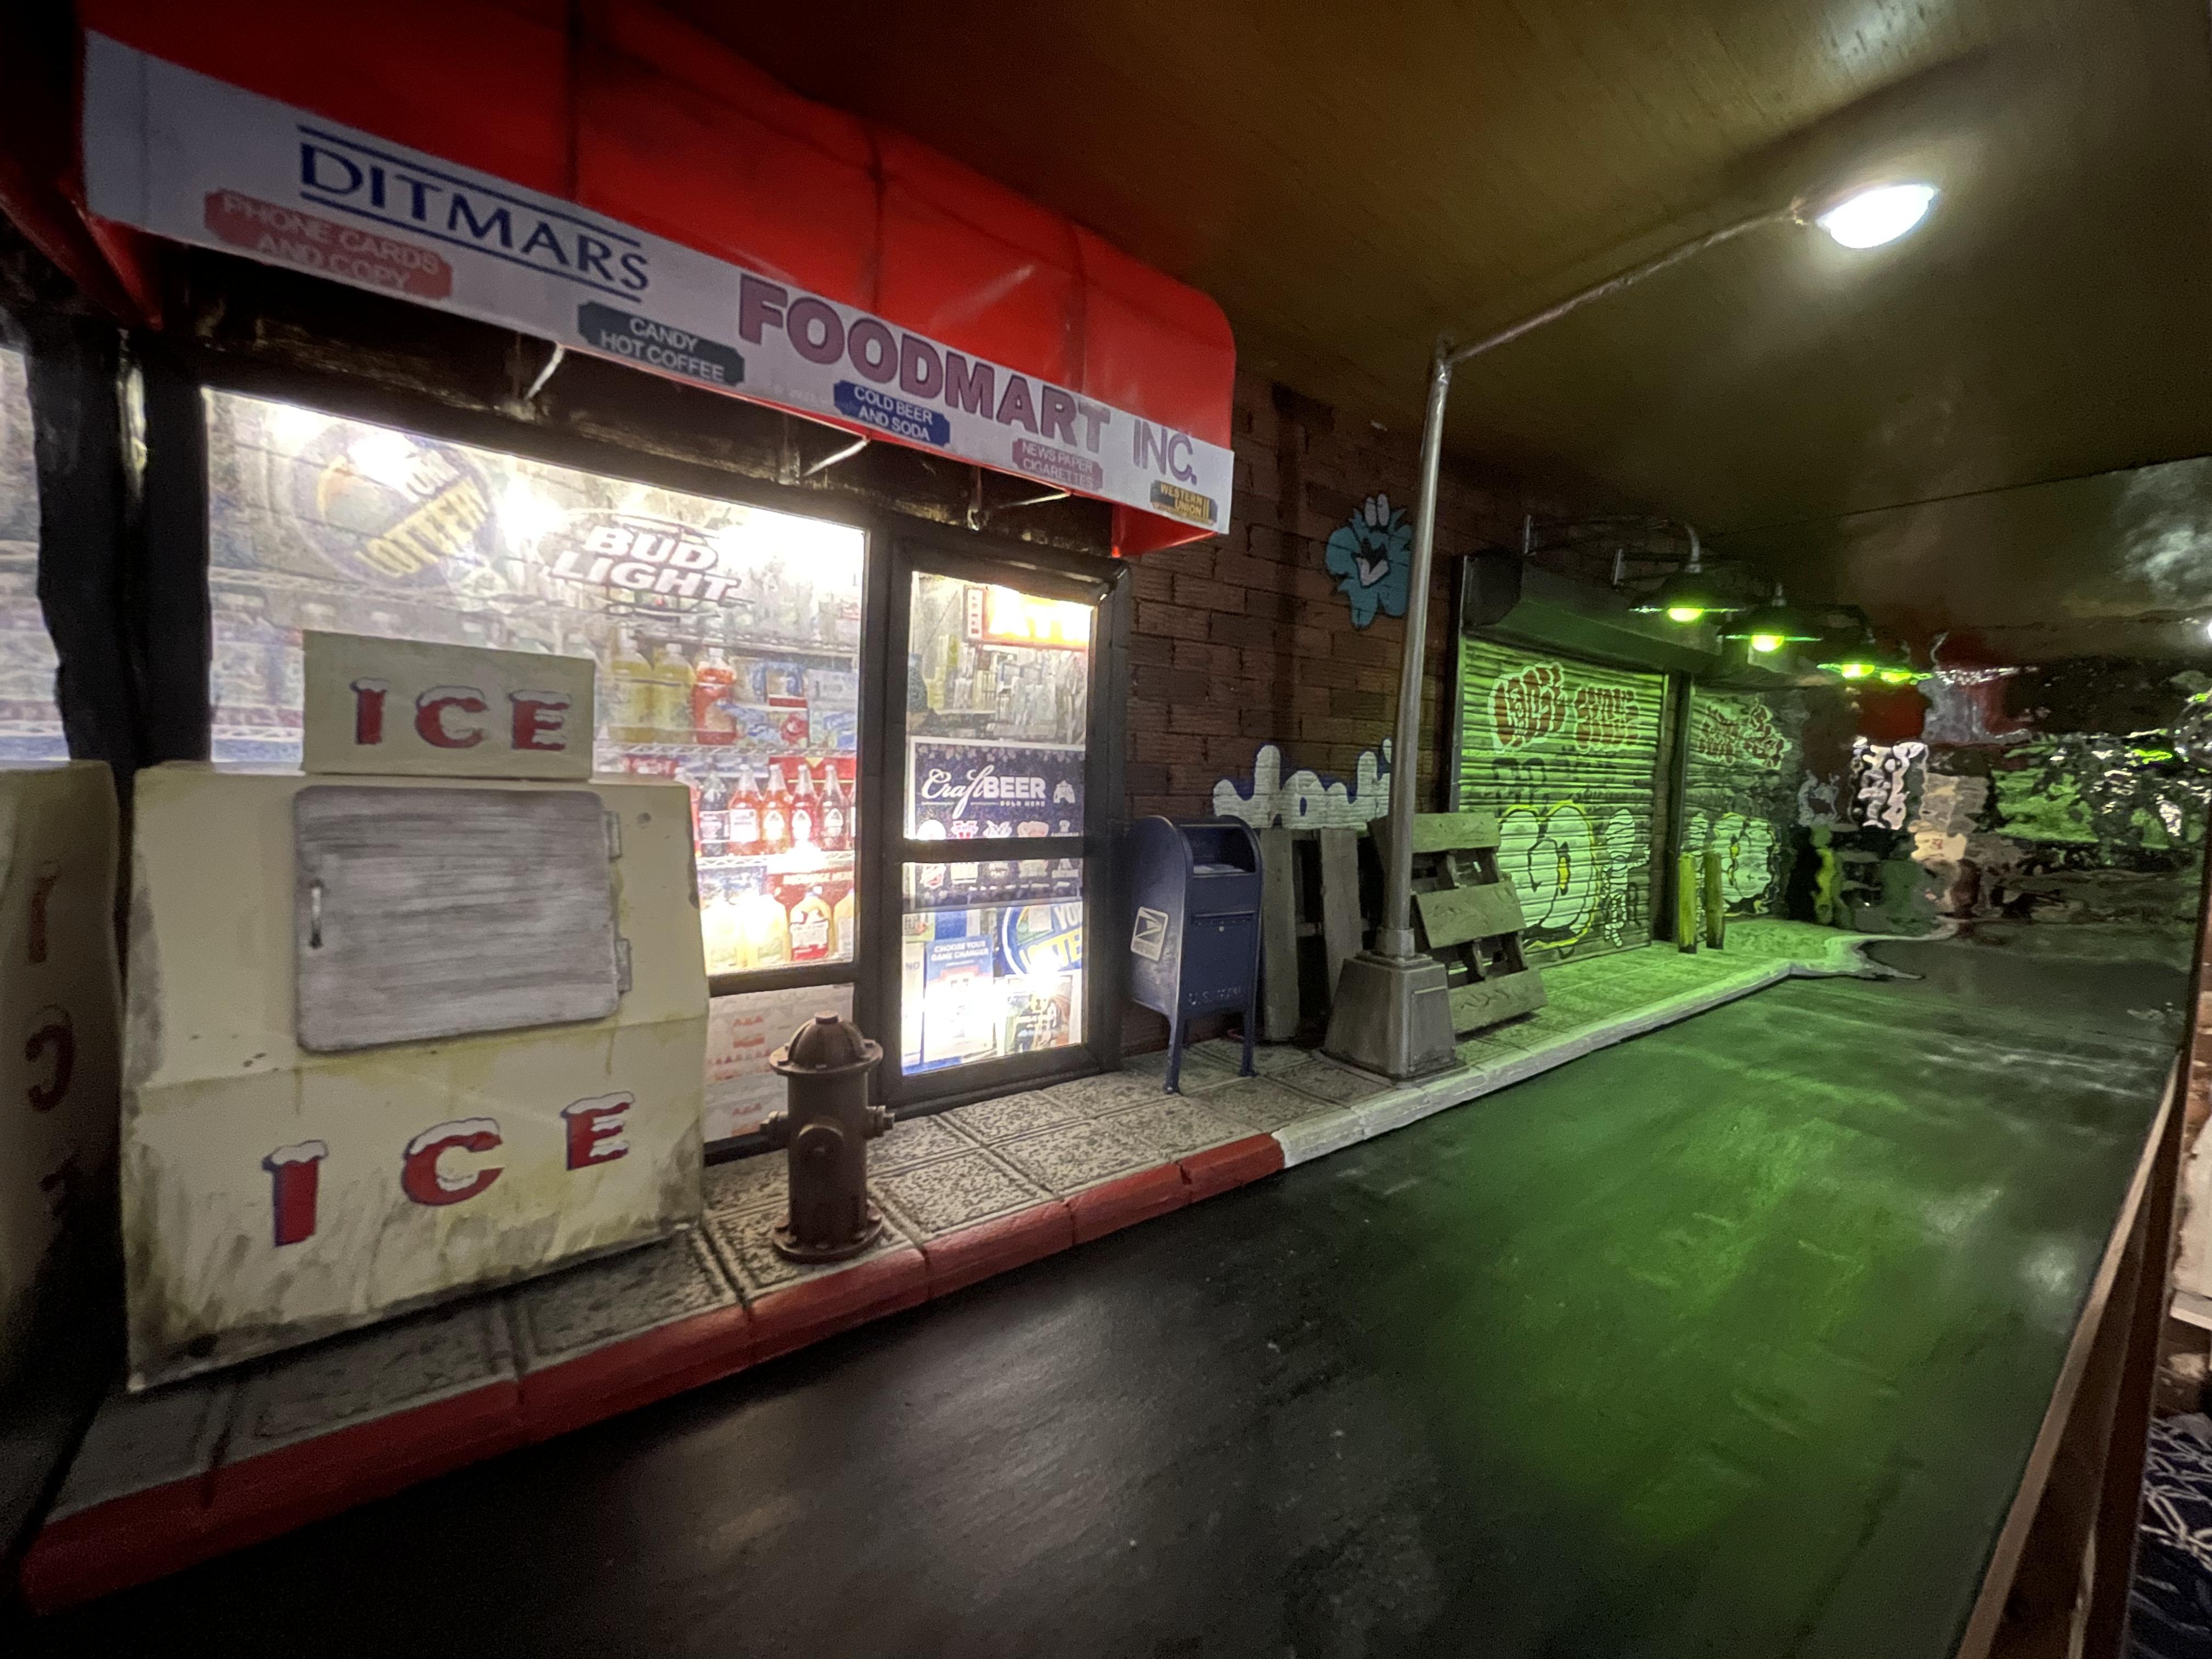
I decided I needed a good place to display it and I had an empty shelf in my bookcase. My plan was to make a miniature street scene diorama out of the shelf to place the truck in.
I started by 3d-scanning the truck so I could place it in real-life scale in a blender scene, so I could plan the size of the scene and some of the elements.
Once I had a plan of what I'd like to build I headed over to Dollar tree to start collecting materials - foam core, paints, and whatever else I could find.
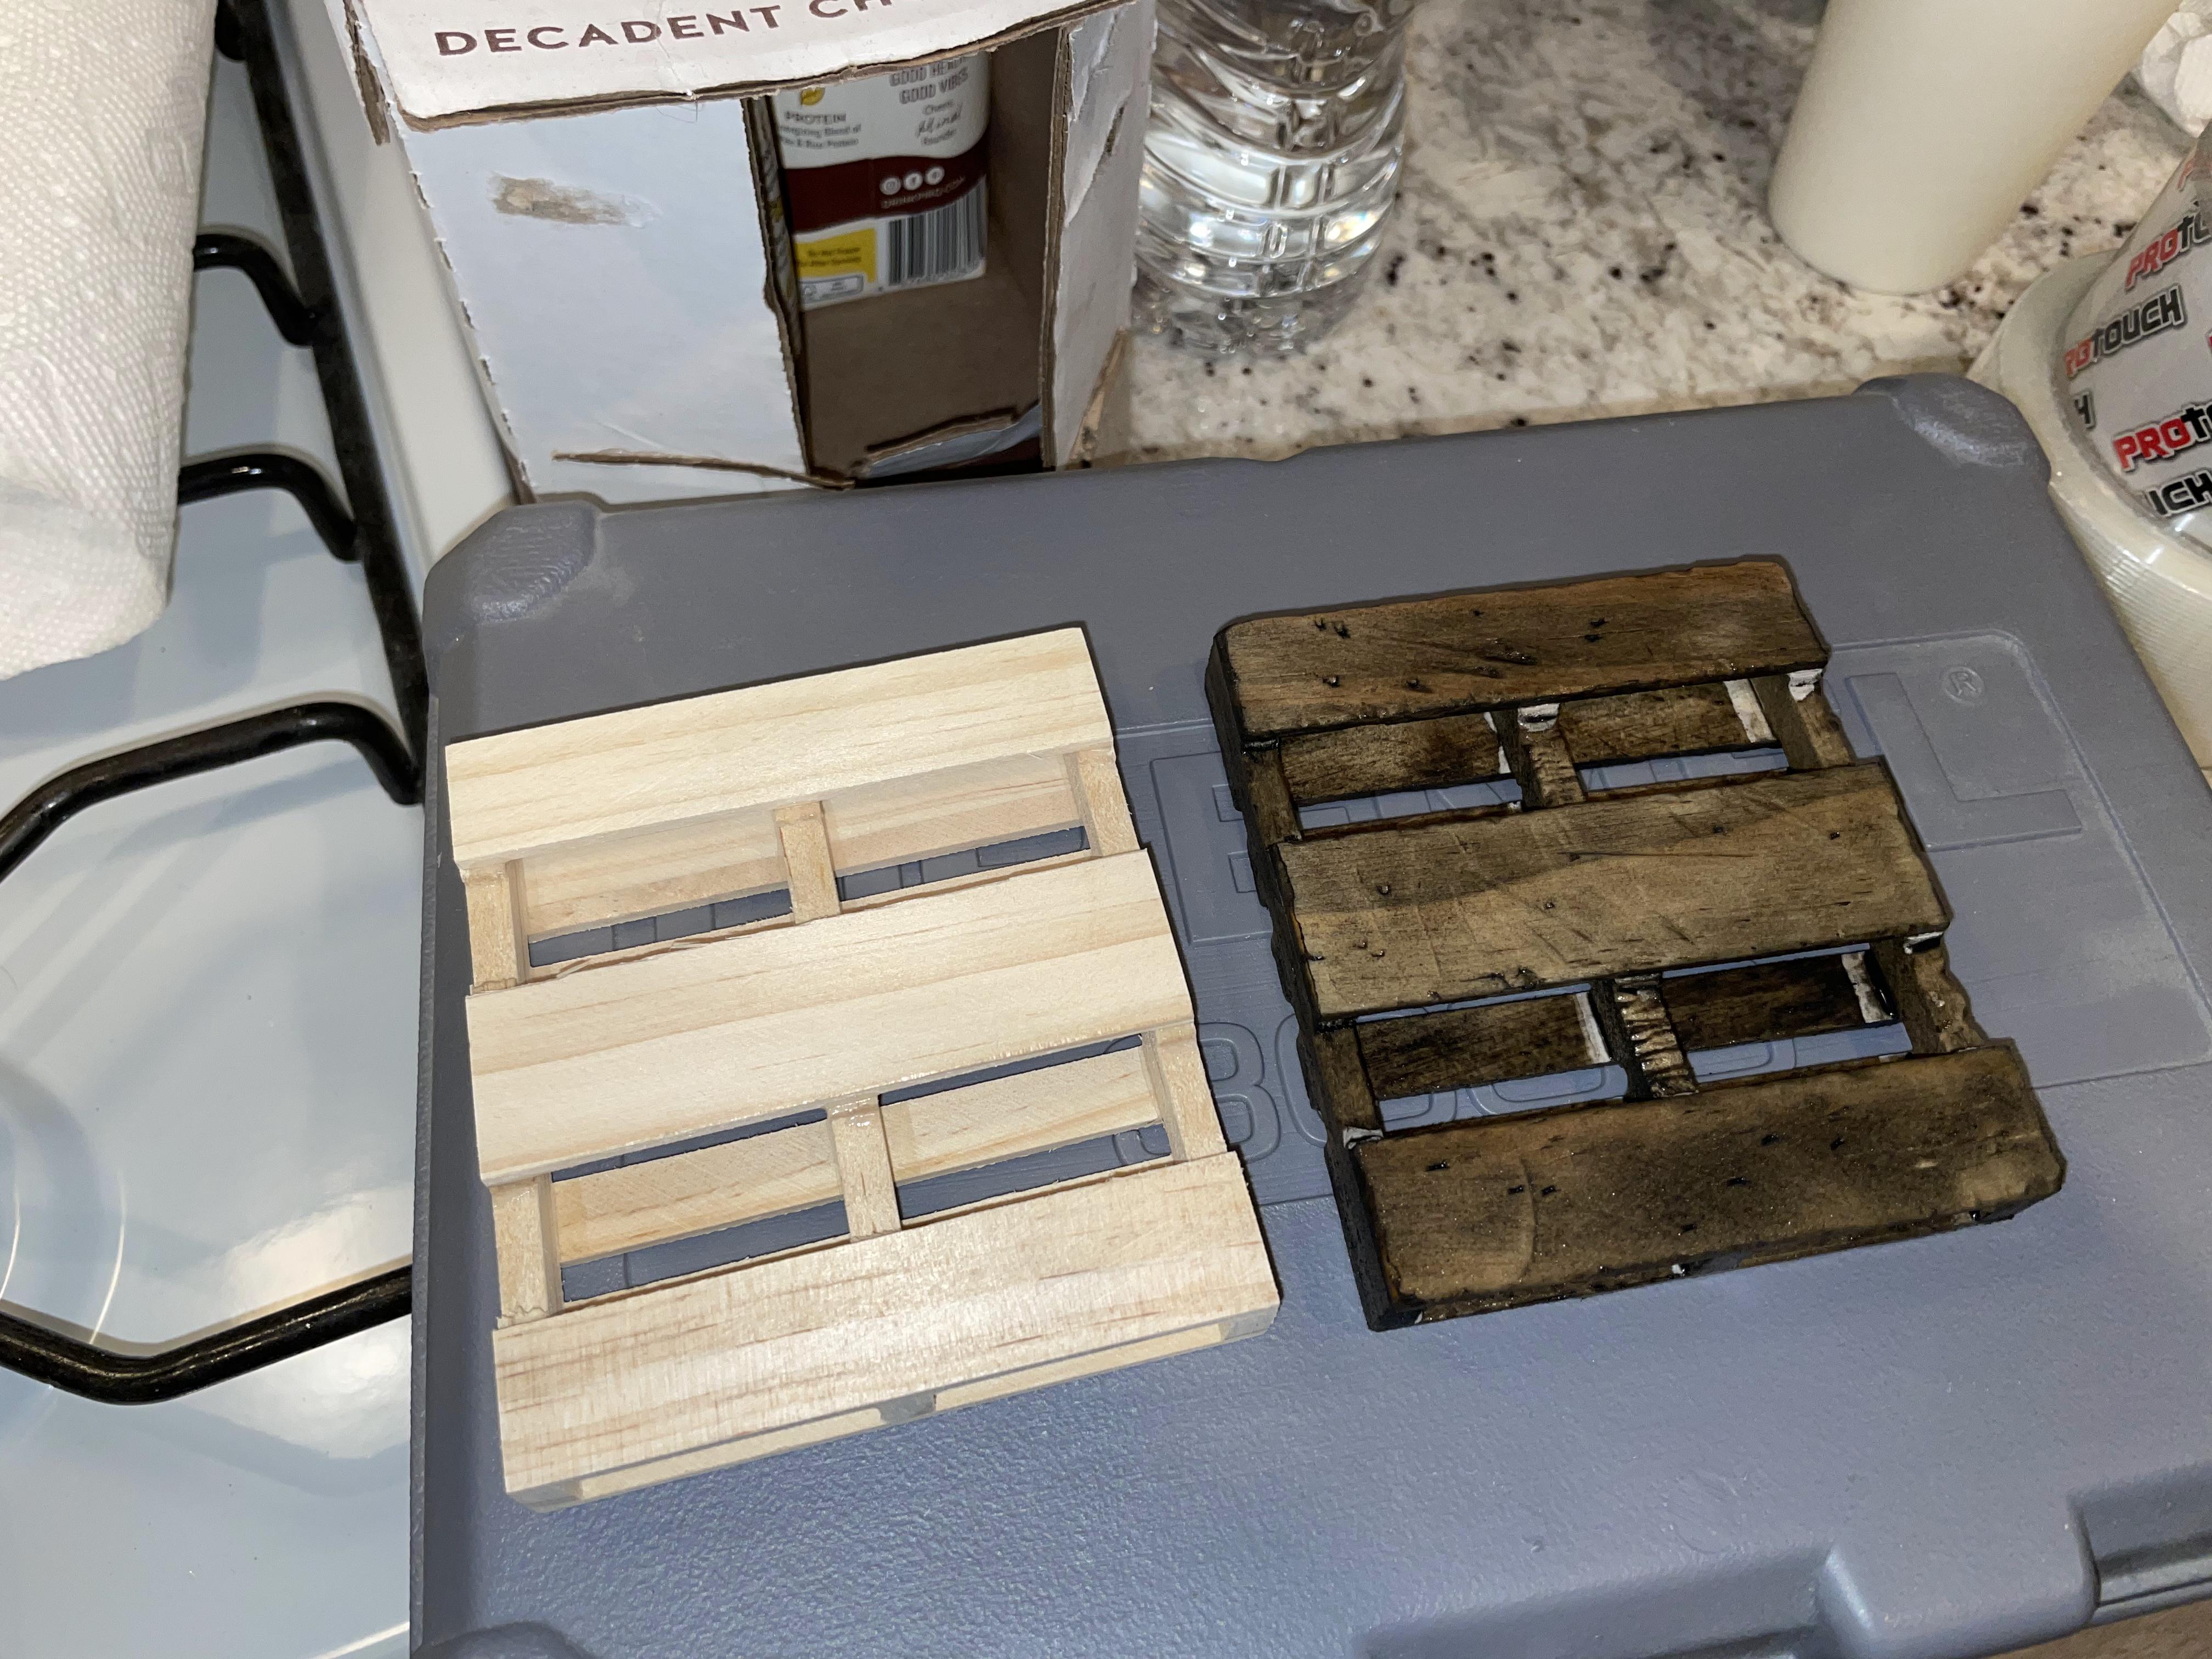
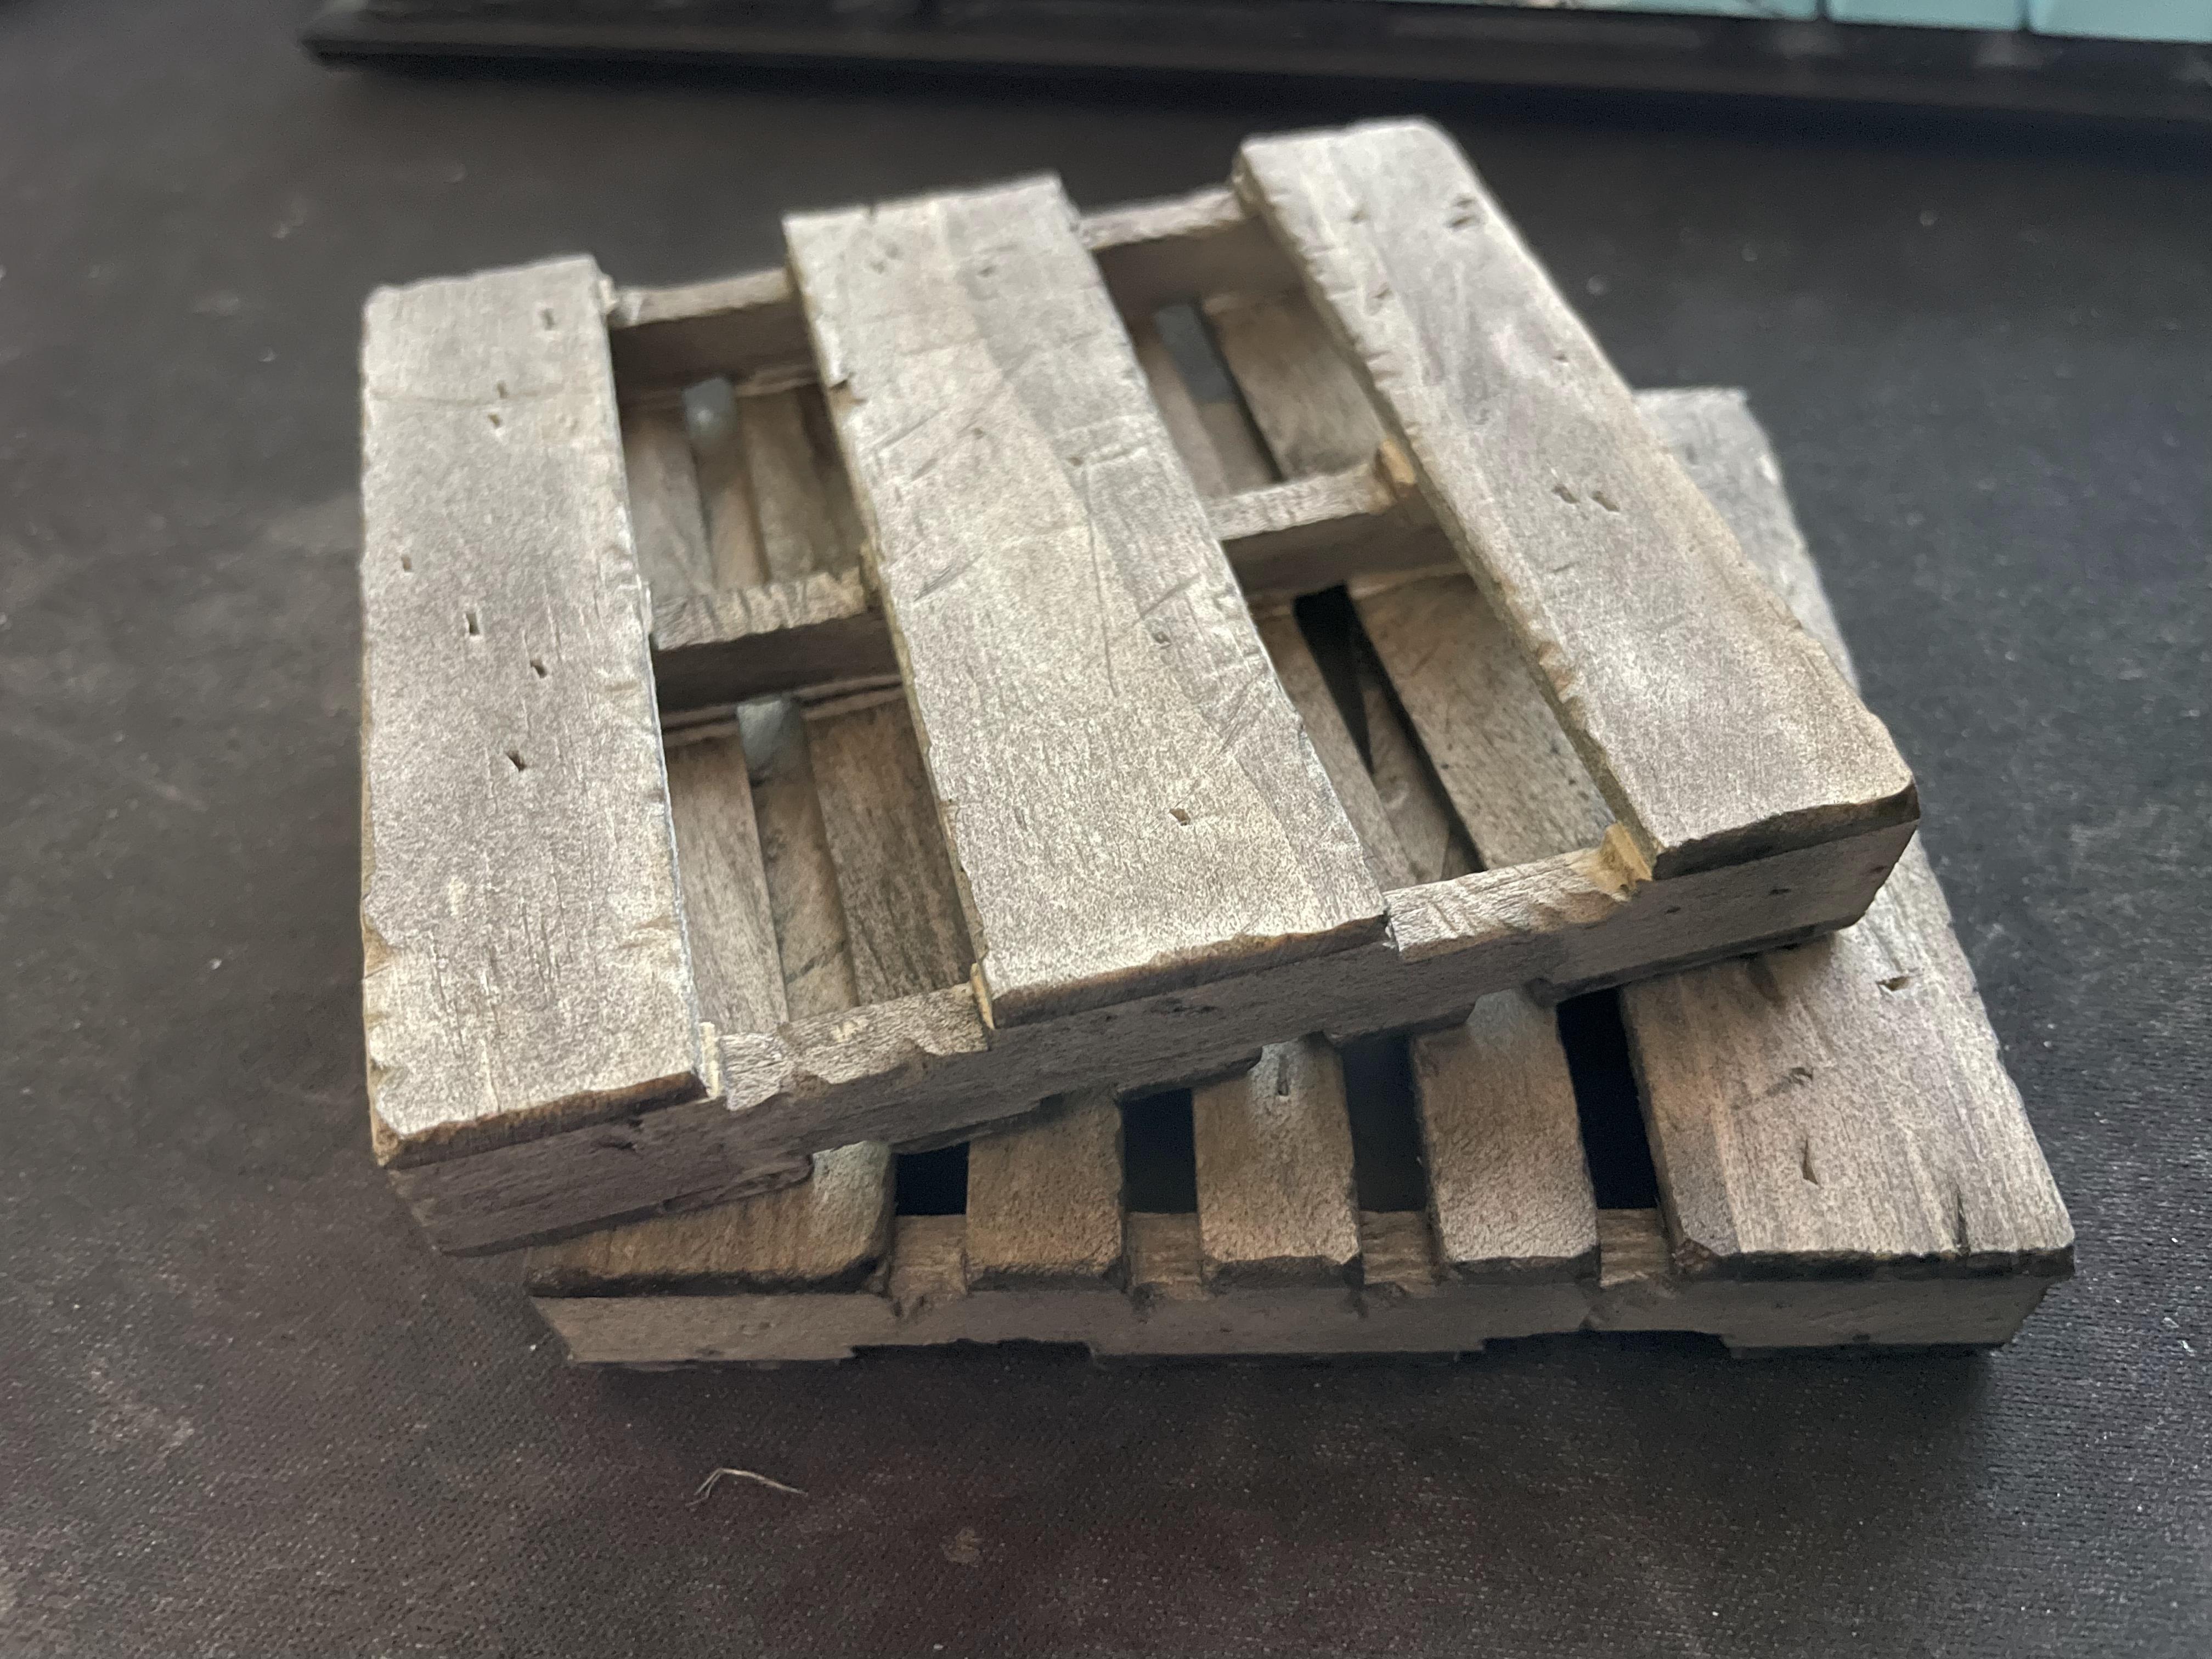
They had some mini palette coasters, so I picked up a couple. I first scuffed them up and scratched them with some tools, then I stained them with some coffee and diluted paint.
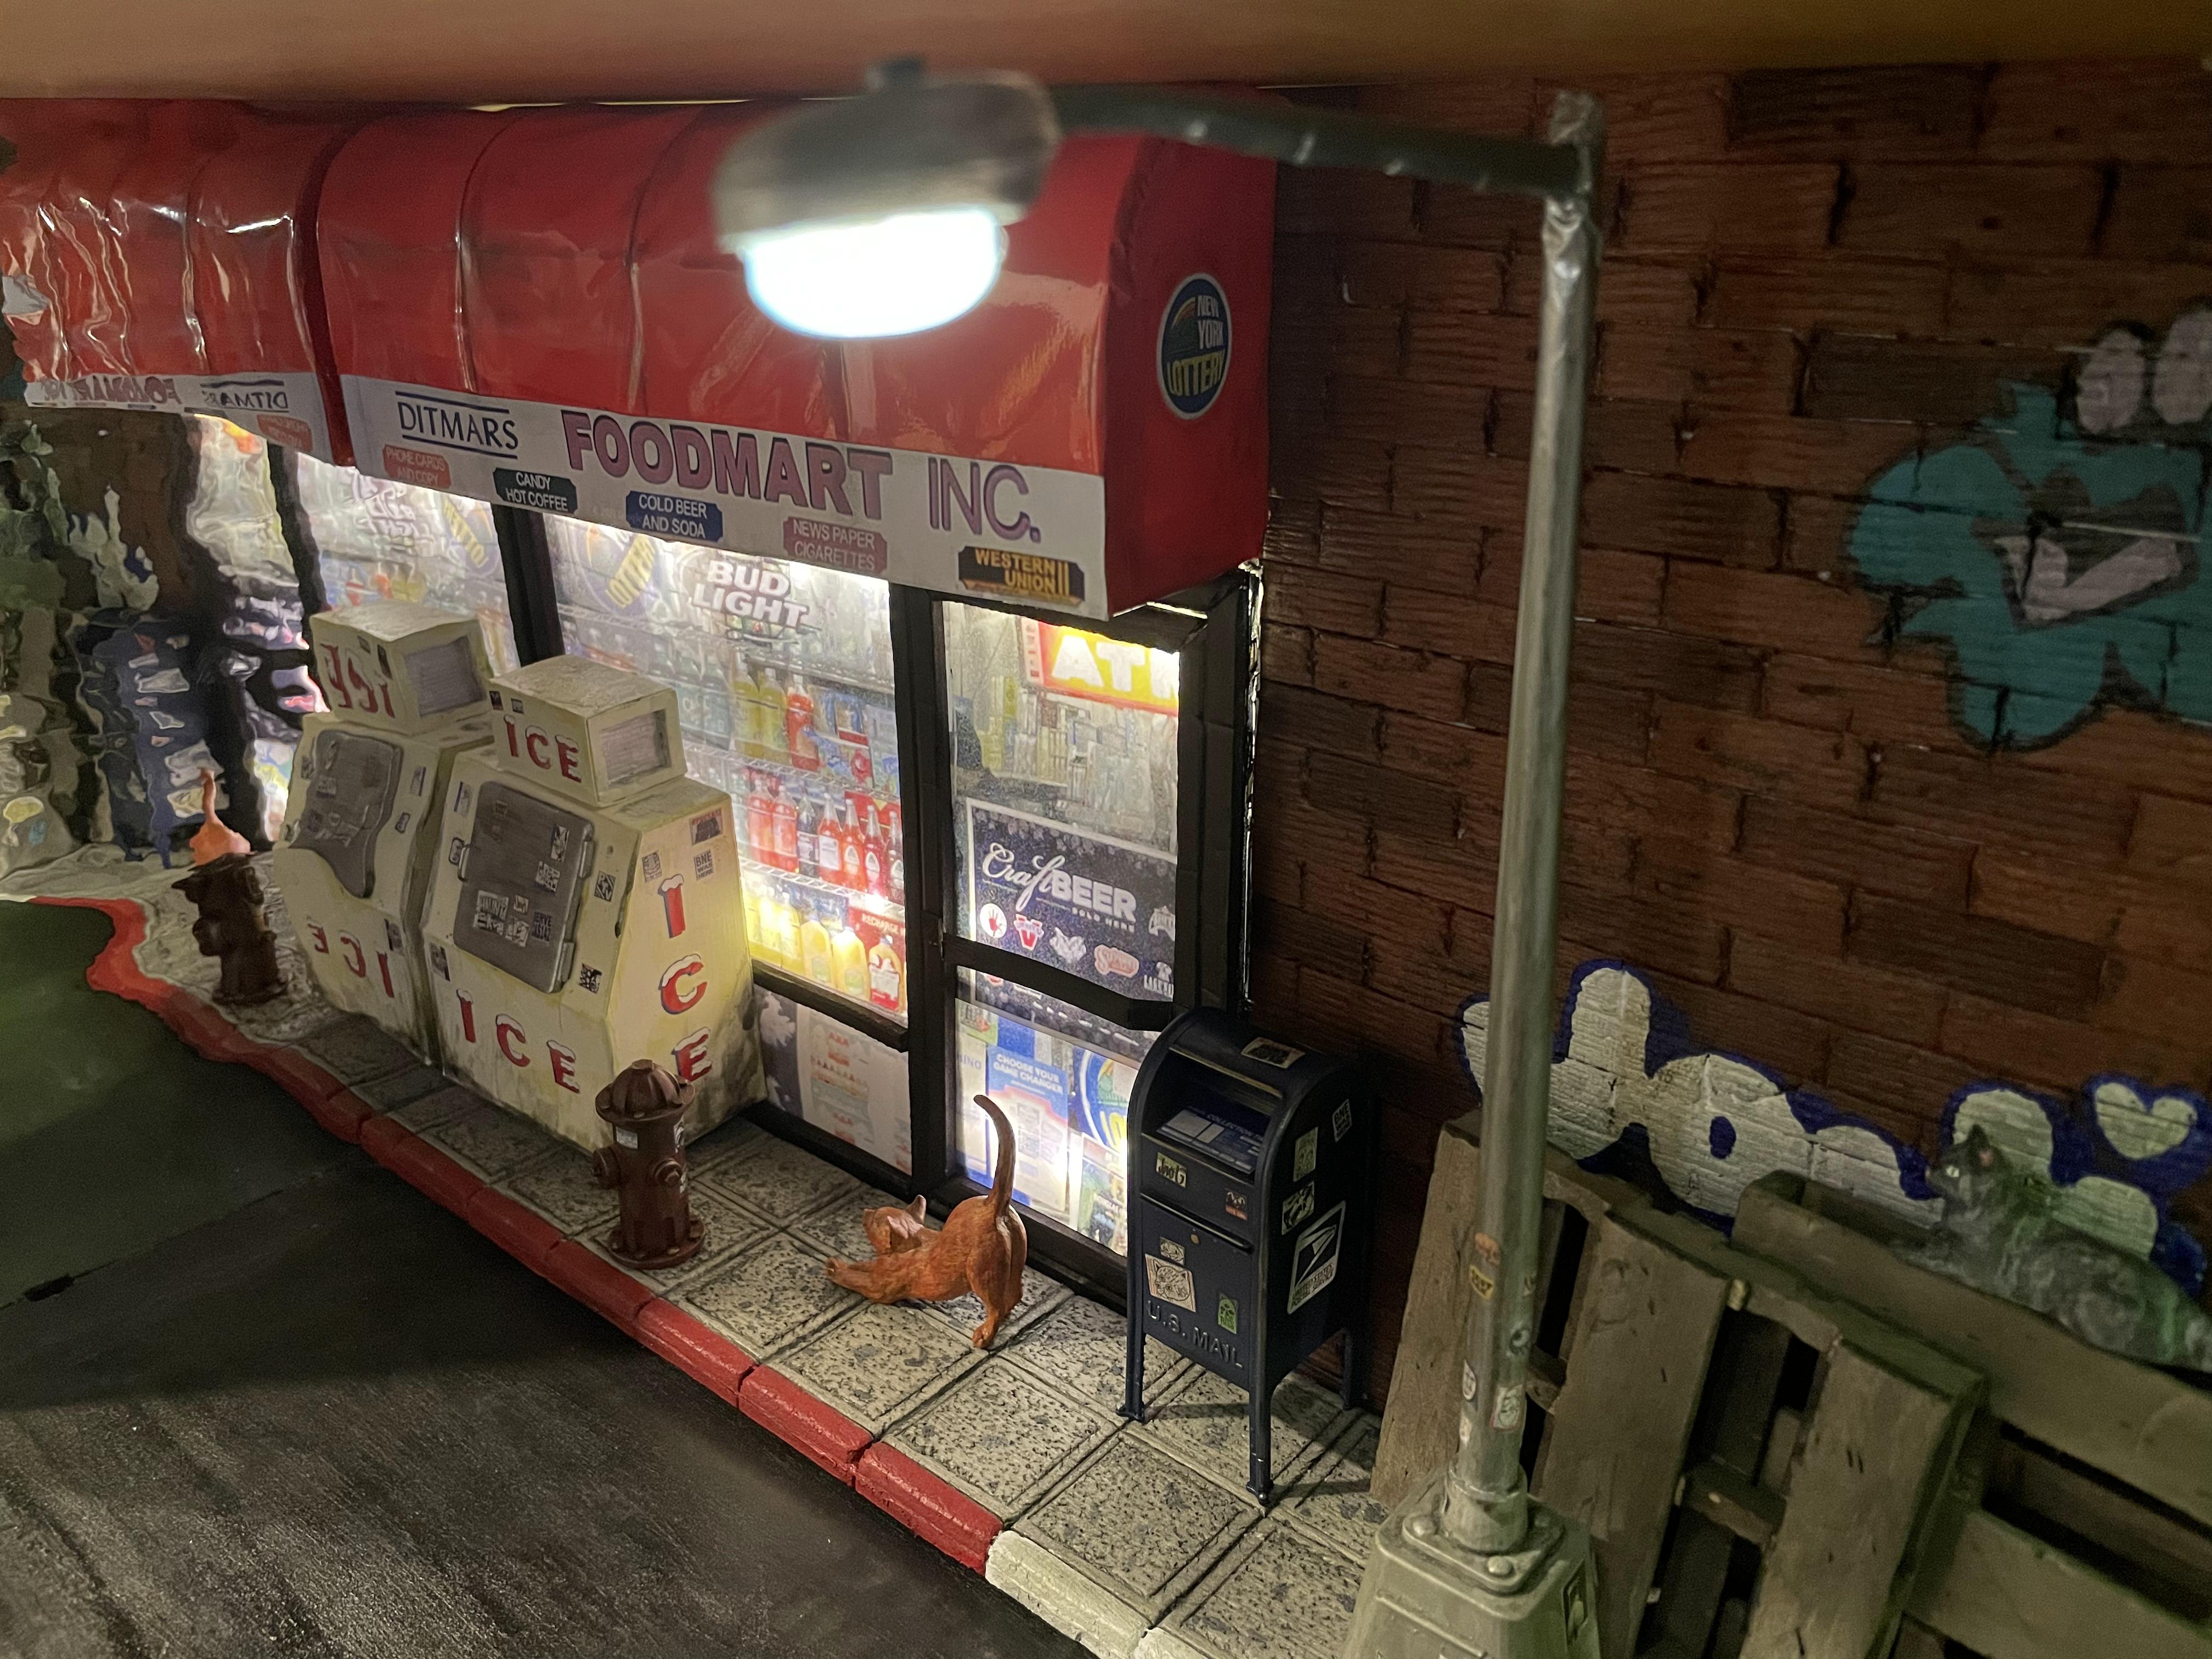
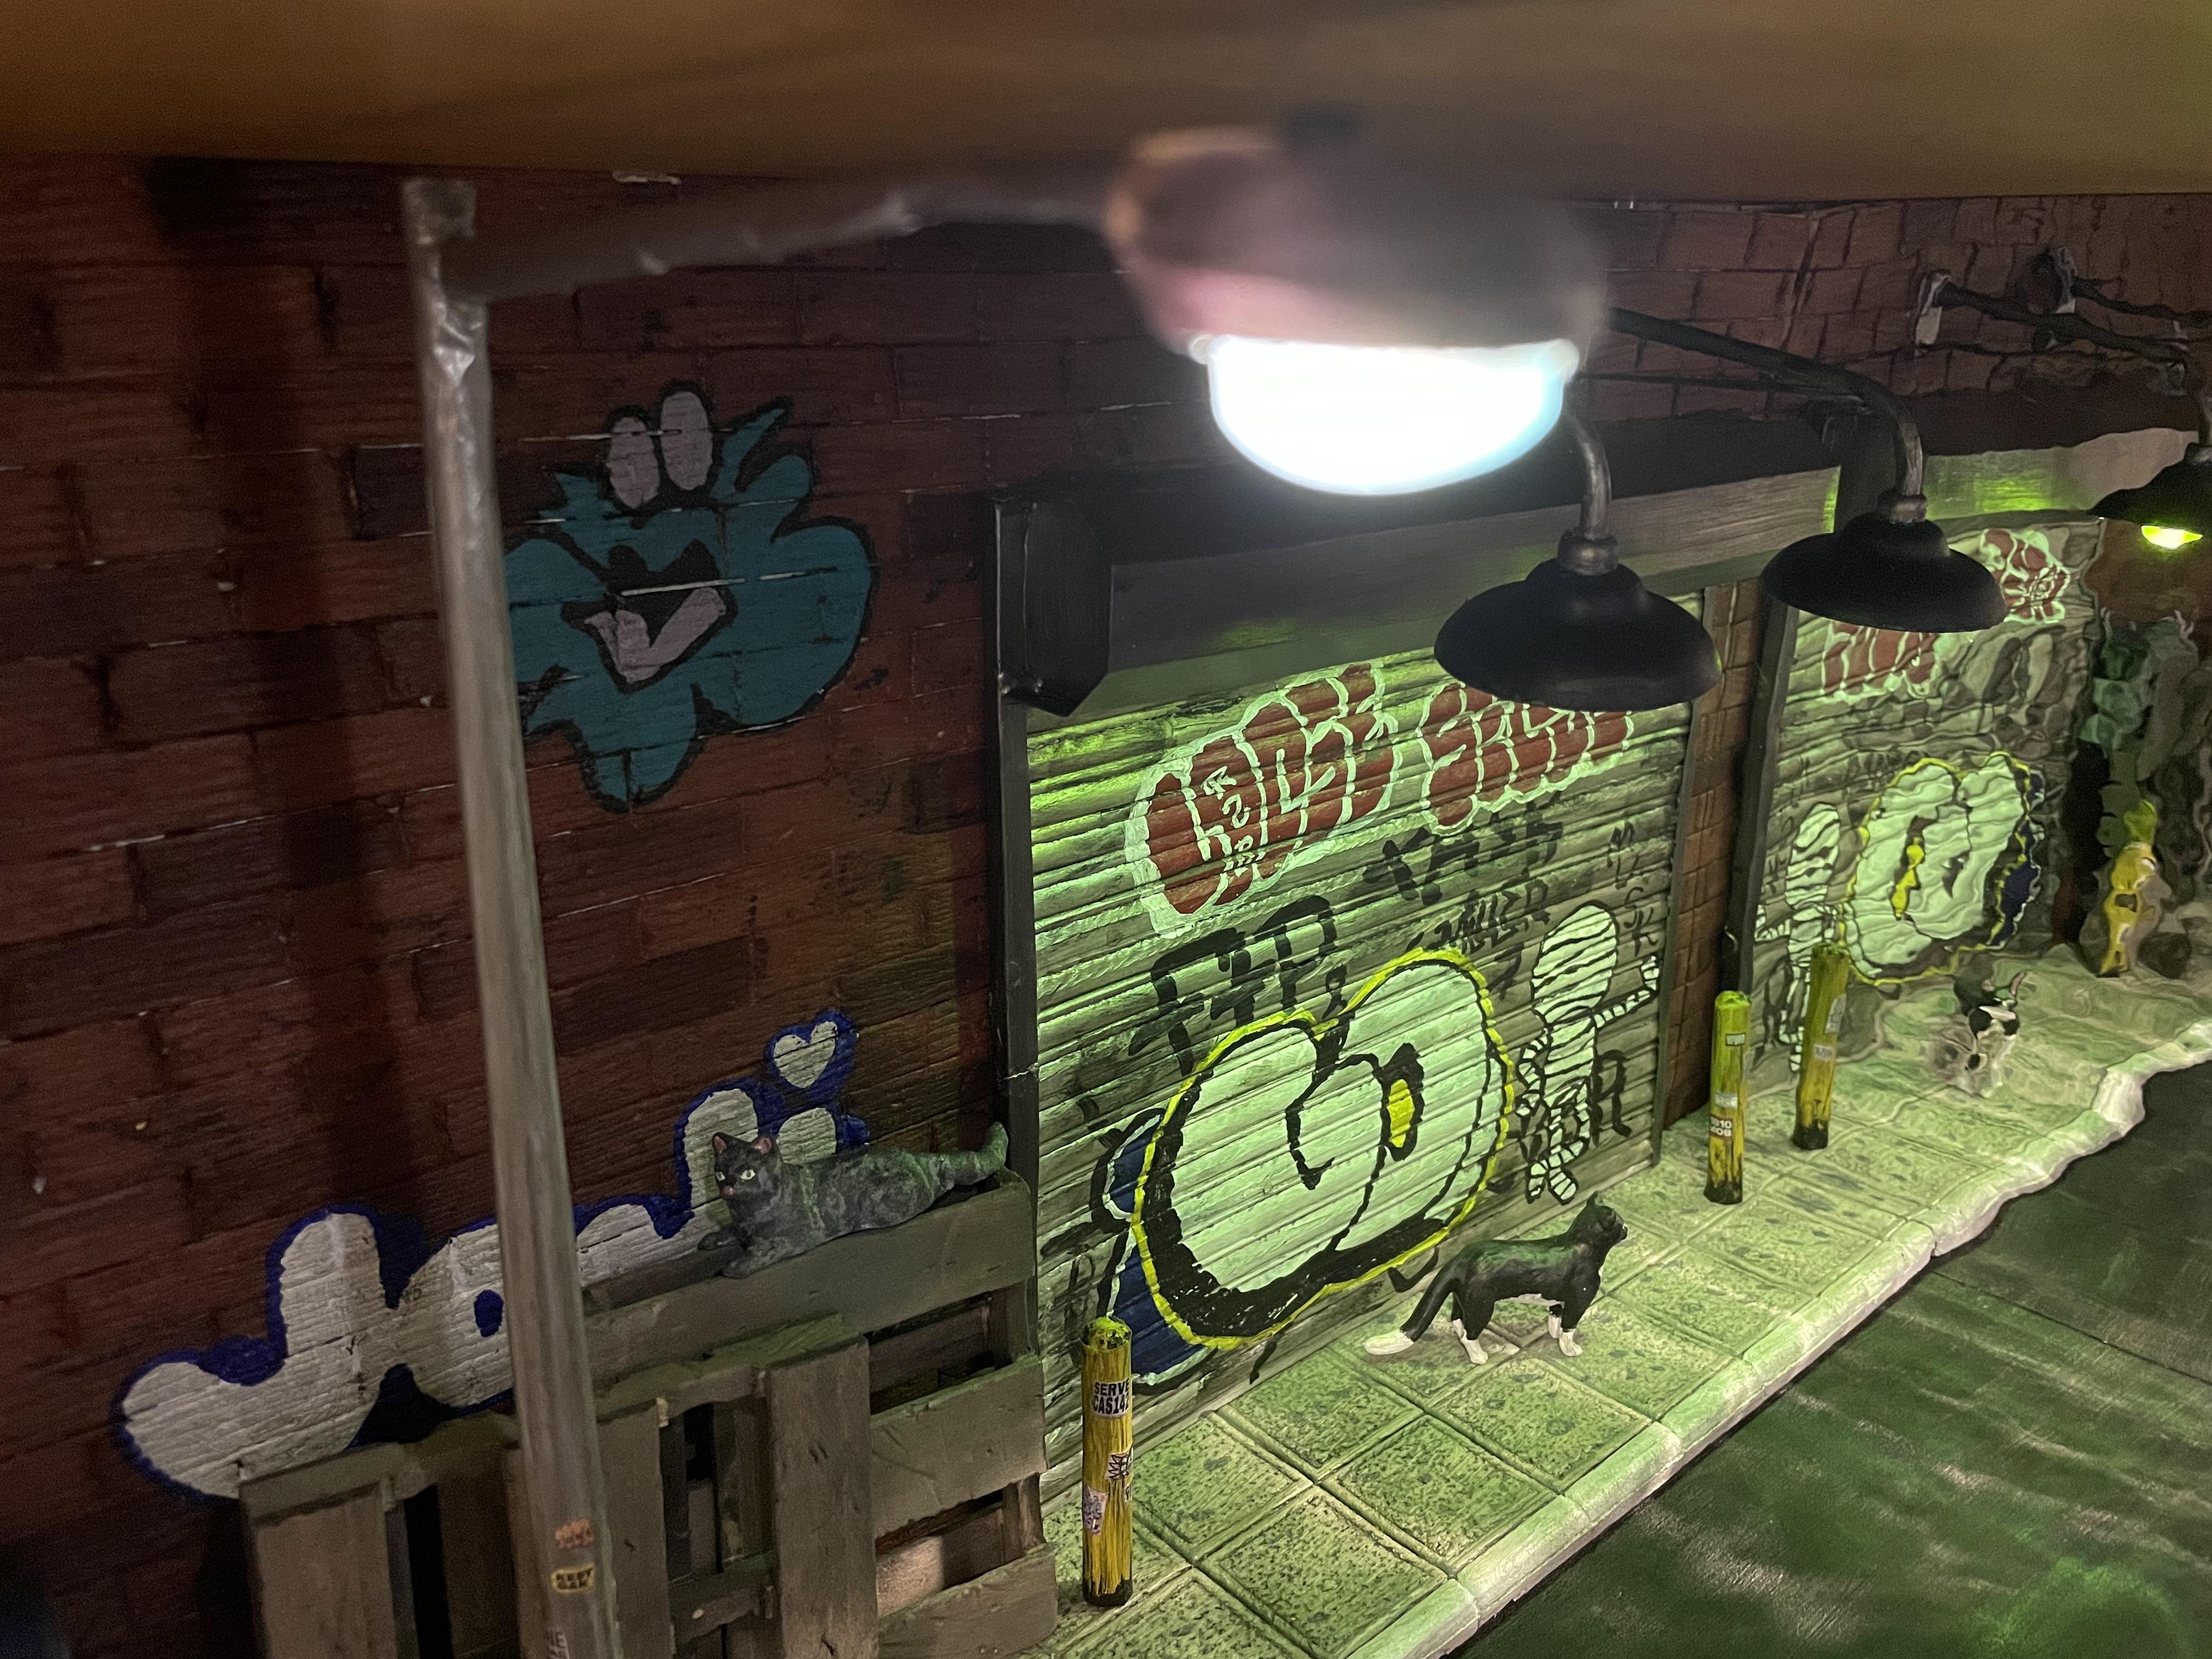
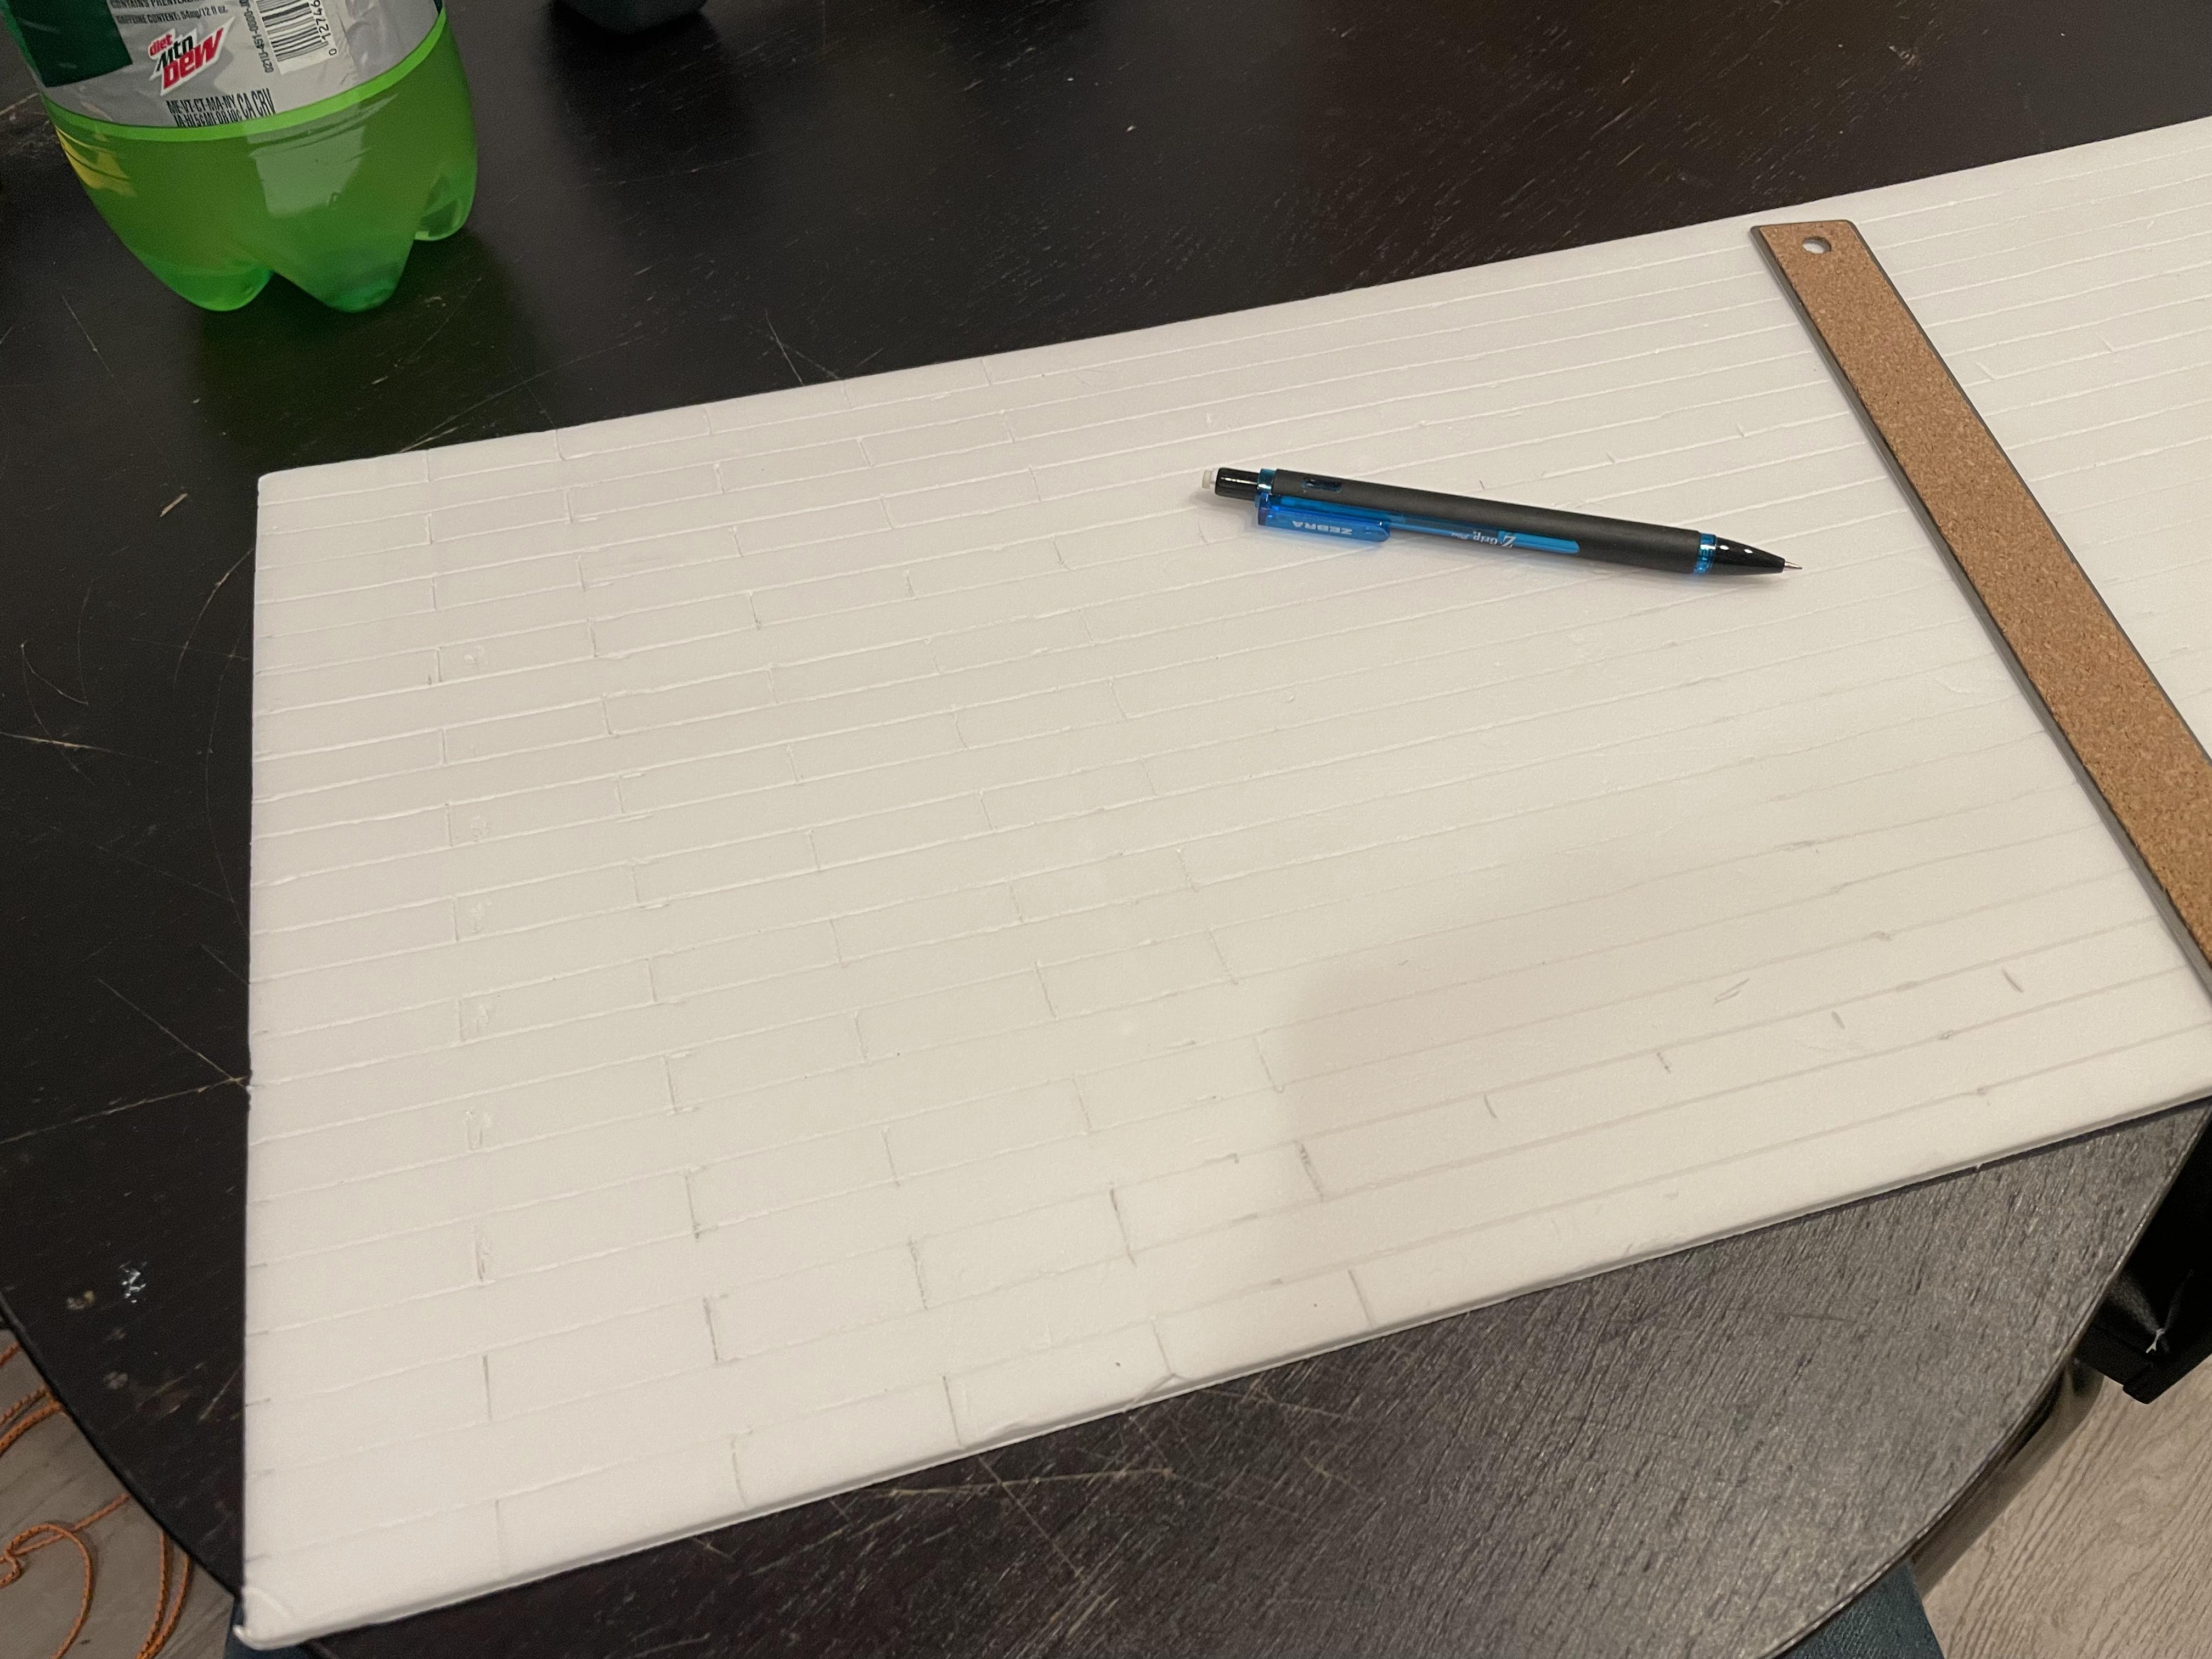
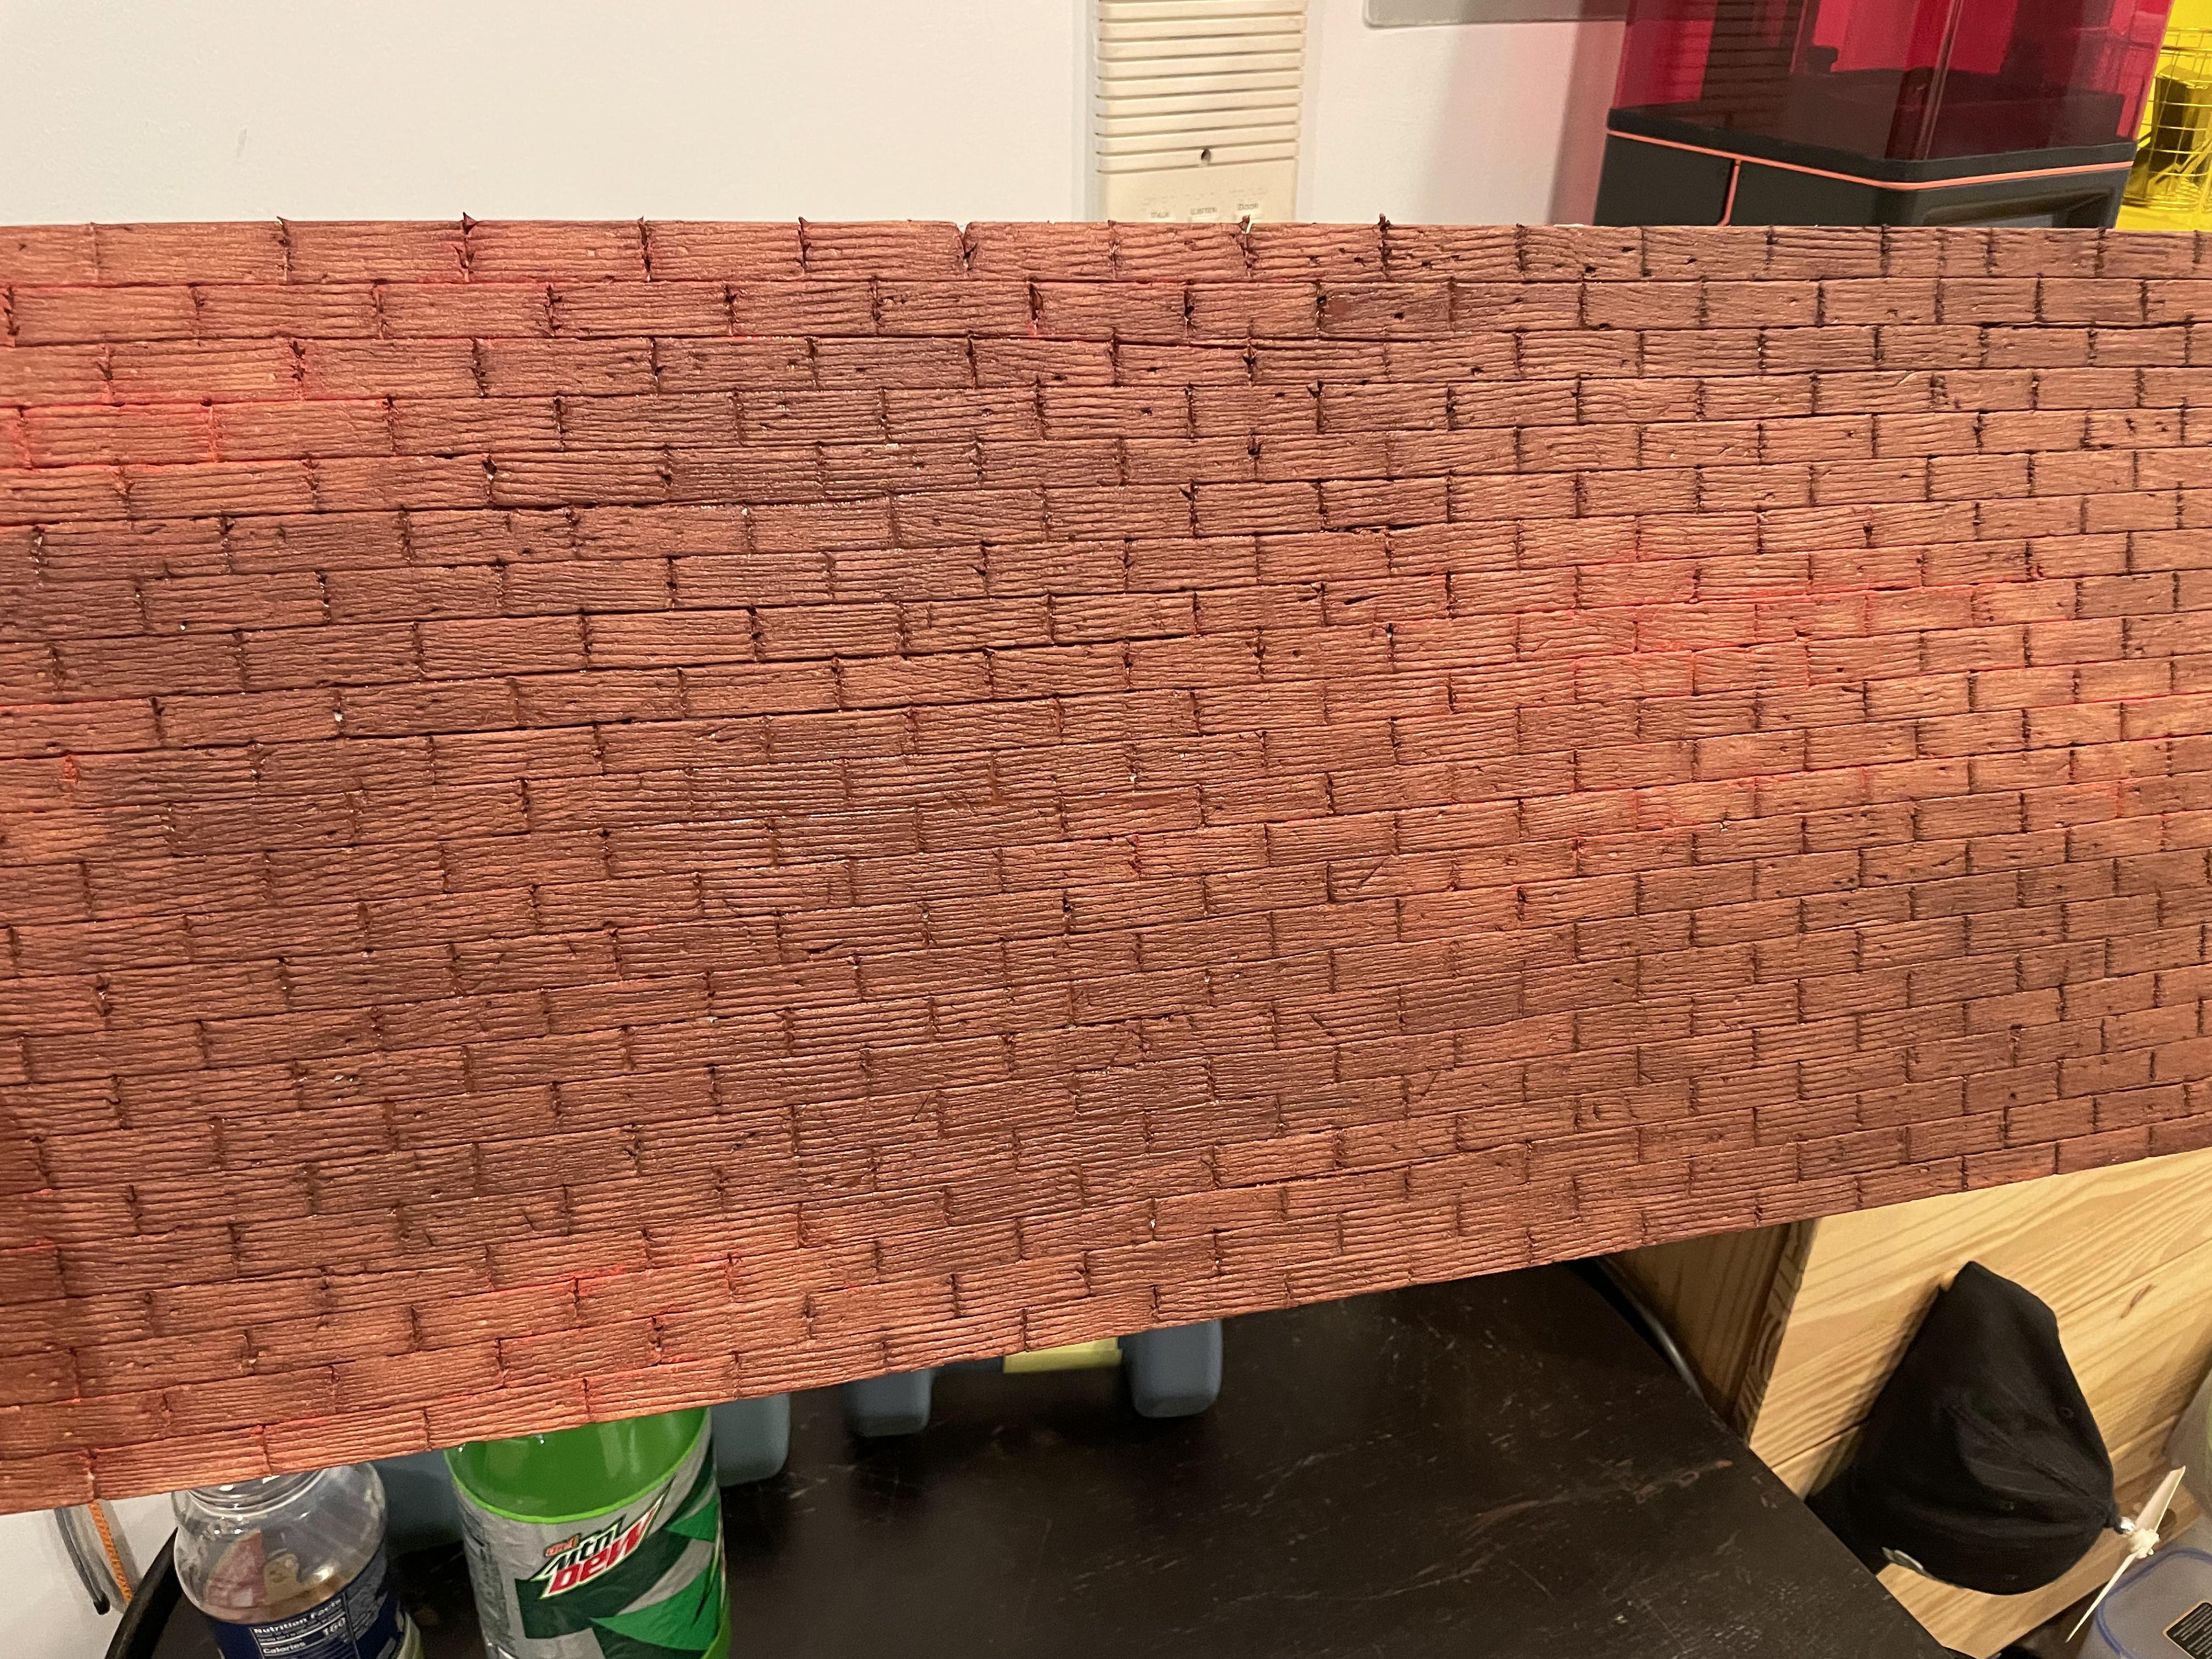
Next, I decided to tackle the back wall of the scene. I got some foam core, stripped off the top layer and then carved a brick pattern. I painted it a solid base coat, then painted specific bricks different colors, and weathered it. The result was a custom fit brick wall that fit the shelf nicely.
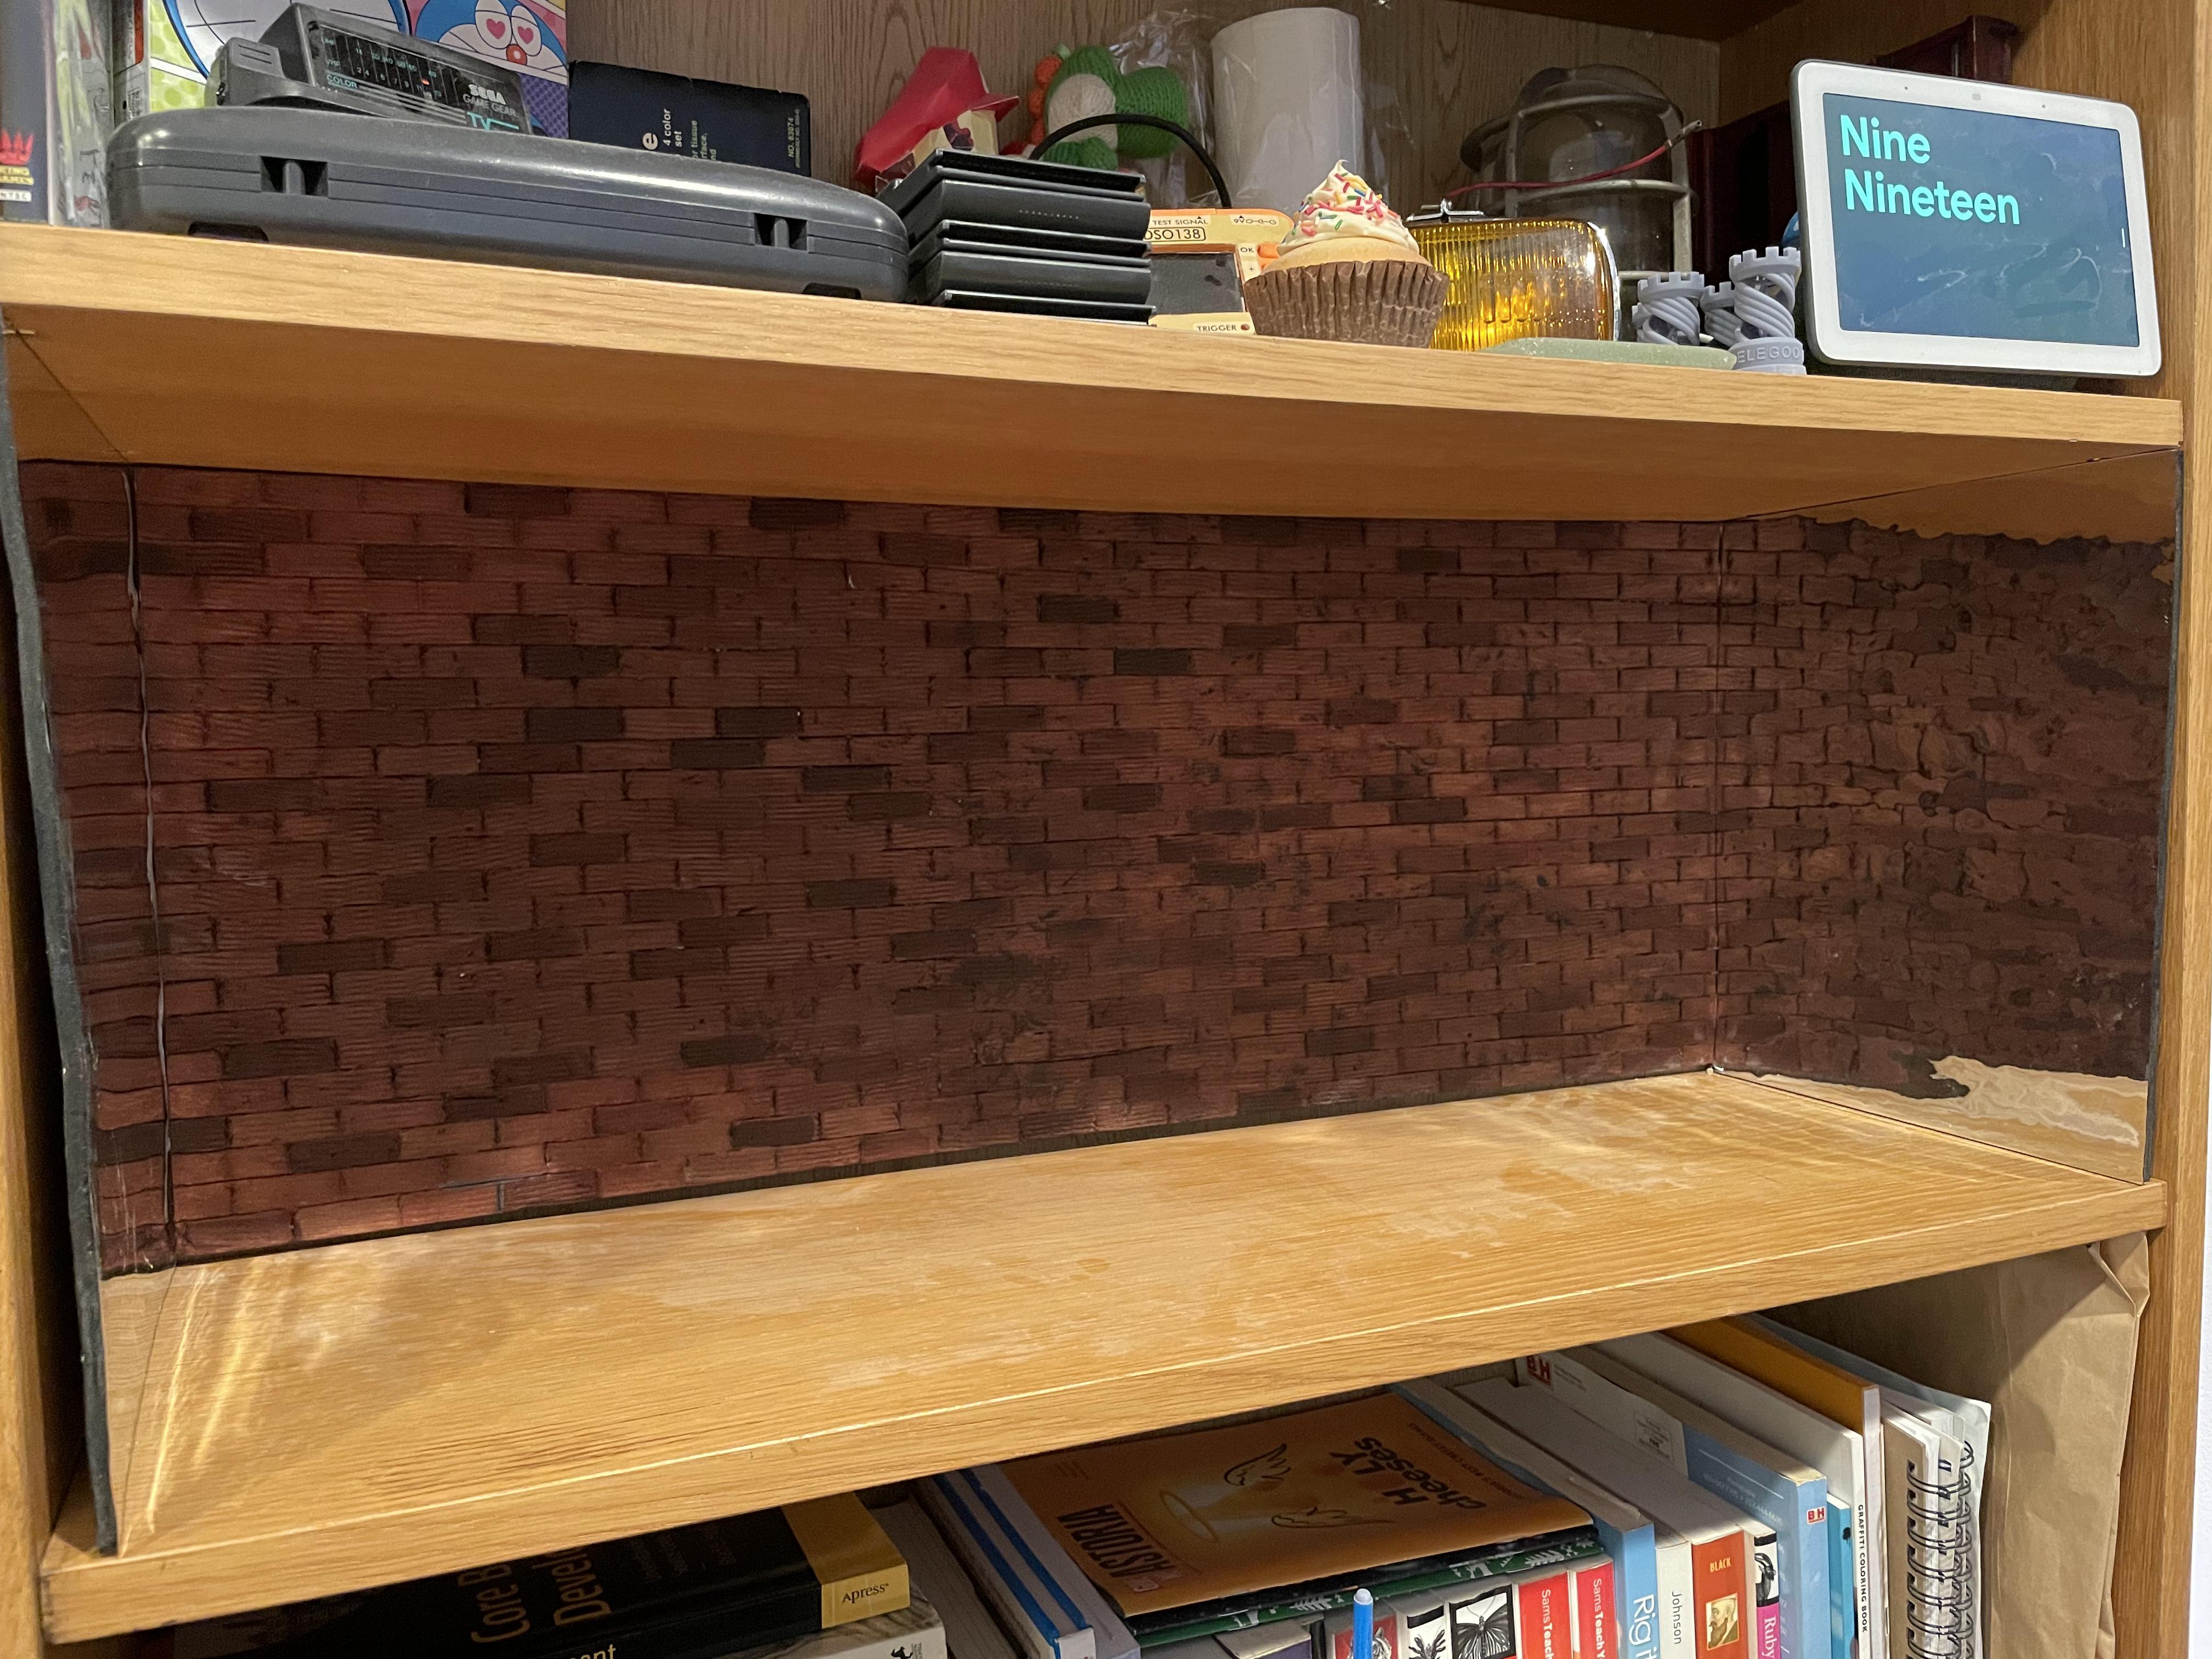
I also ordered some mirror paper on amazon and mounted it on the shelf sides to give the illusion that the street carried on further. I tried my best to get them flat and mirror like, but ultimately the effect didn't come out like real mirrors. Still though, it does add to the ambience and illusion.
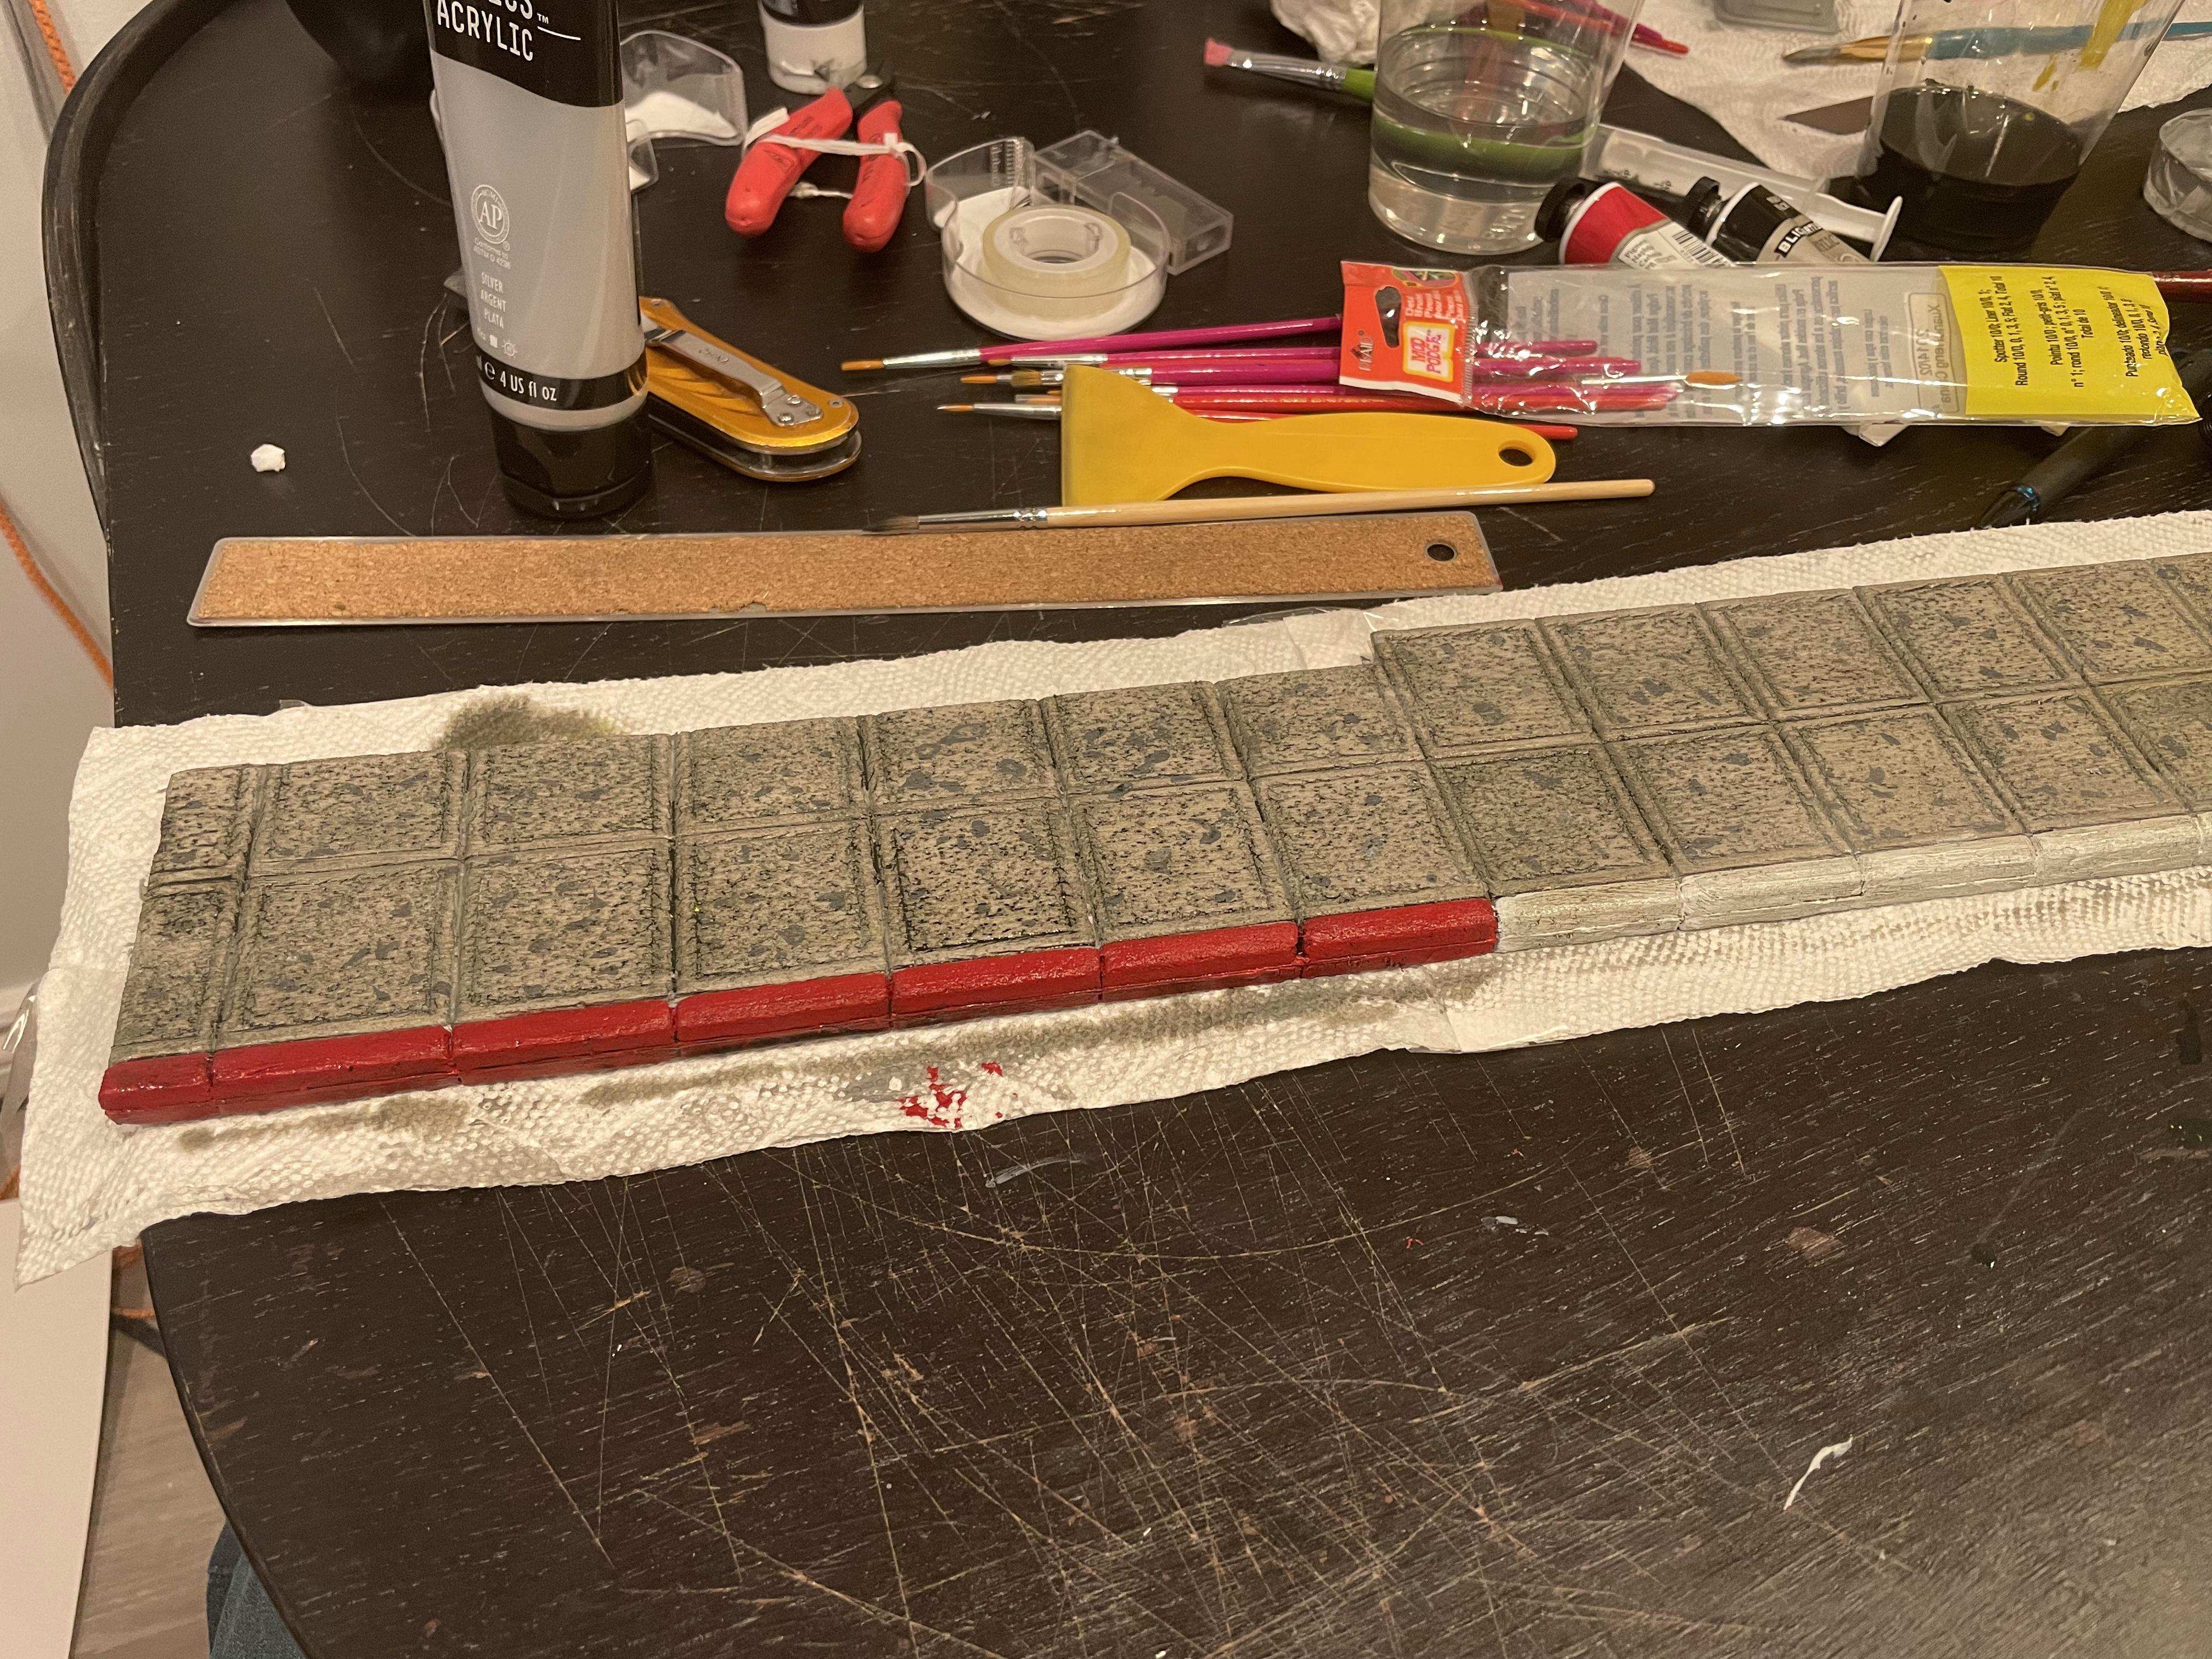
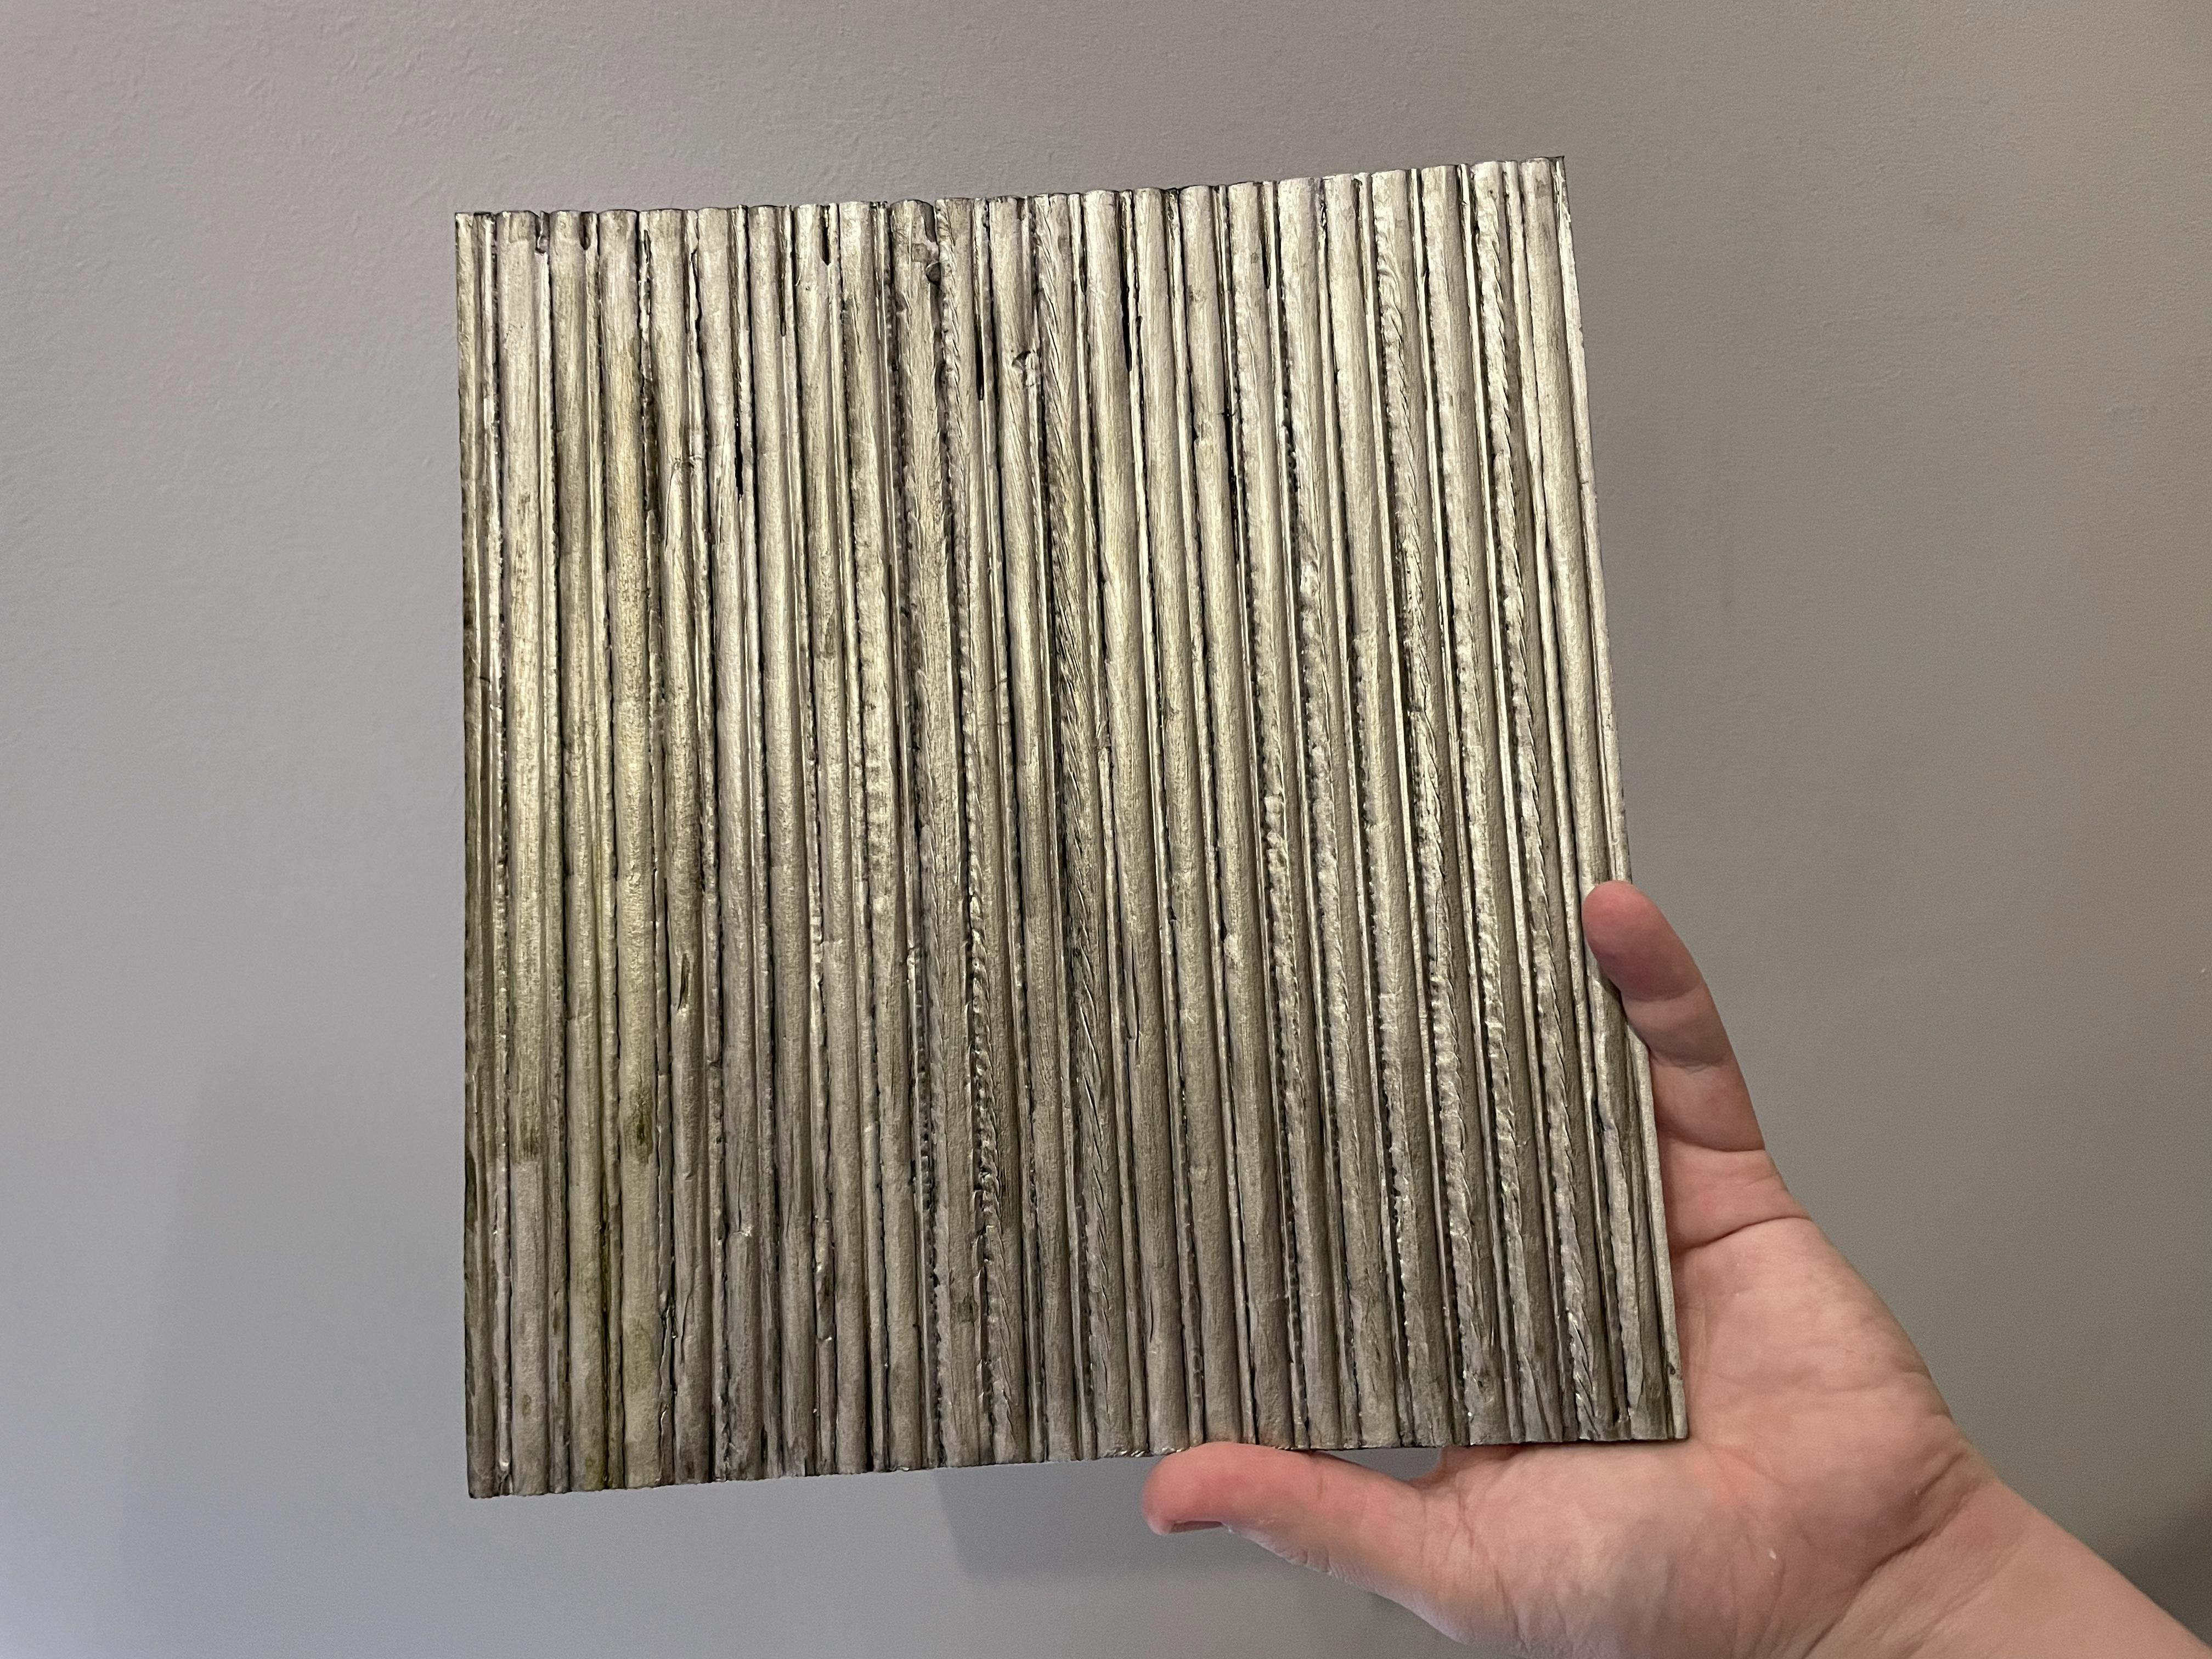
While I was still working on the main street details, I used the same concept as the bricks to carve out a set of sidewalk tiles. I carved their surface, scuffed and beat them up, then painted and weathered them.
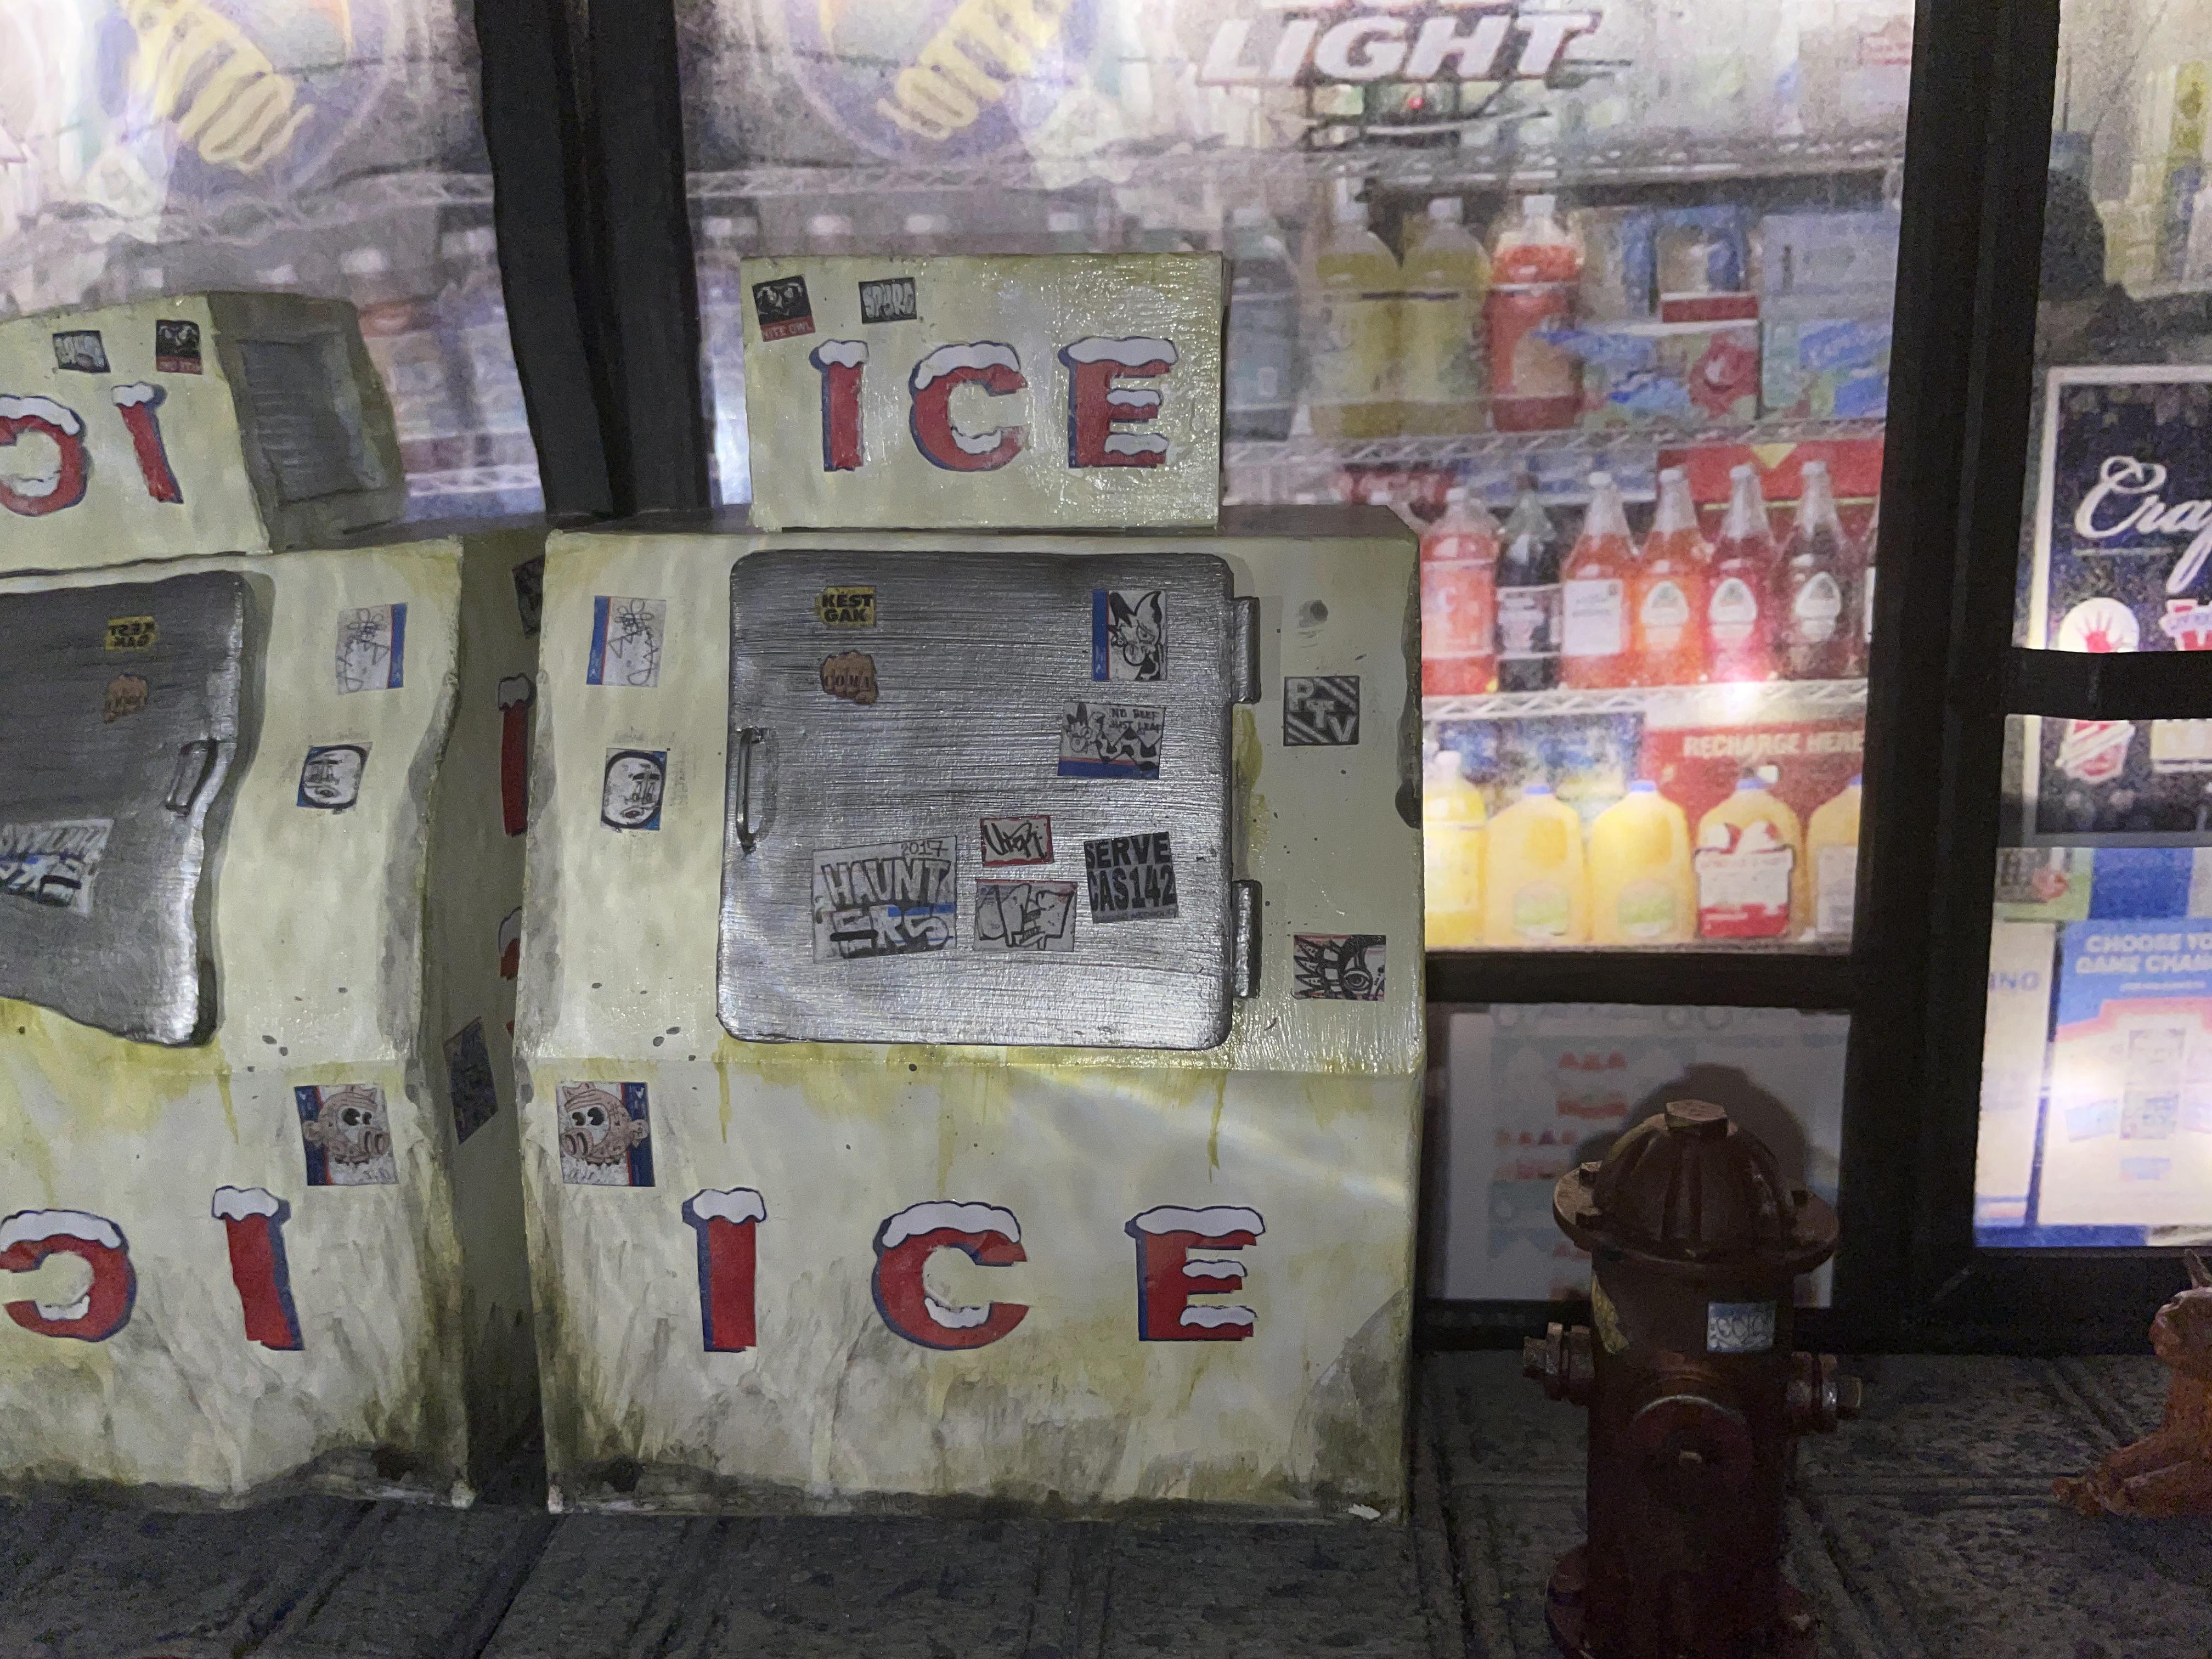
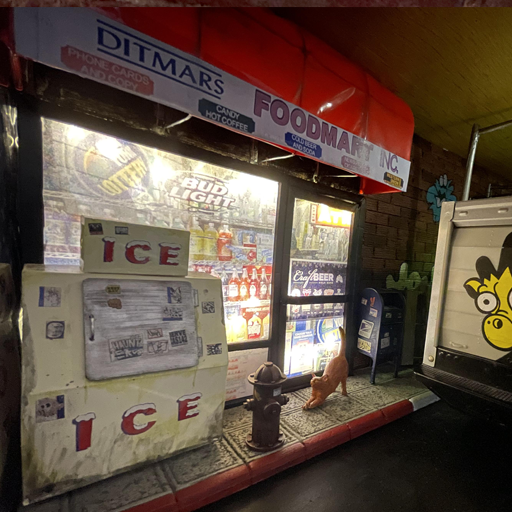
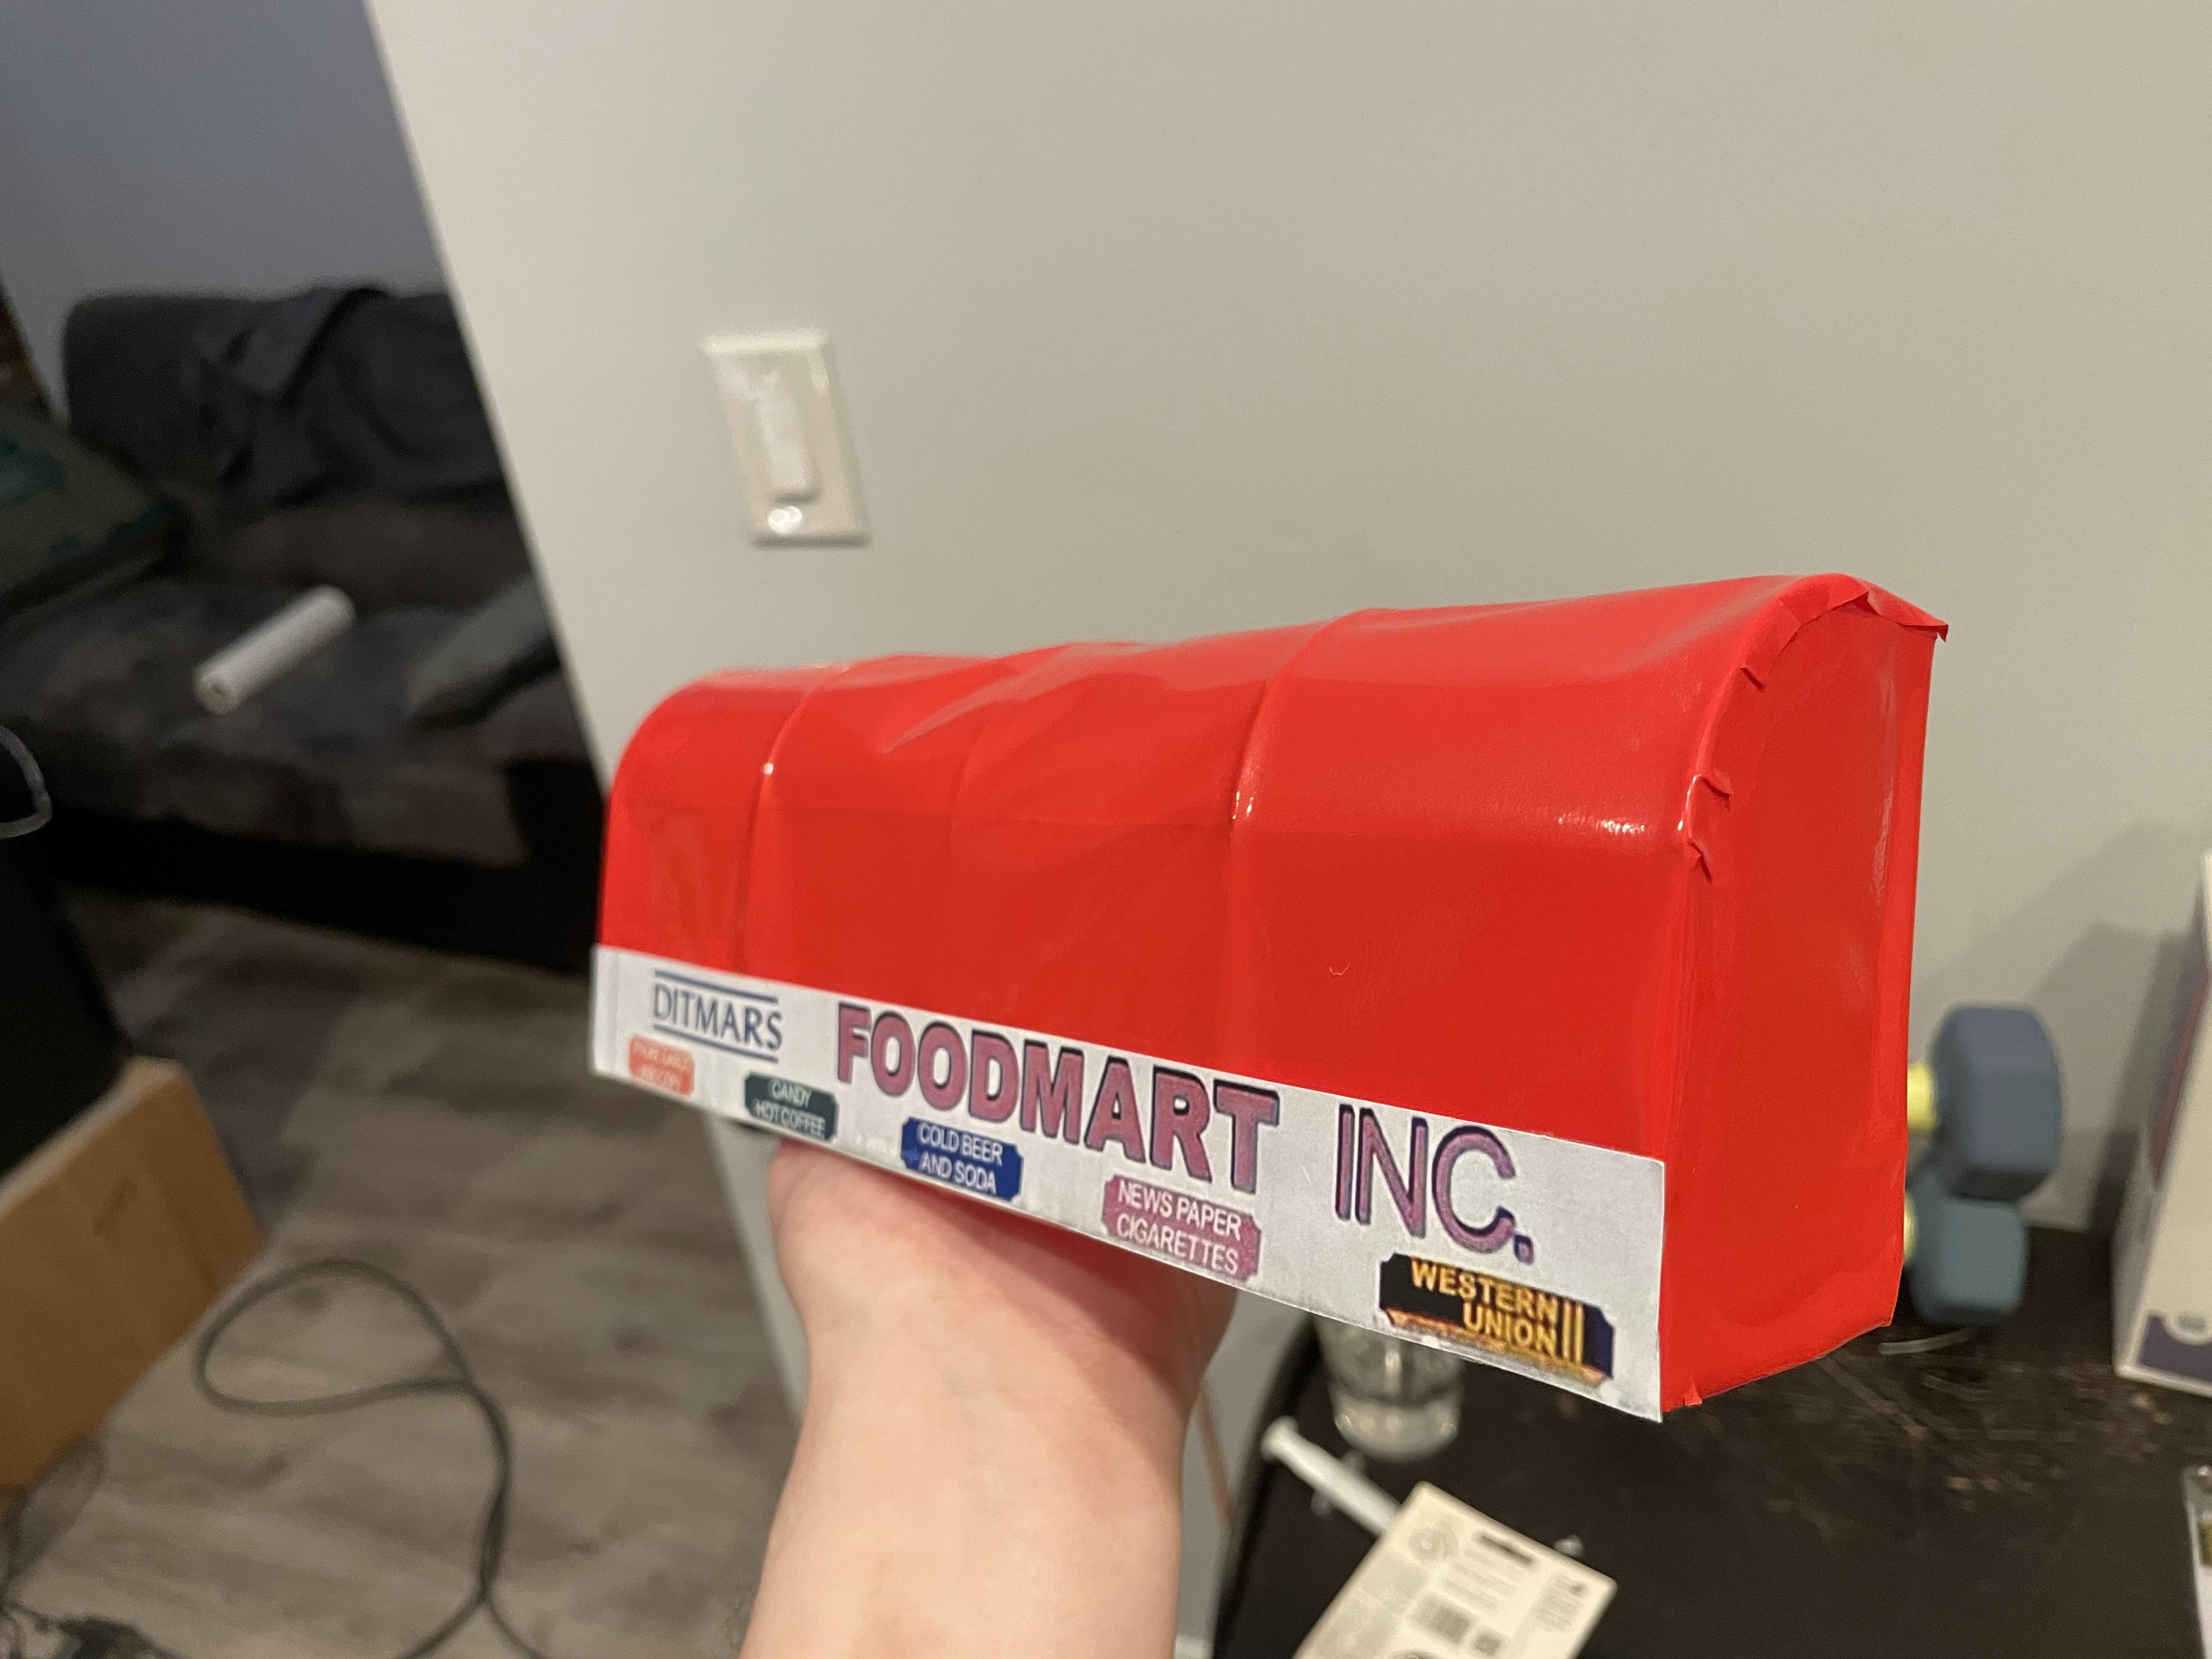
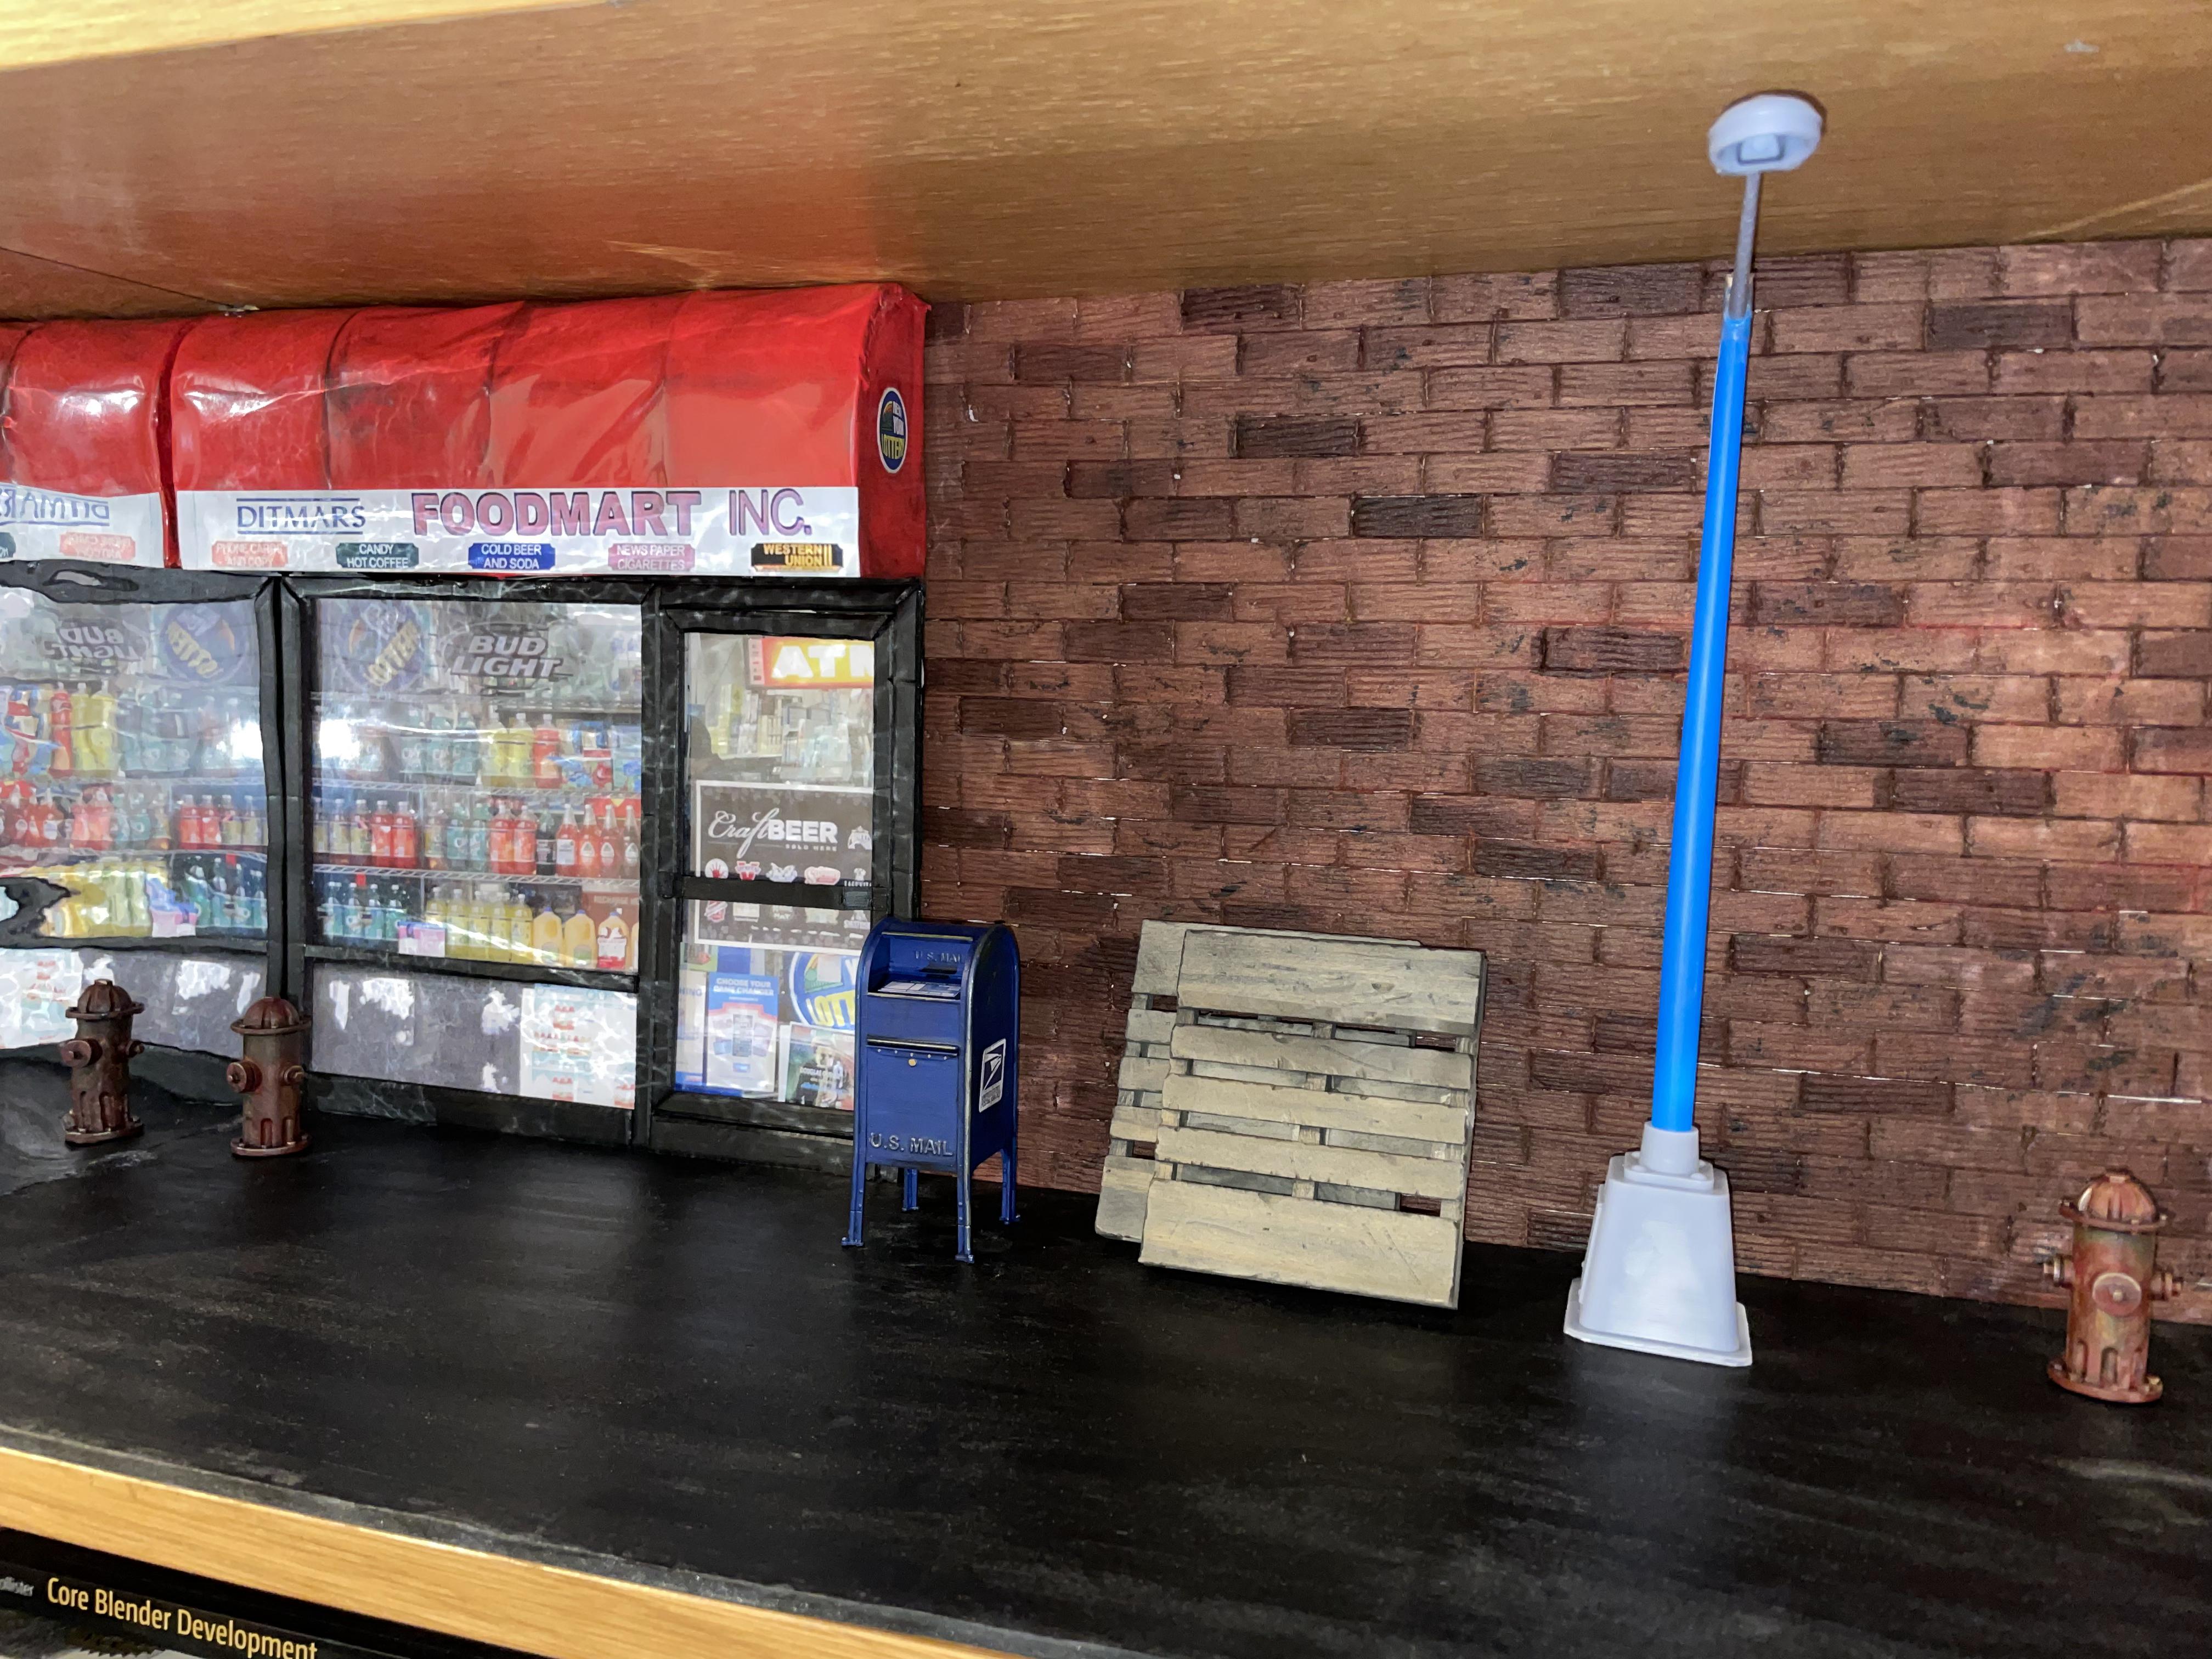
I wanted to have an NYC style "bodega" shop on one end of the diorama, so I built that next. I used some steel wire and soldered together a frame:

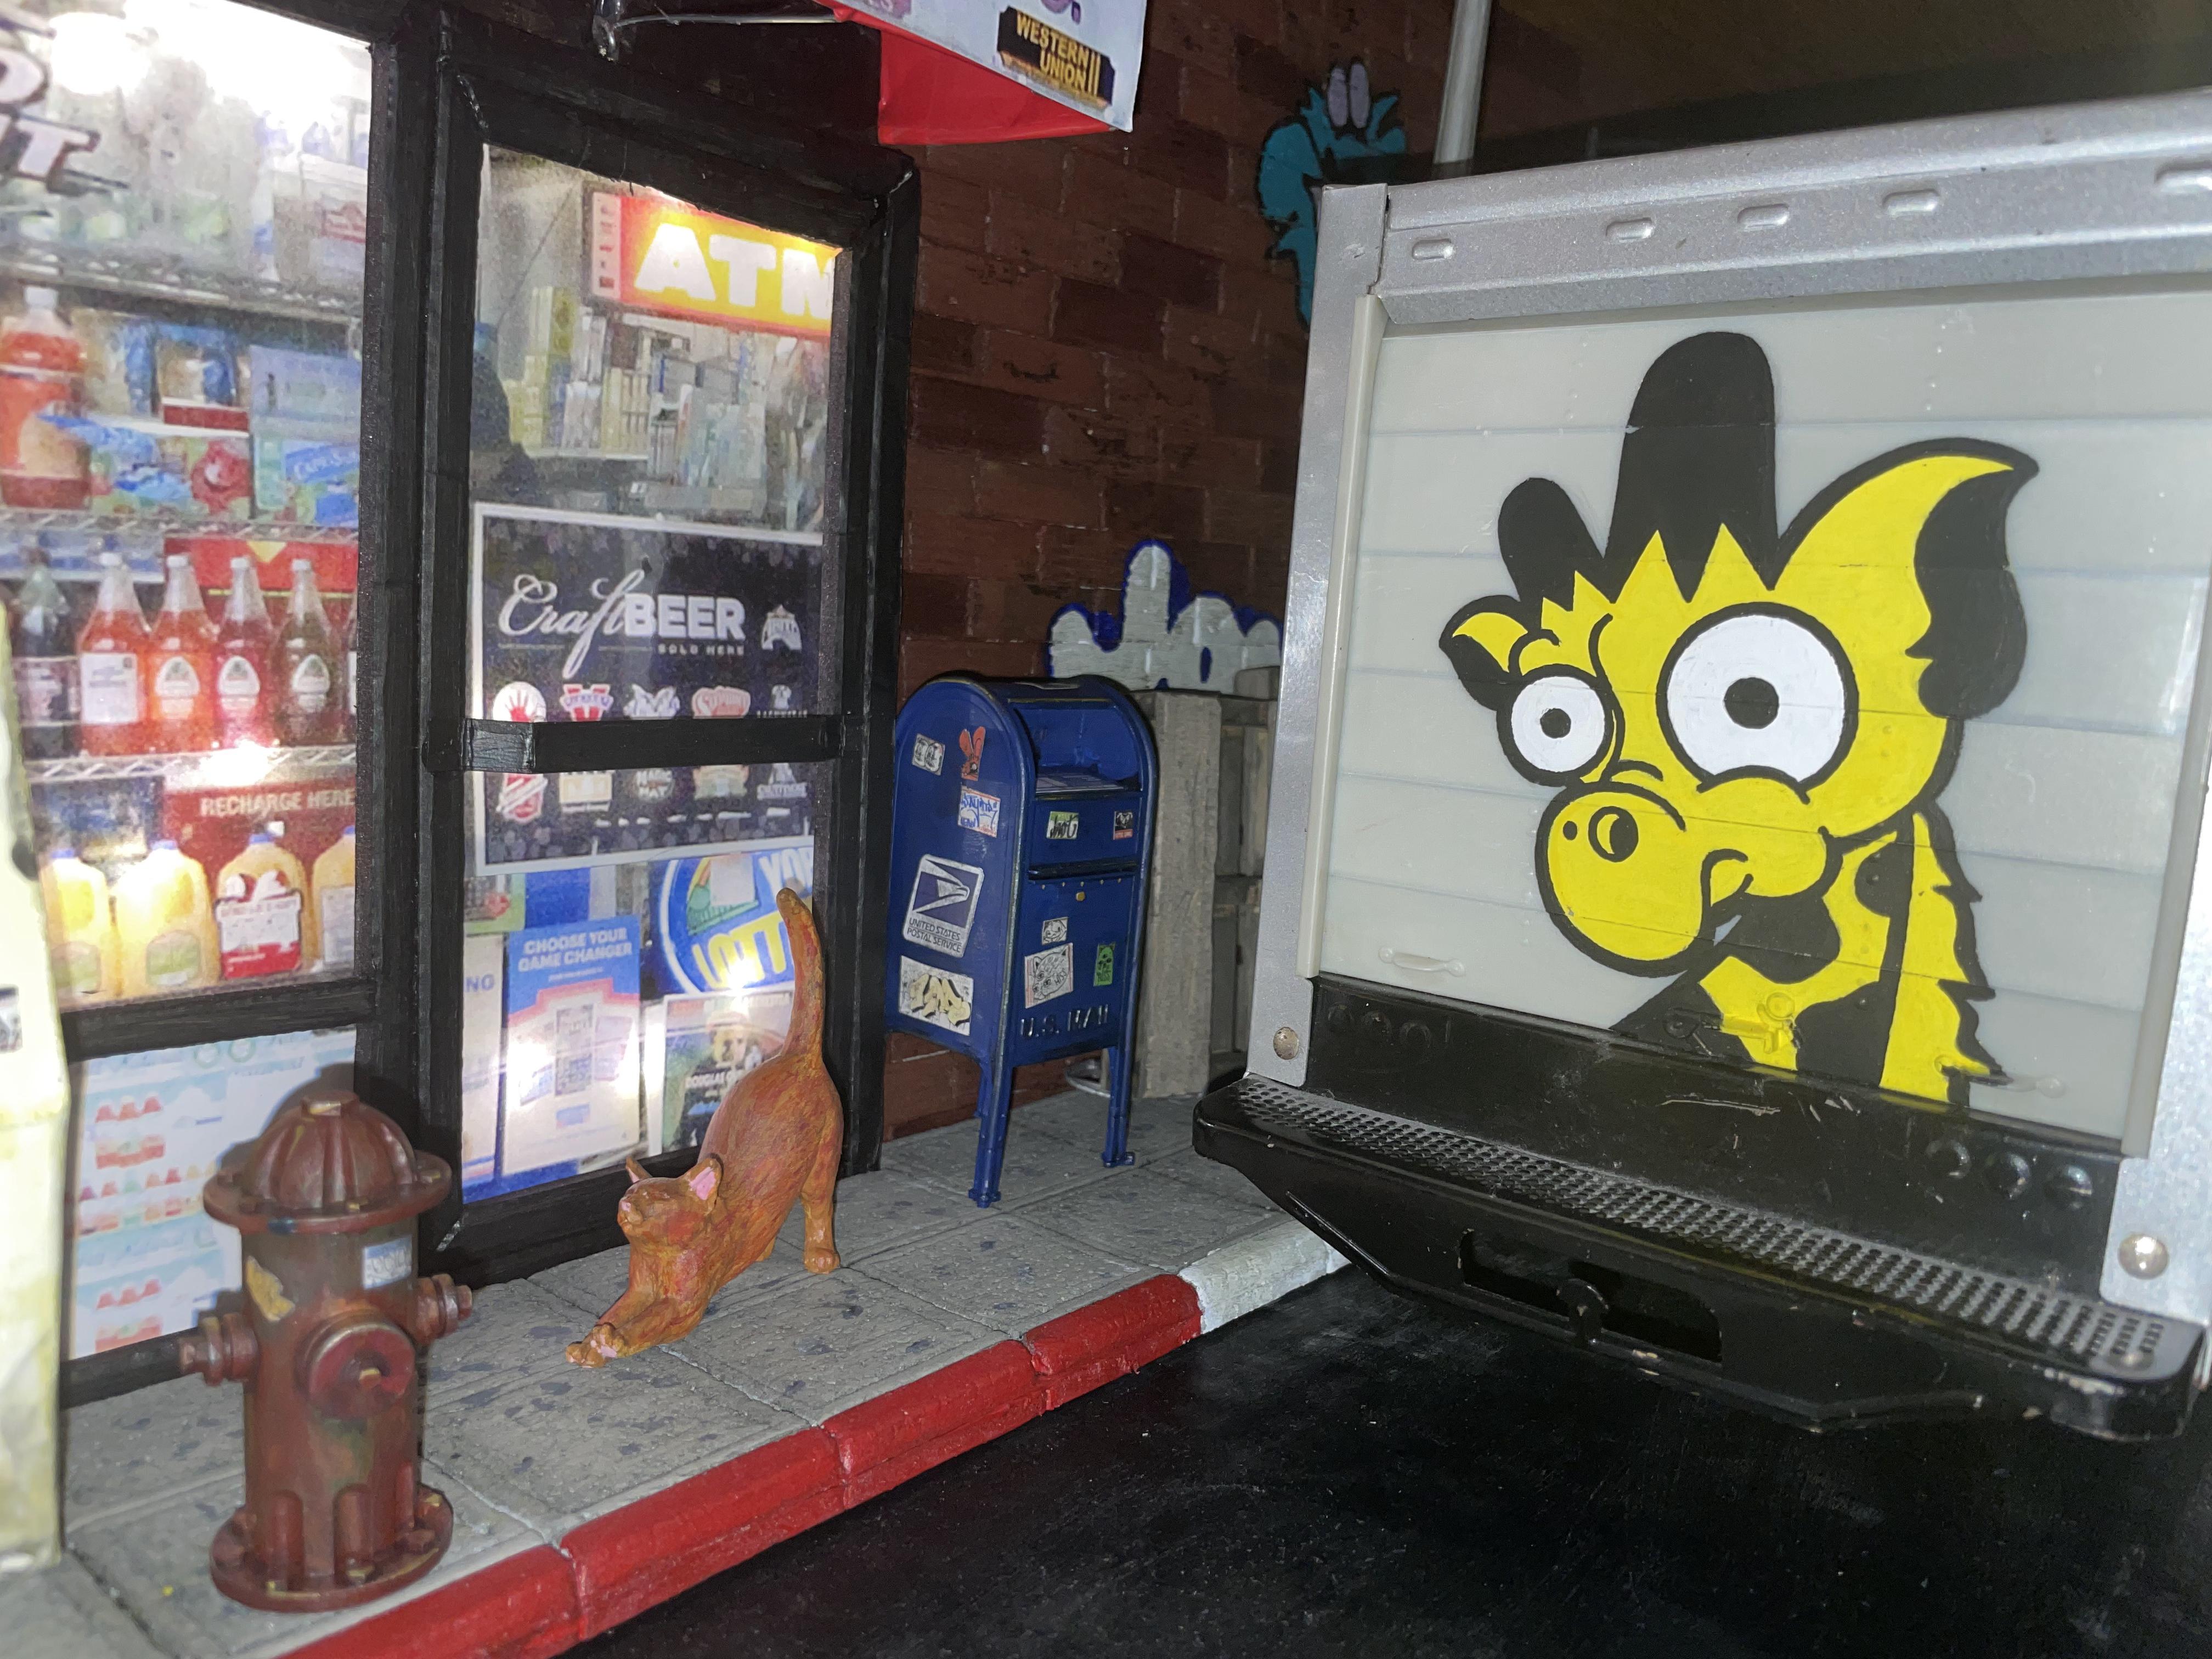
I wrapped it in some vinyl paper that craft tools like Cricut use, and printed out a label from a real store in my neighborhood to add some legit looking decals.
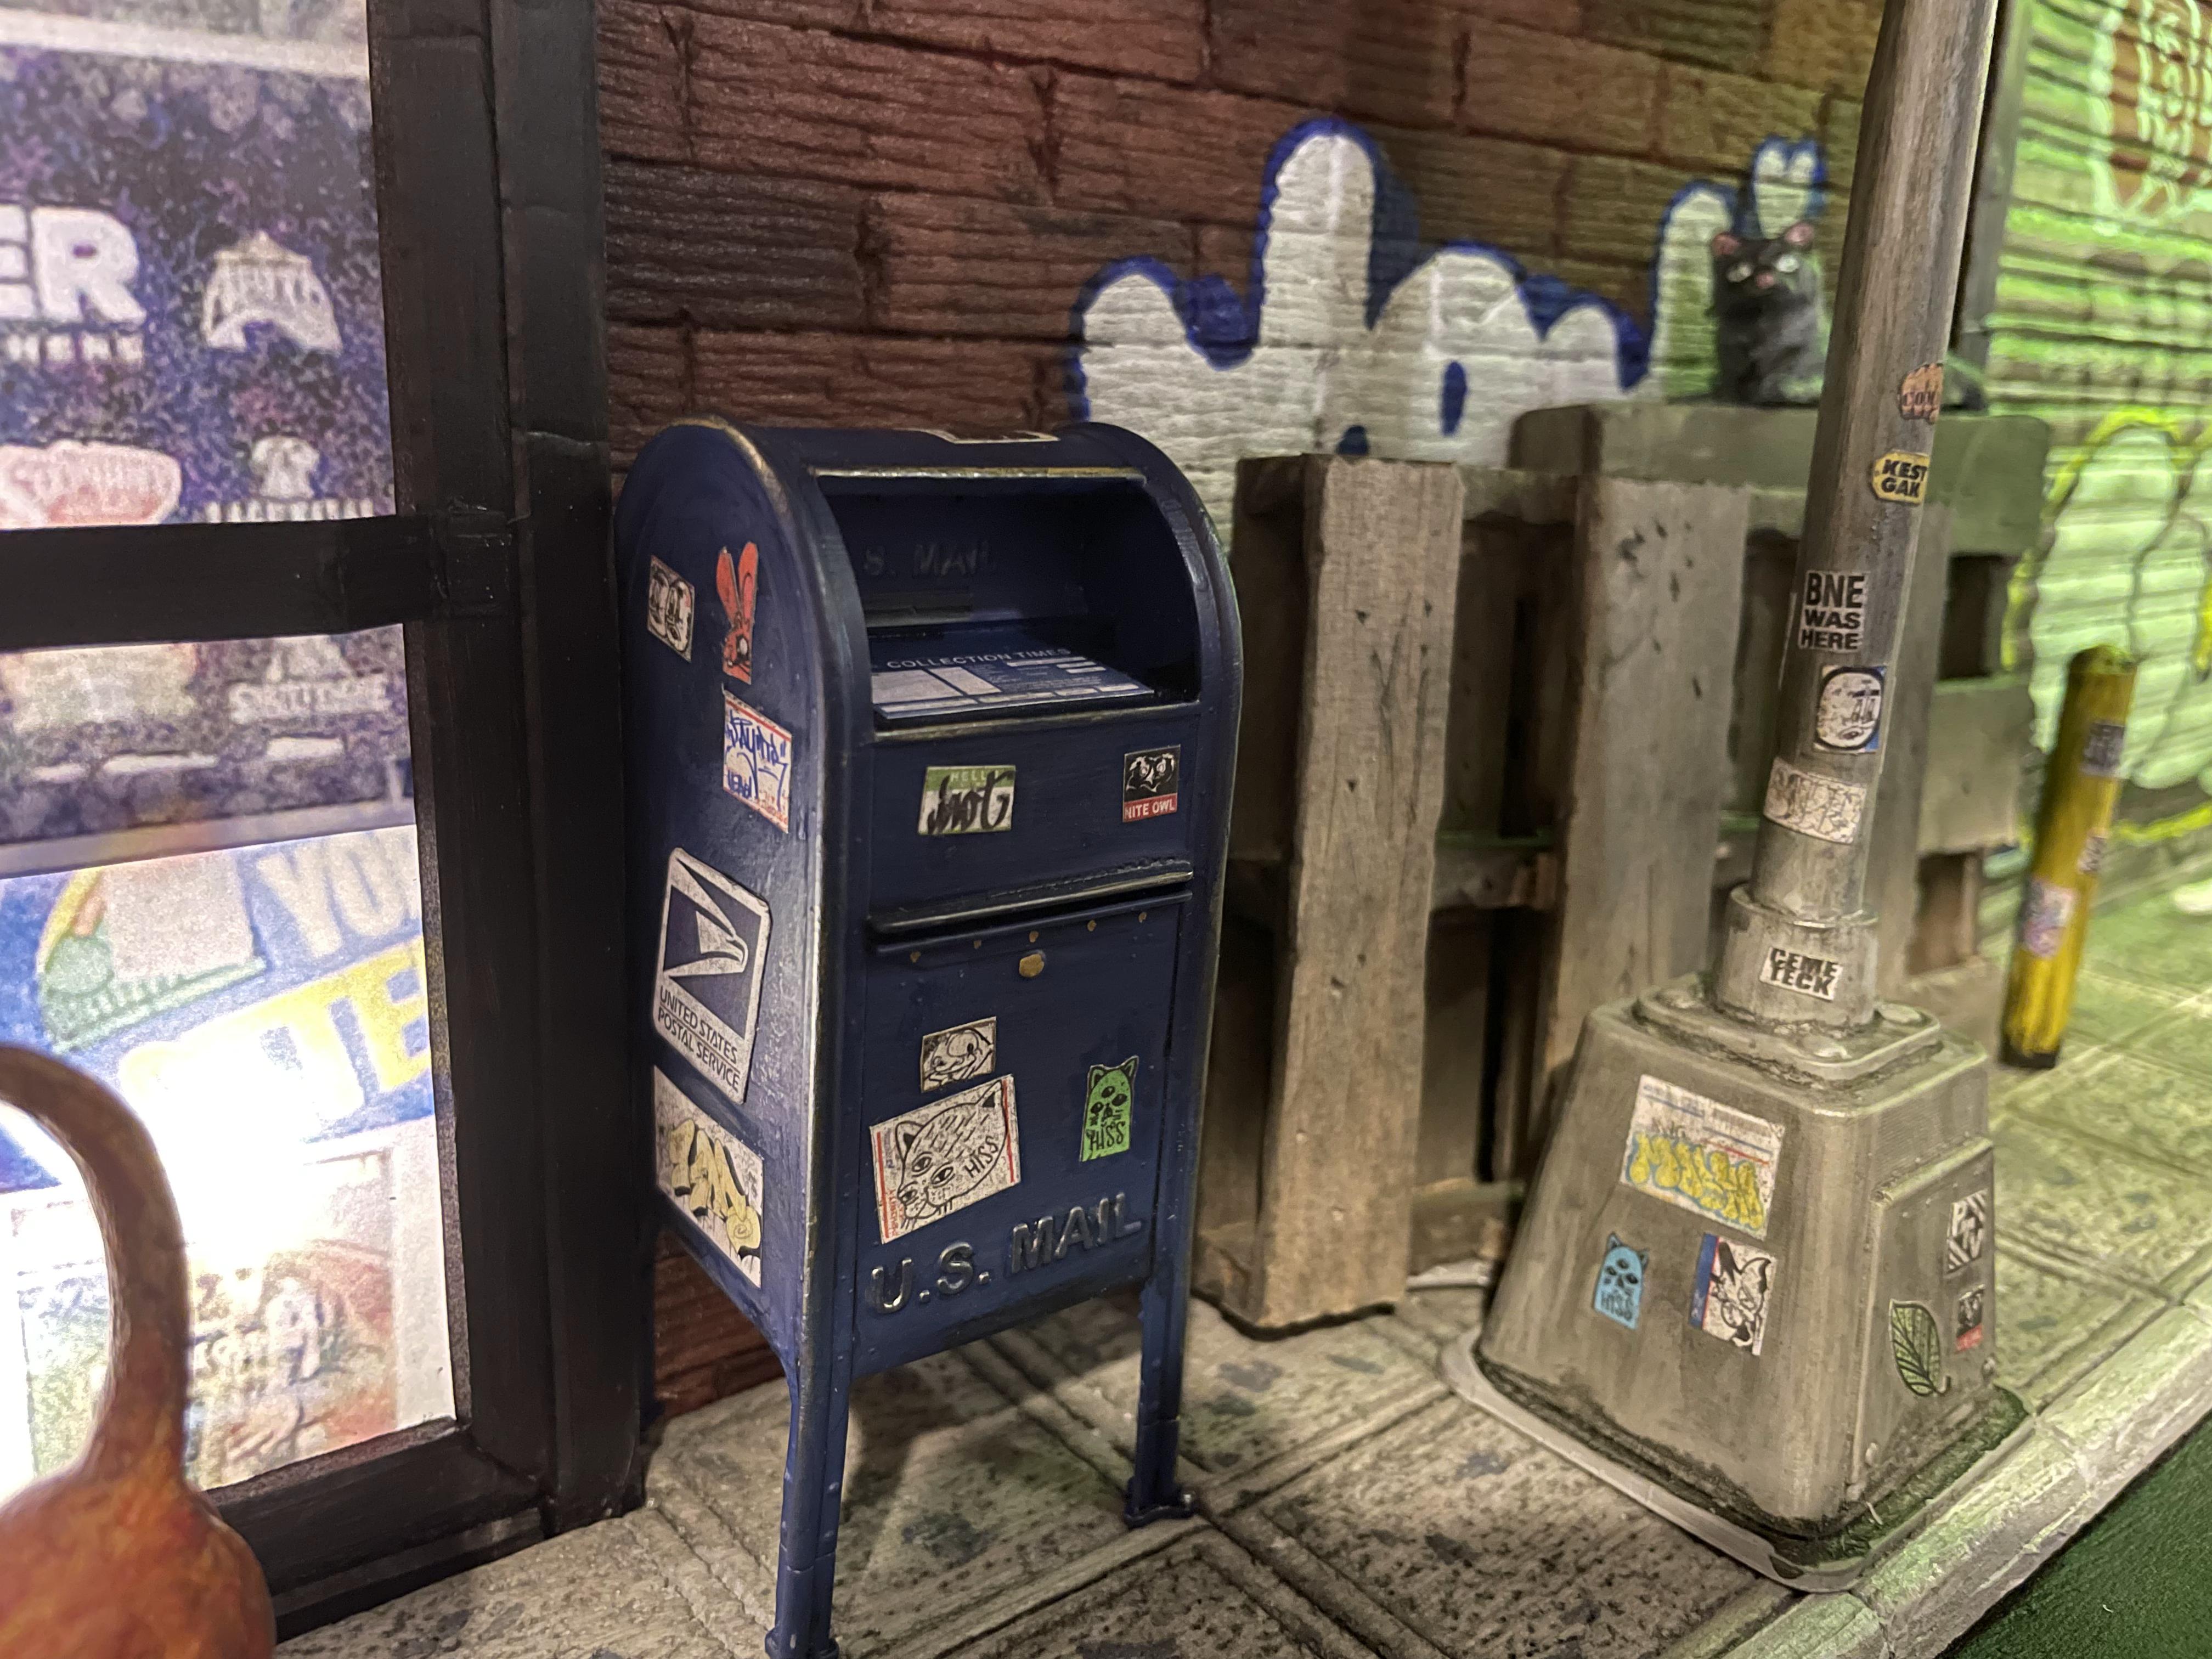
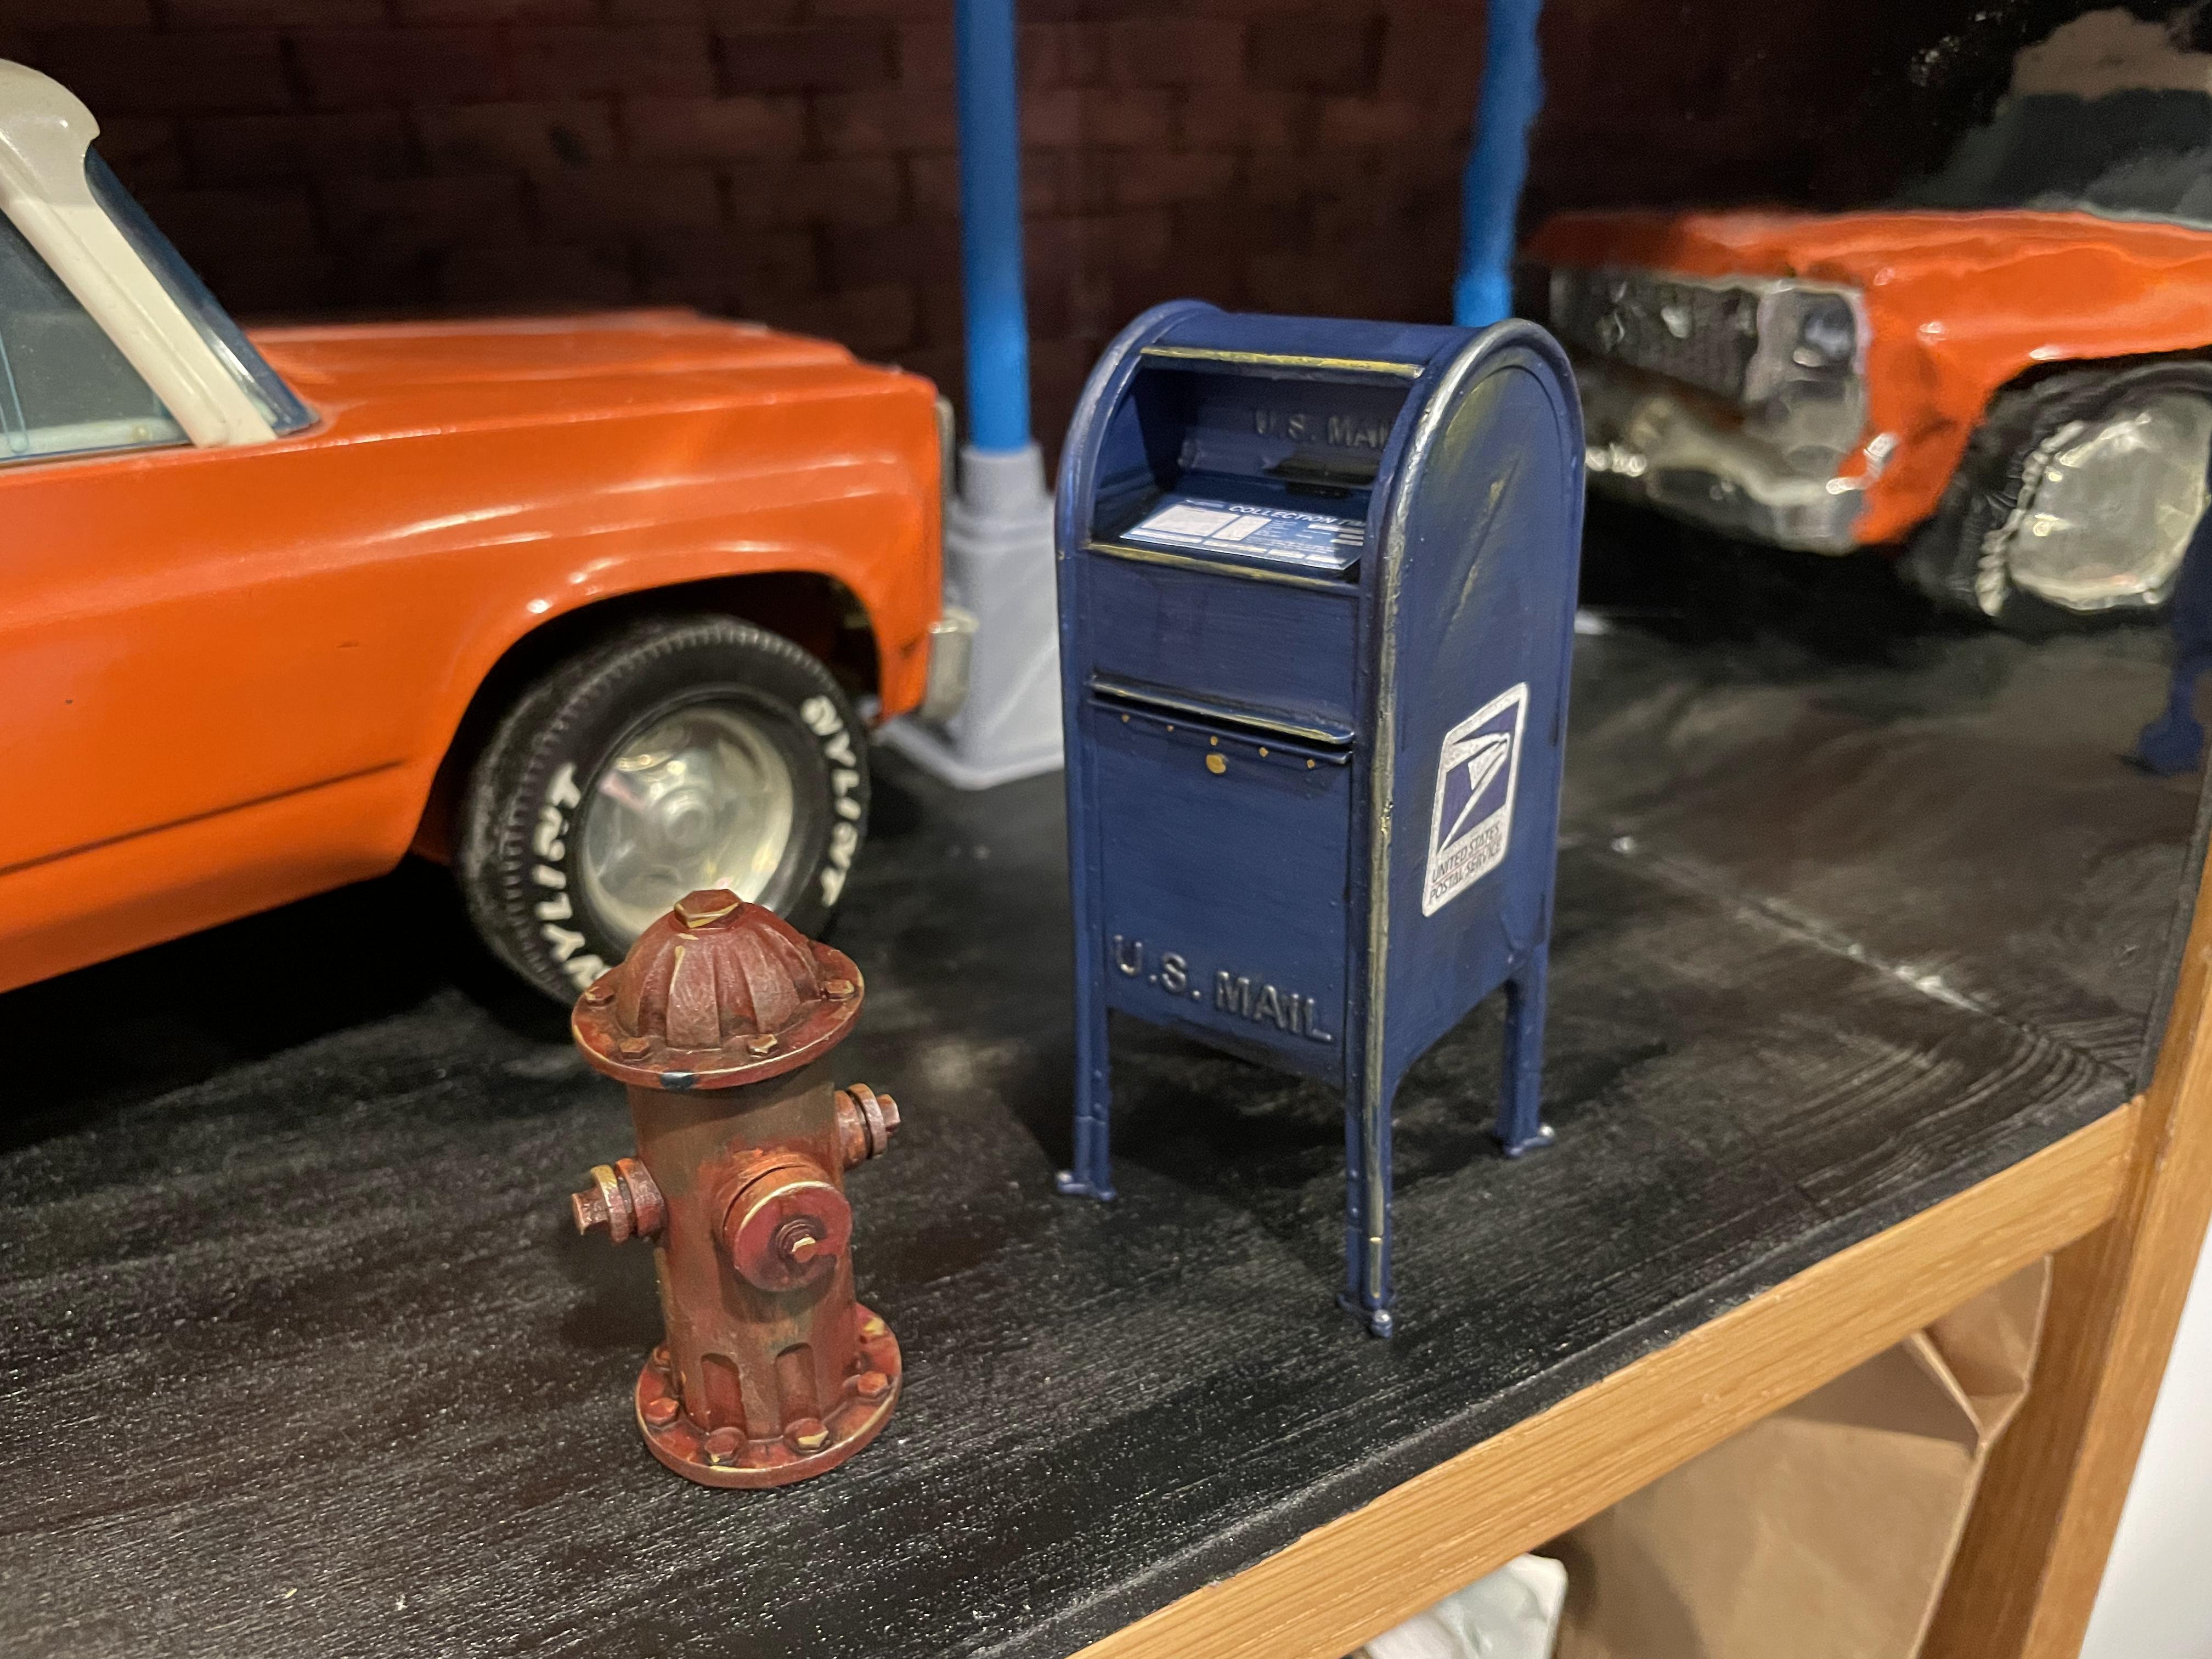
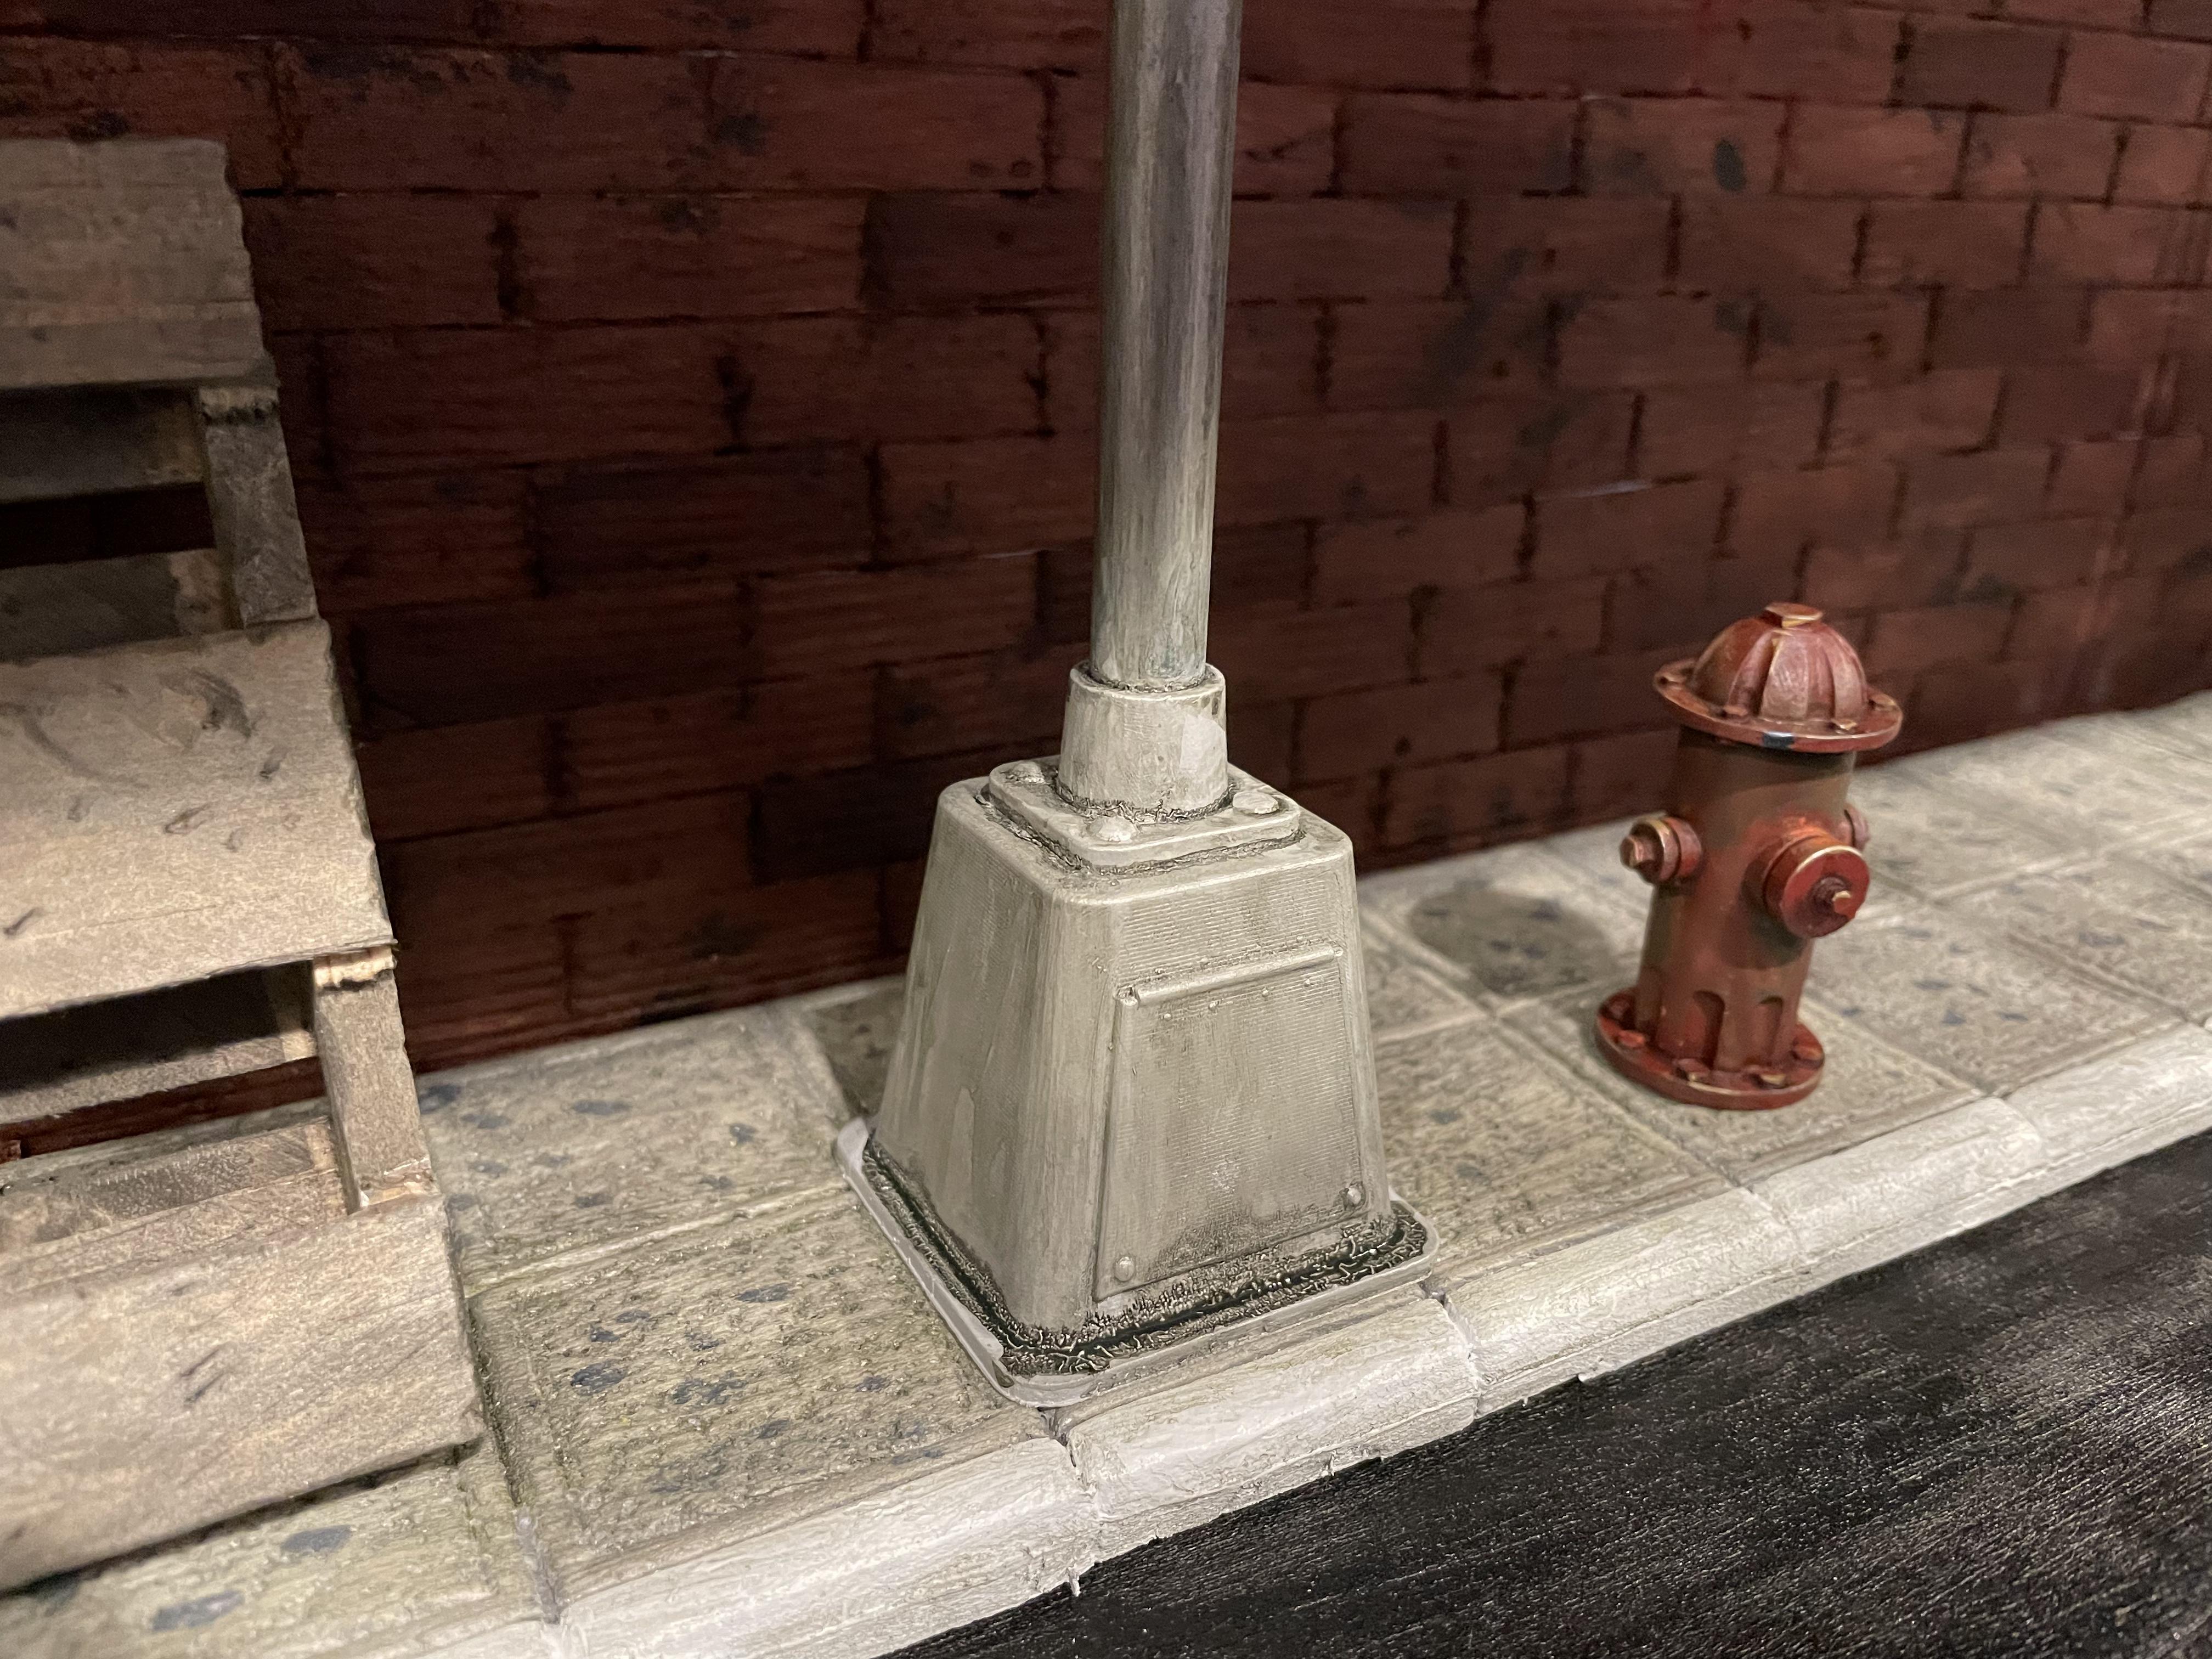
I found a fire hydrant and USPS mailbox 3d model online, so I 3d Printed them on my Elegoo Mars Pro 2, painted and weathered them.
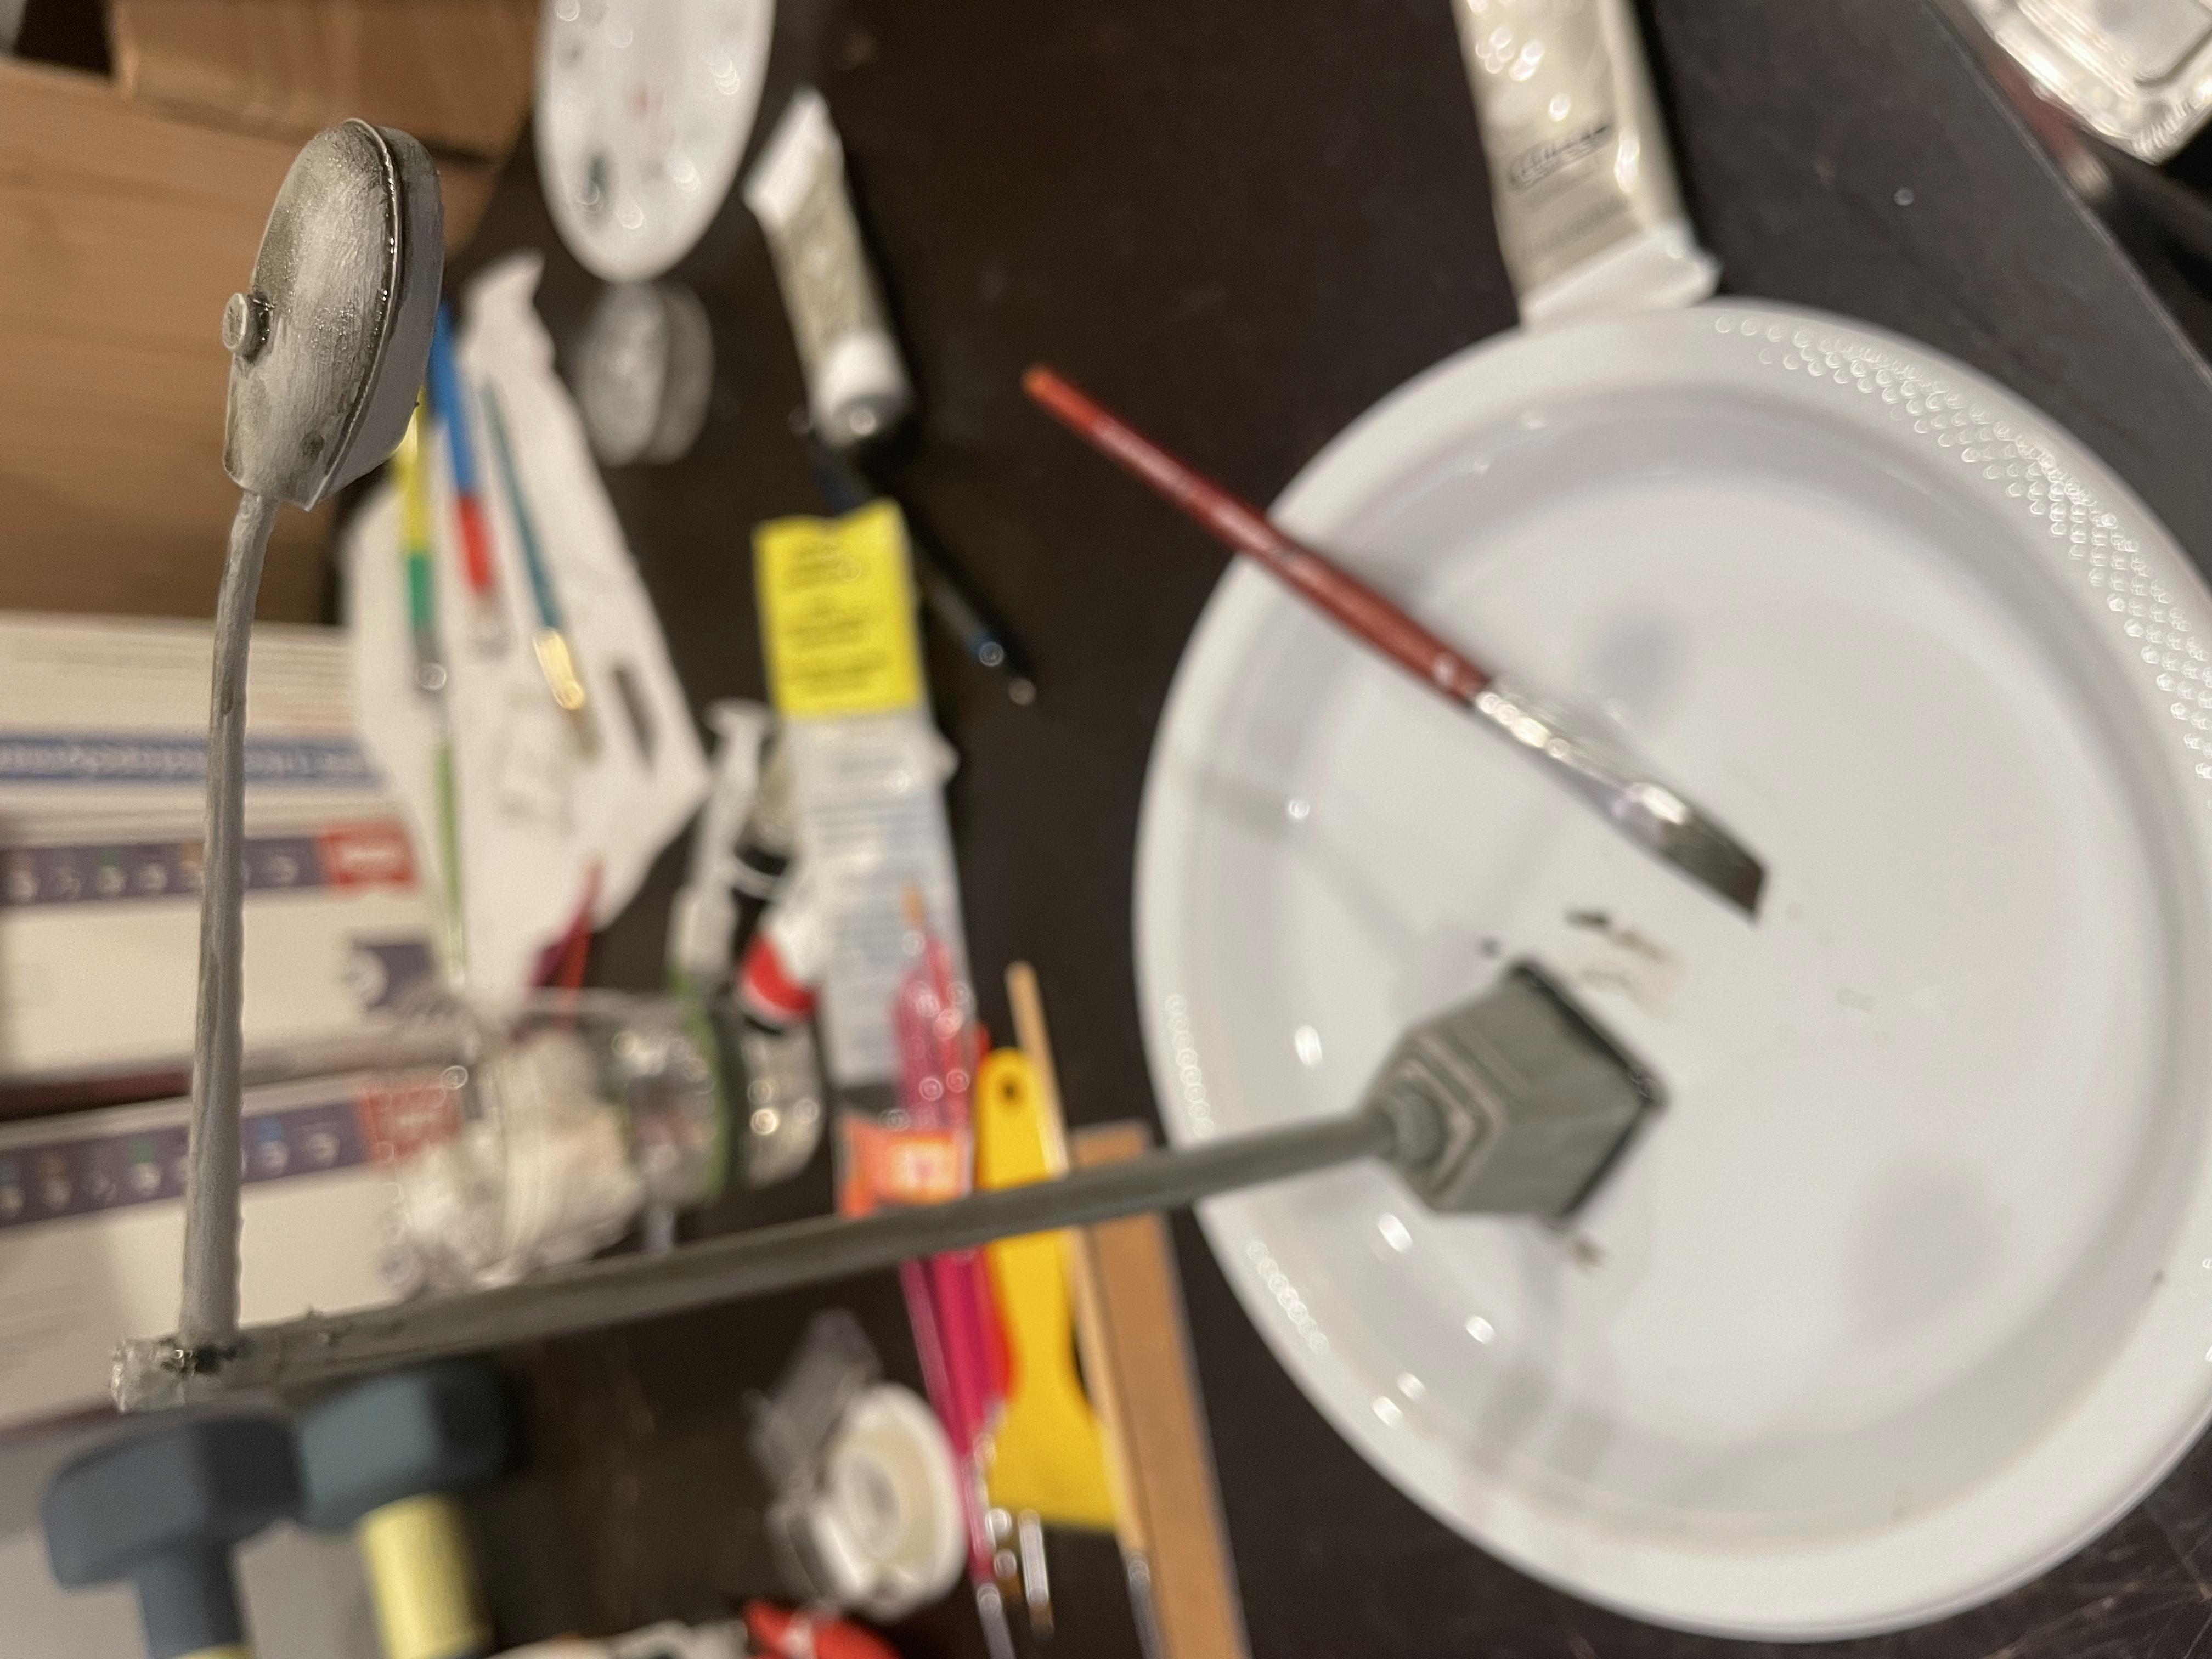
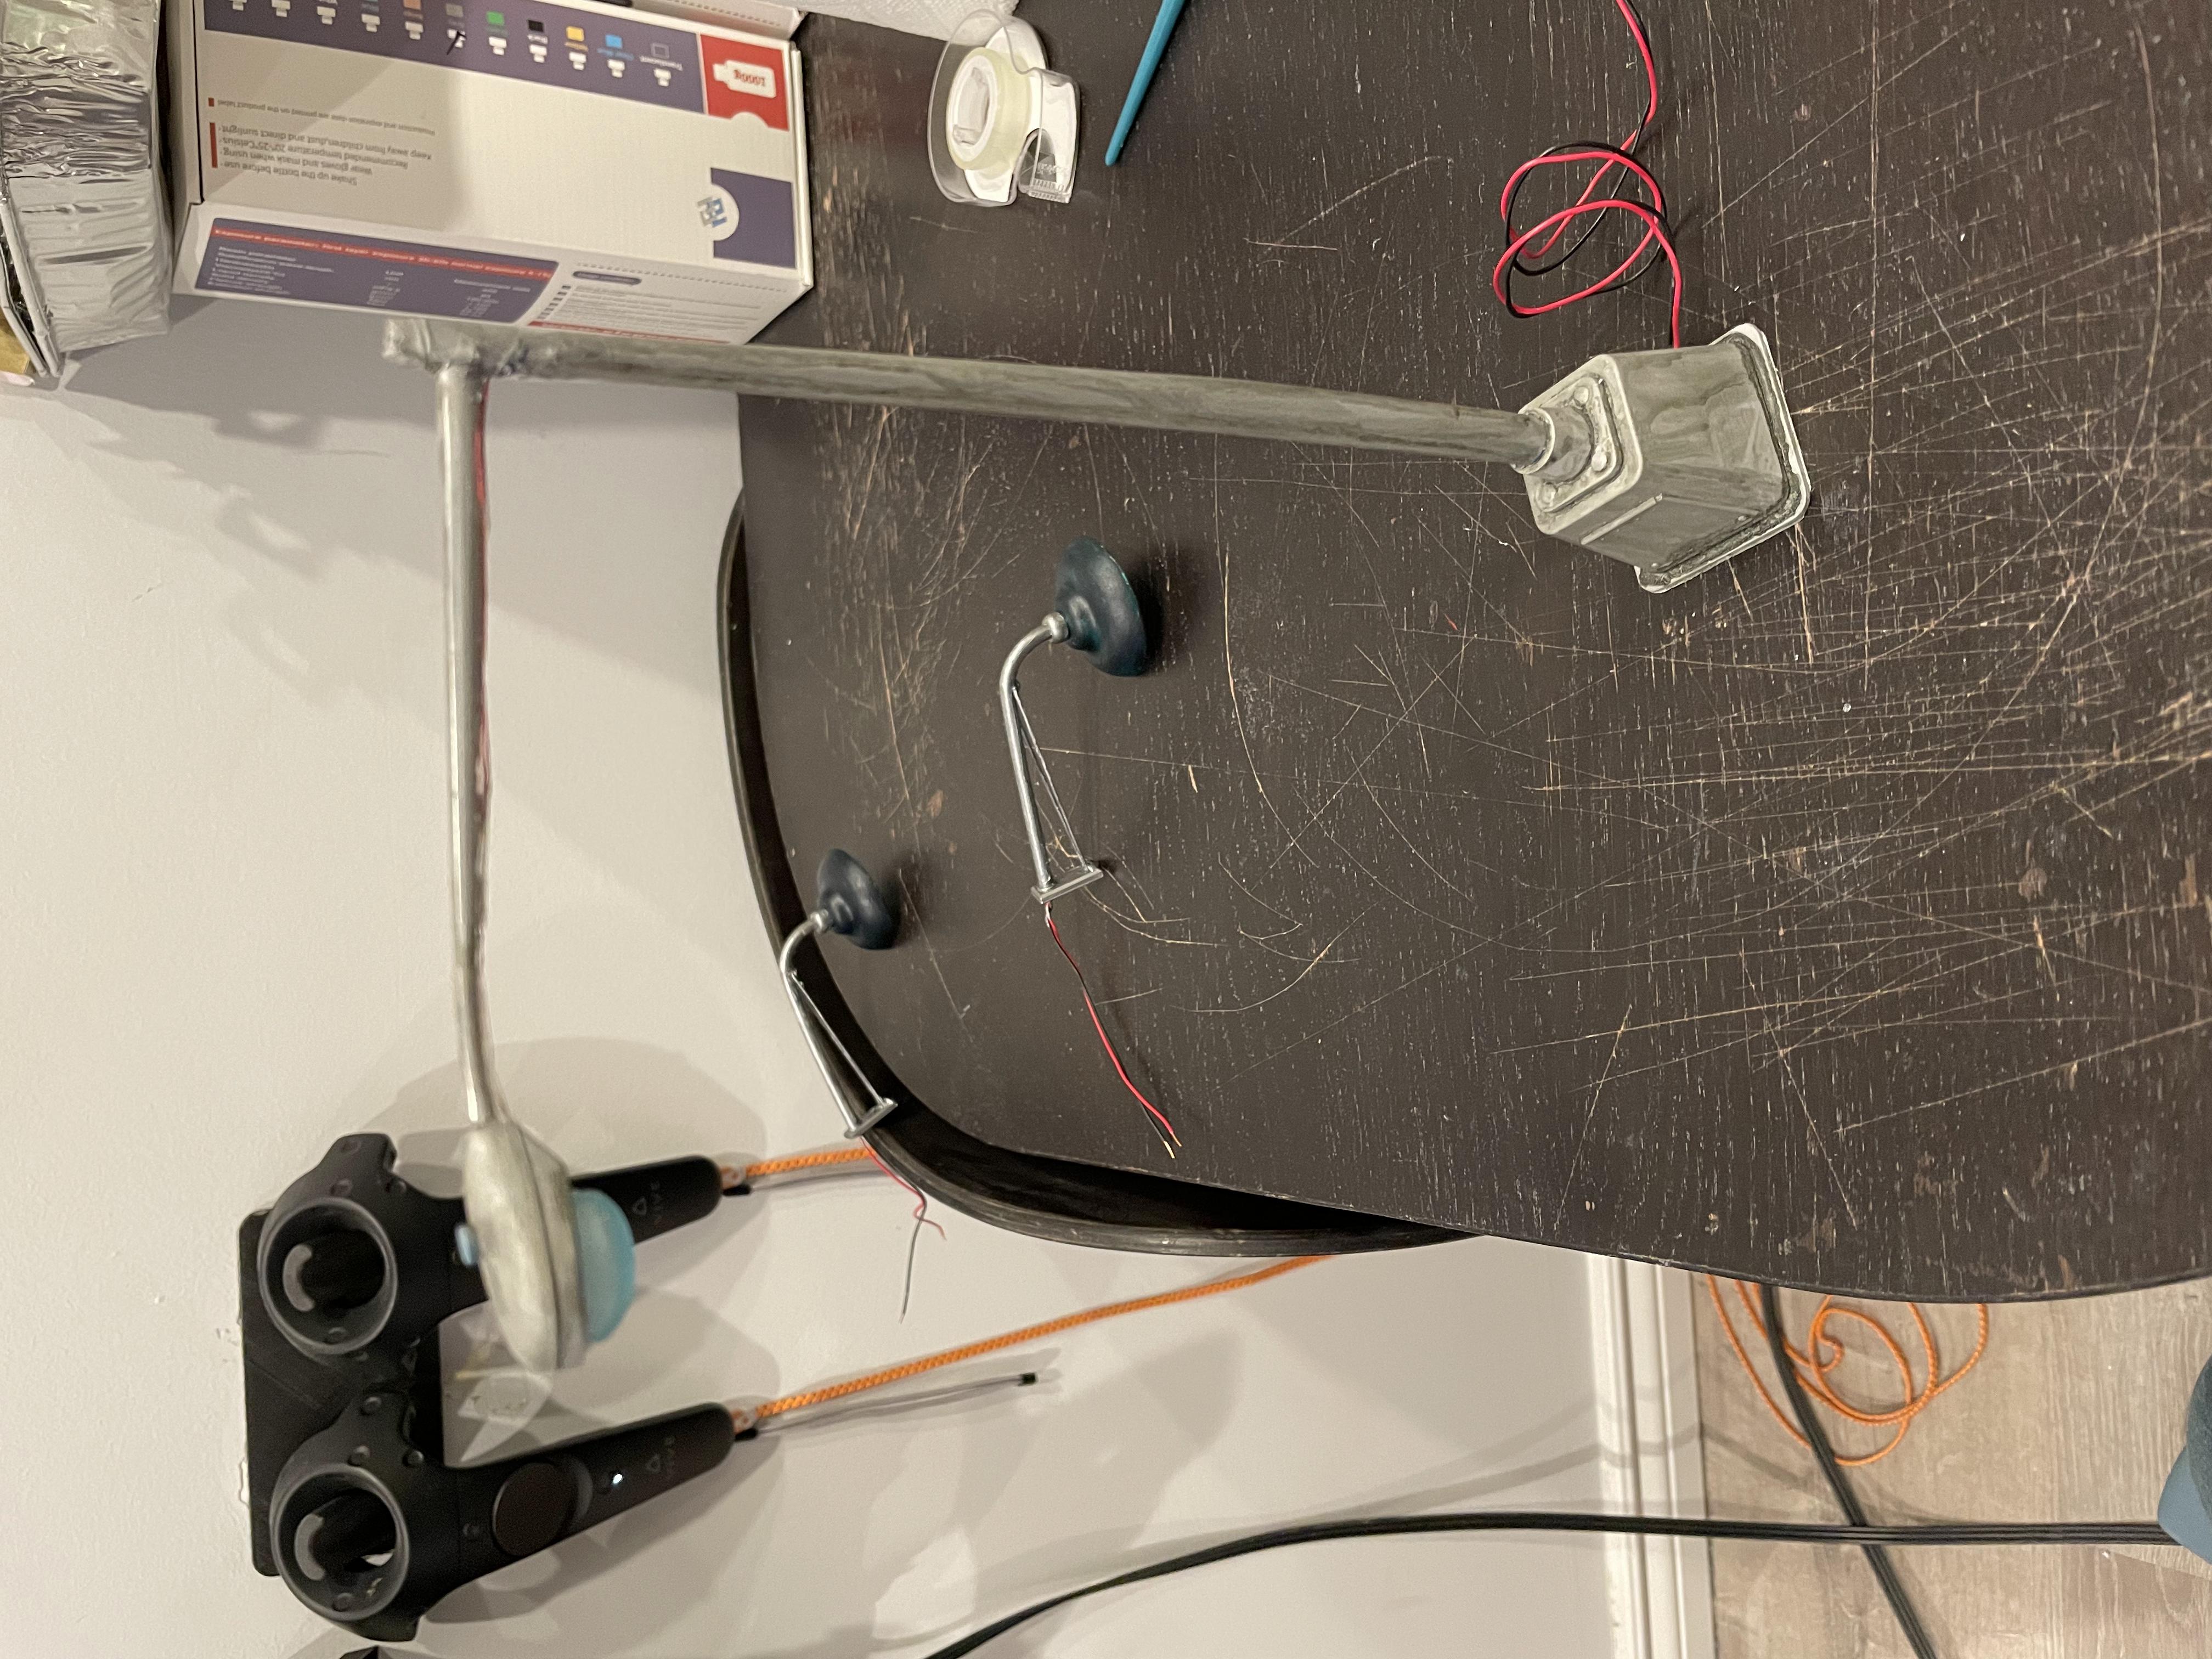
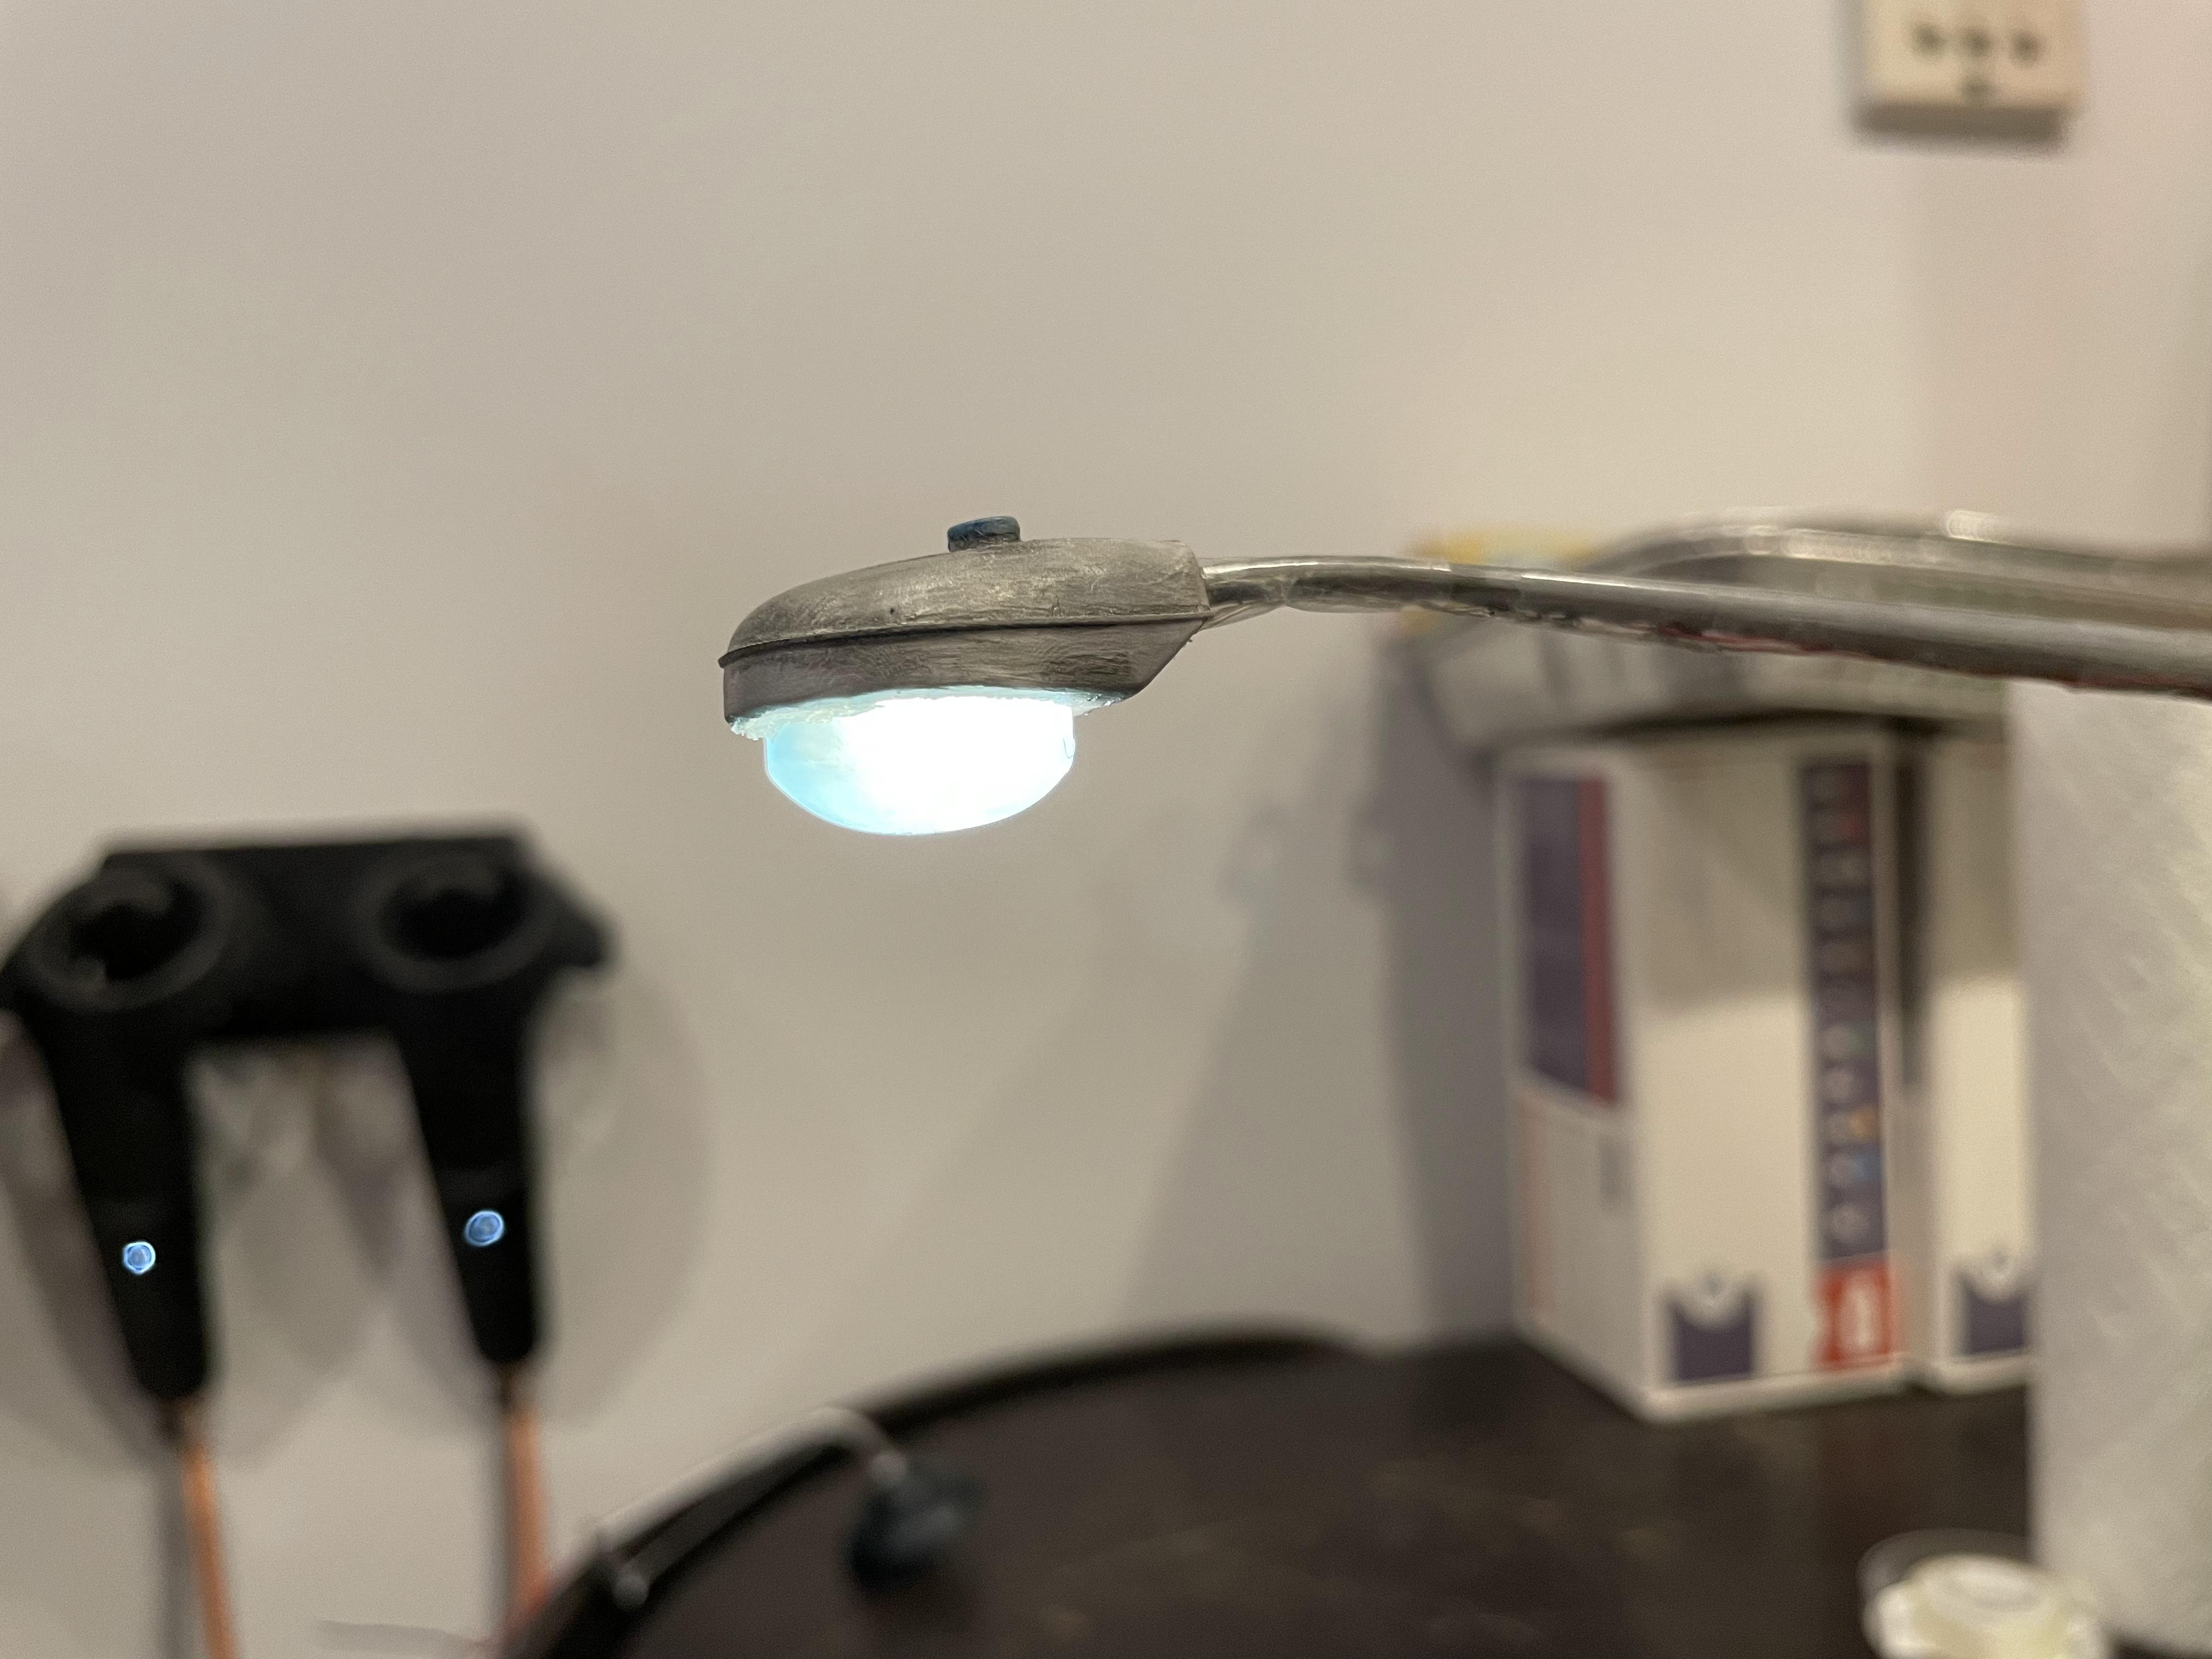
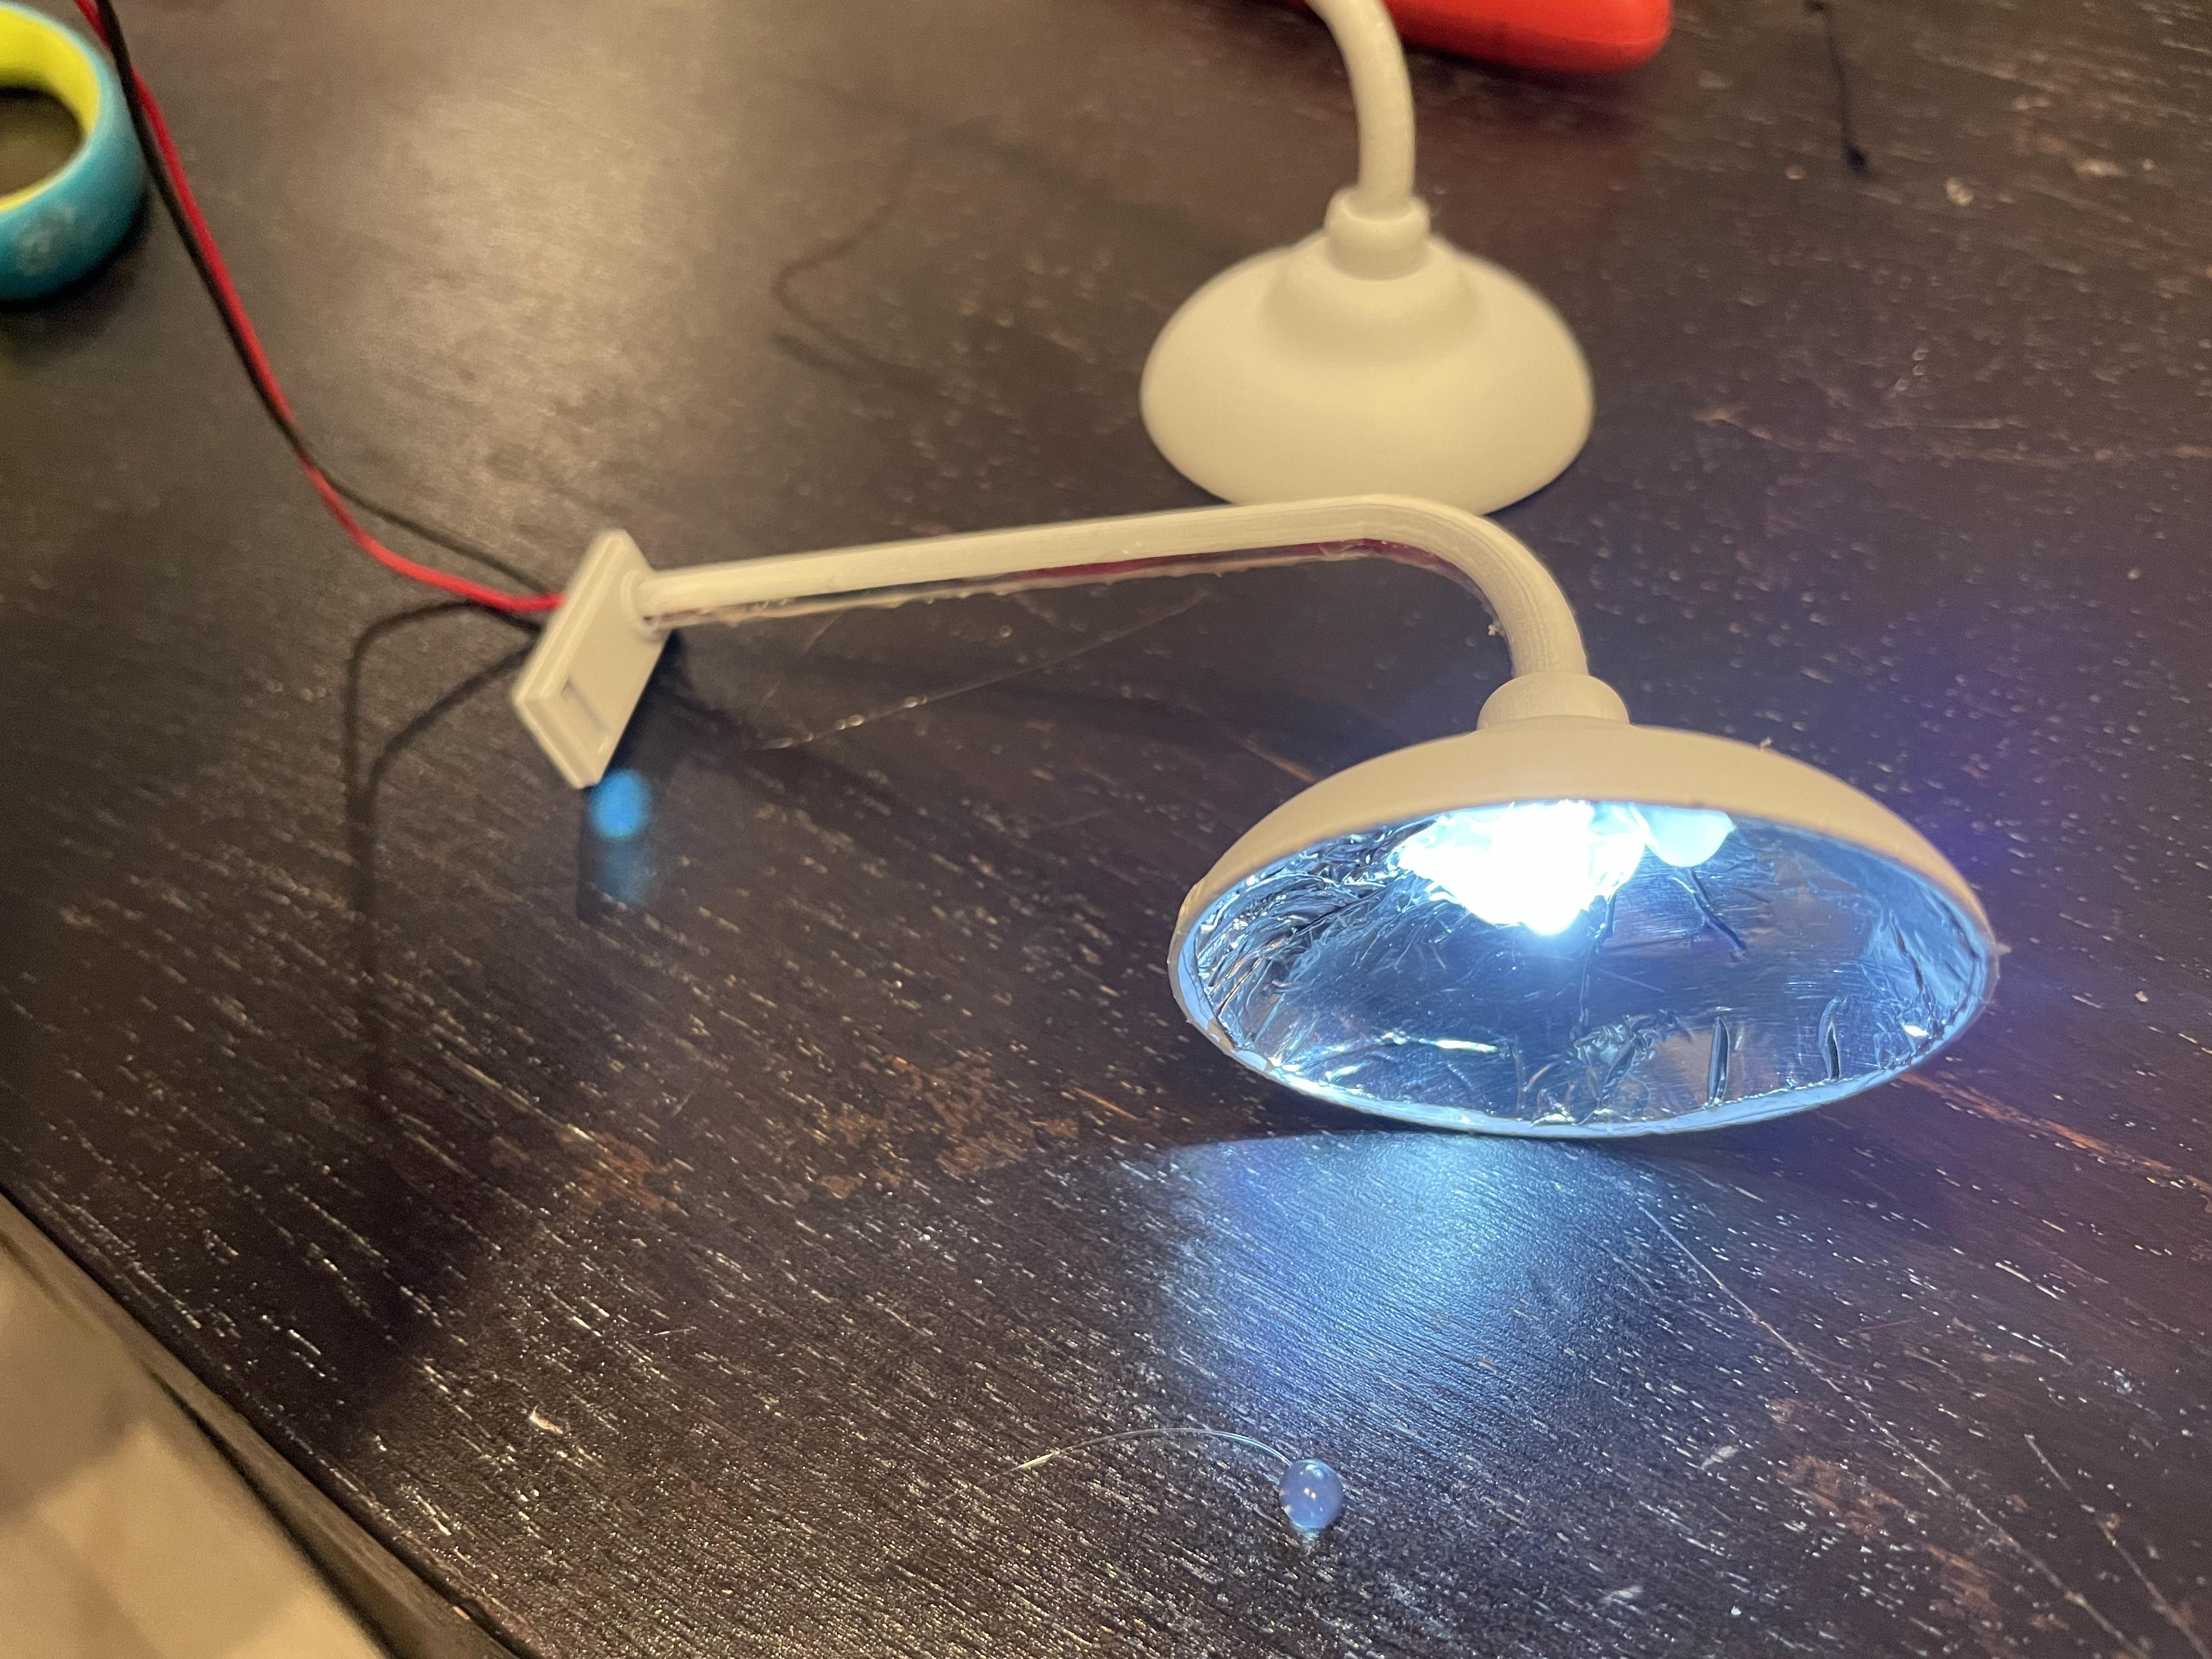
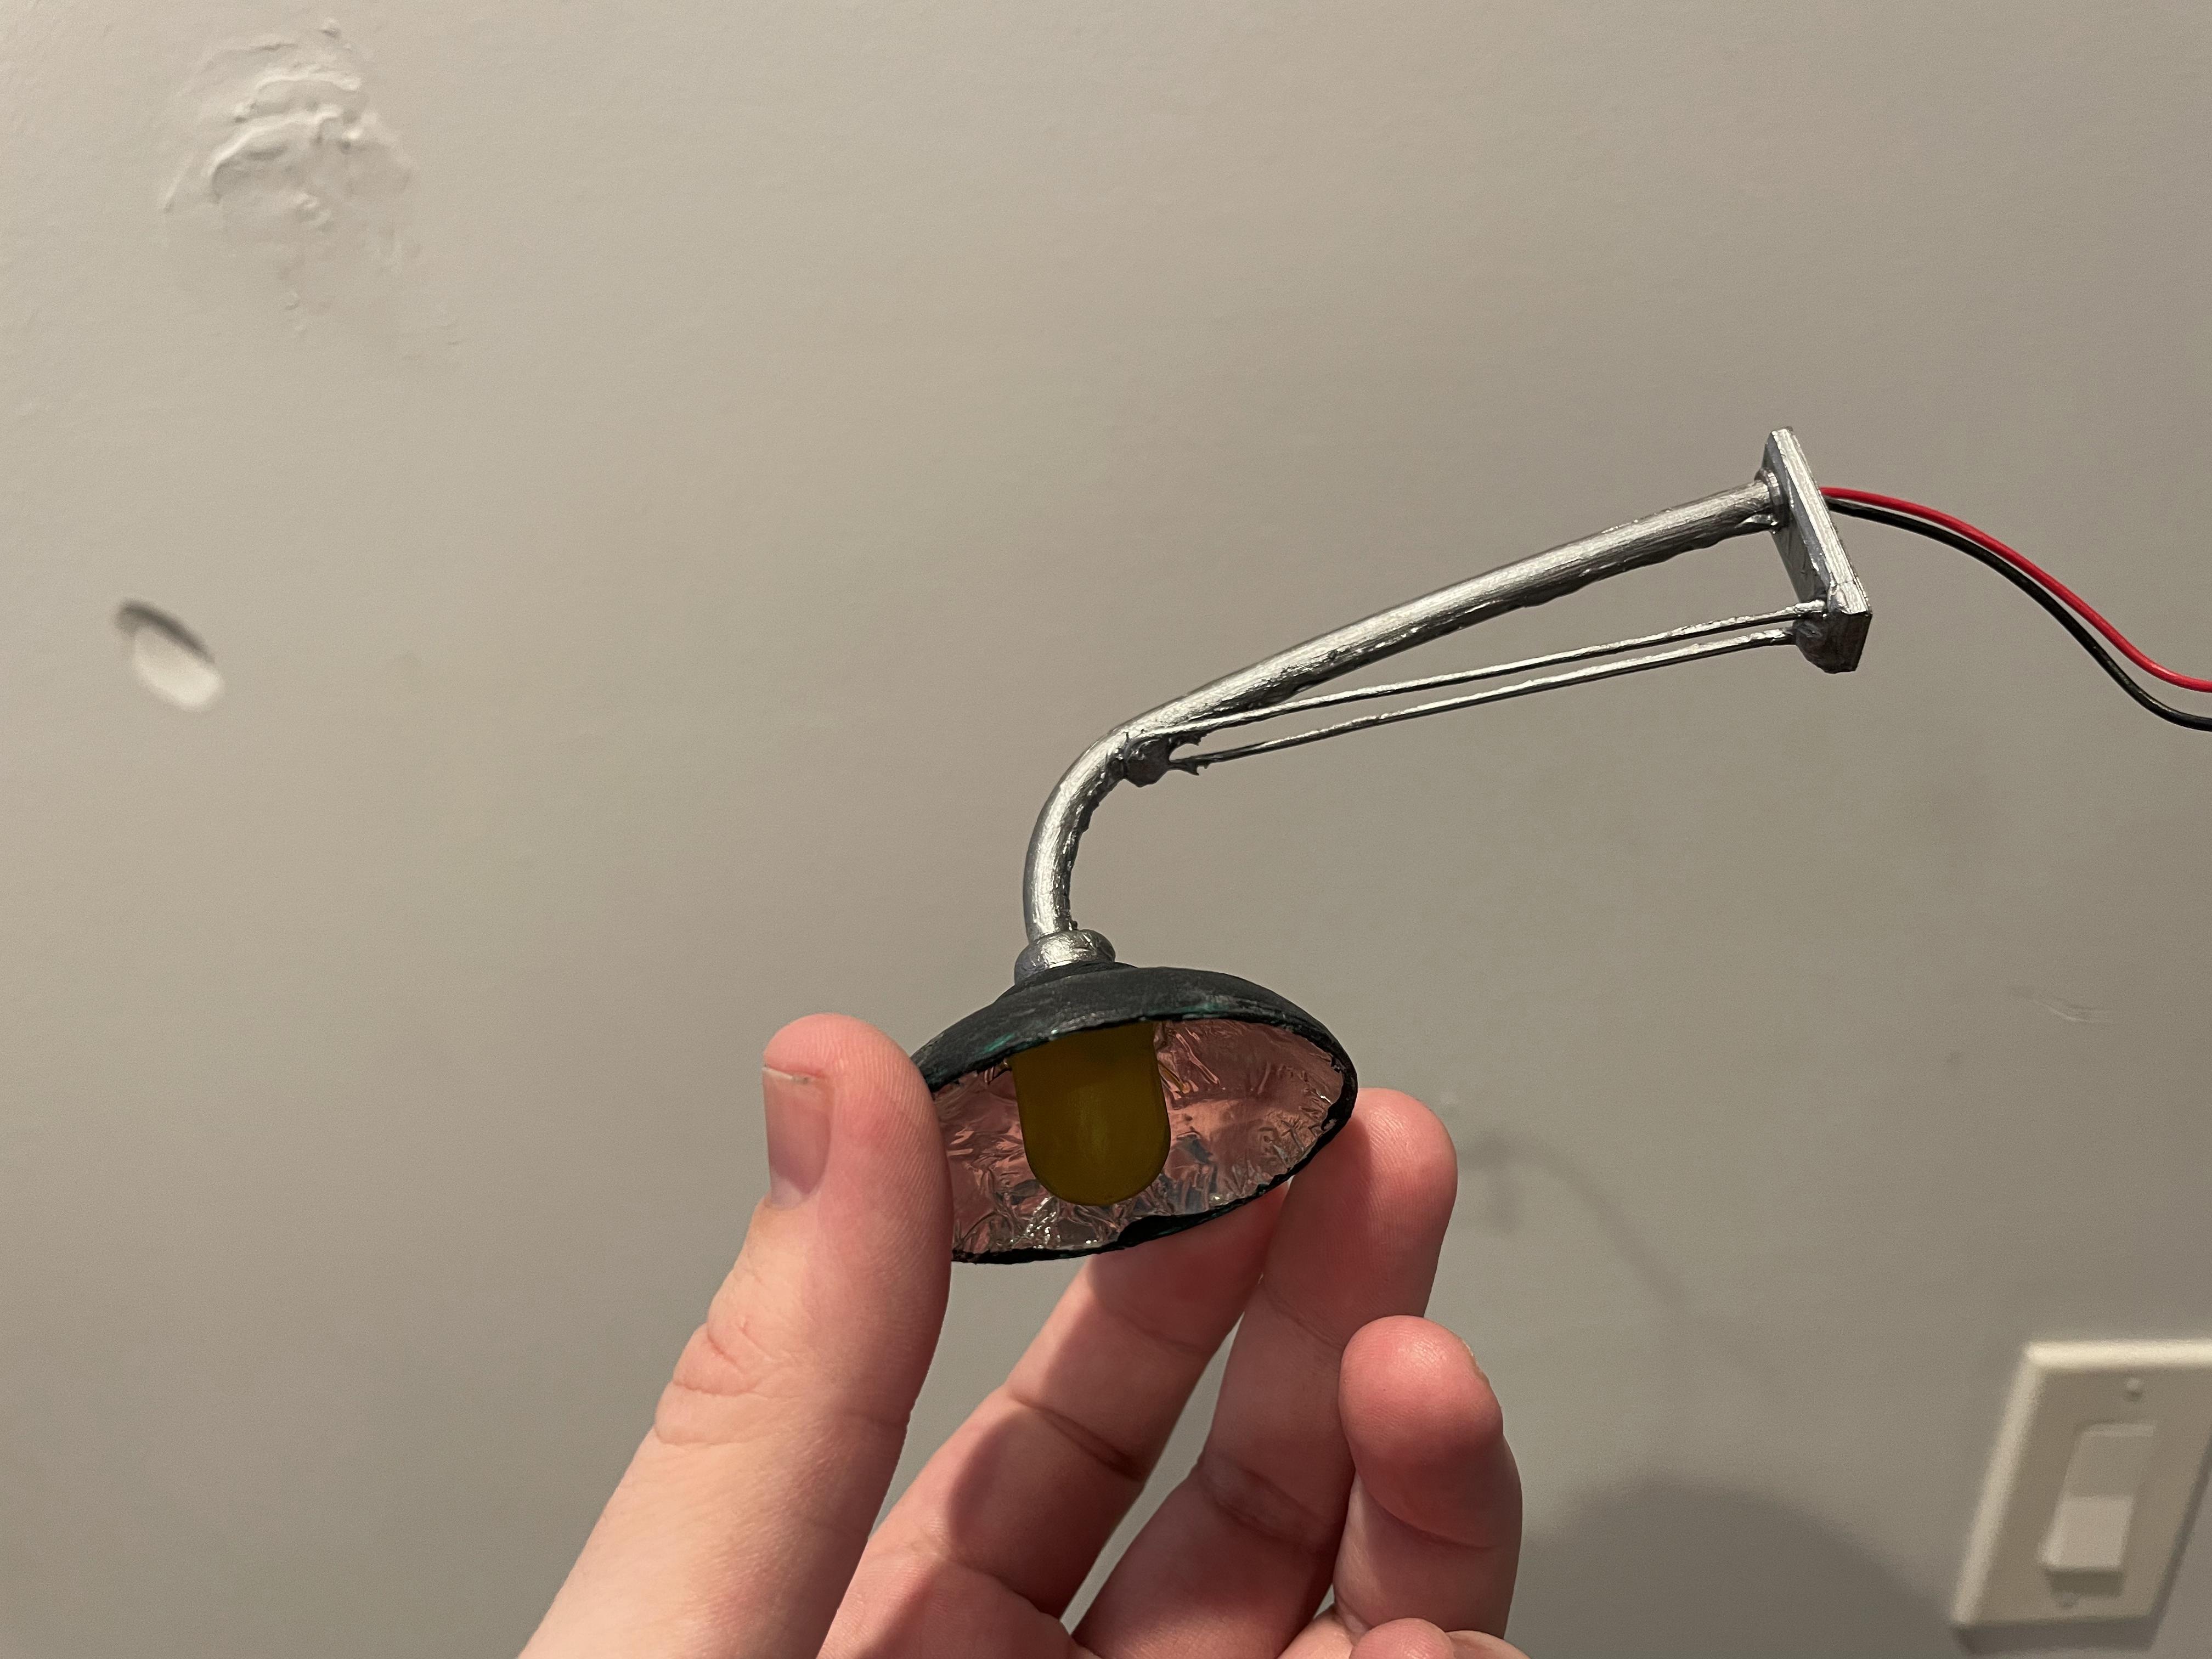
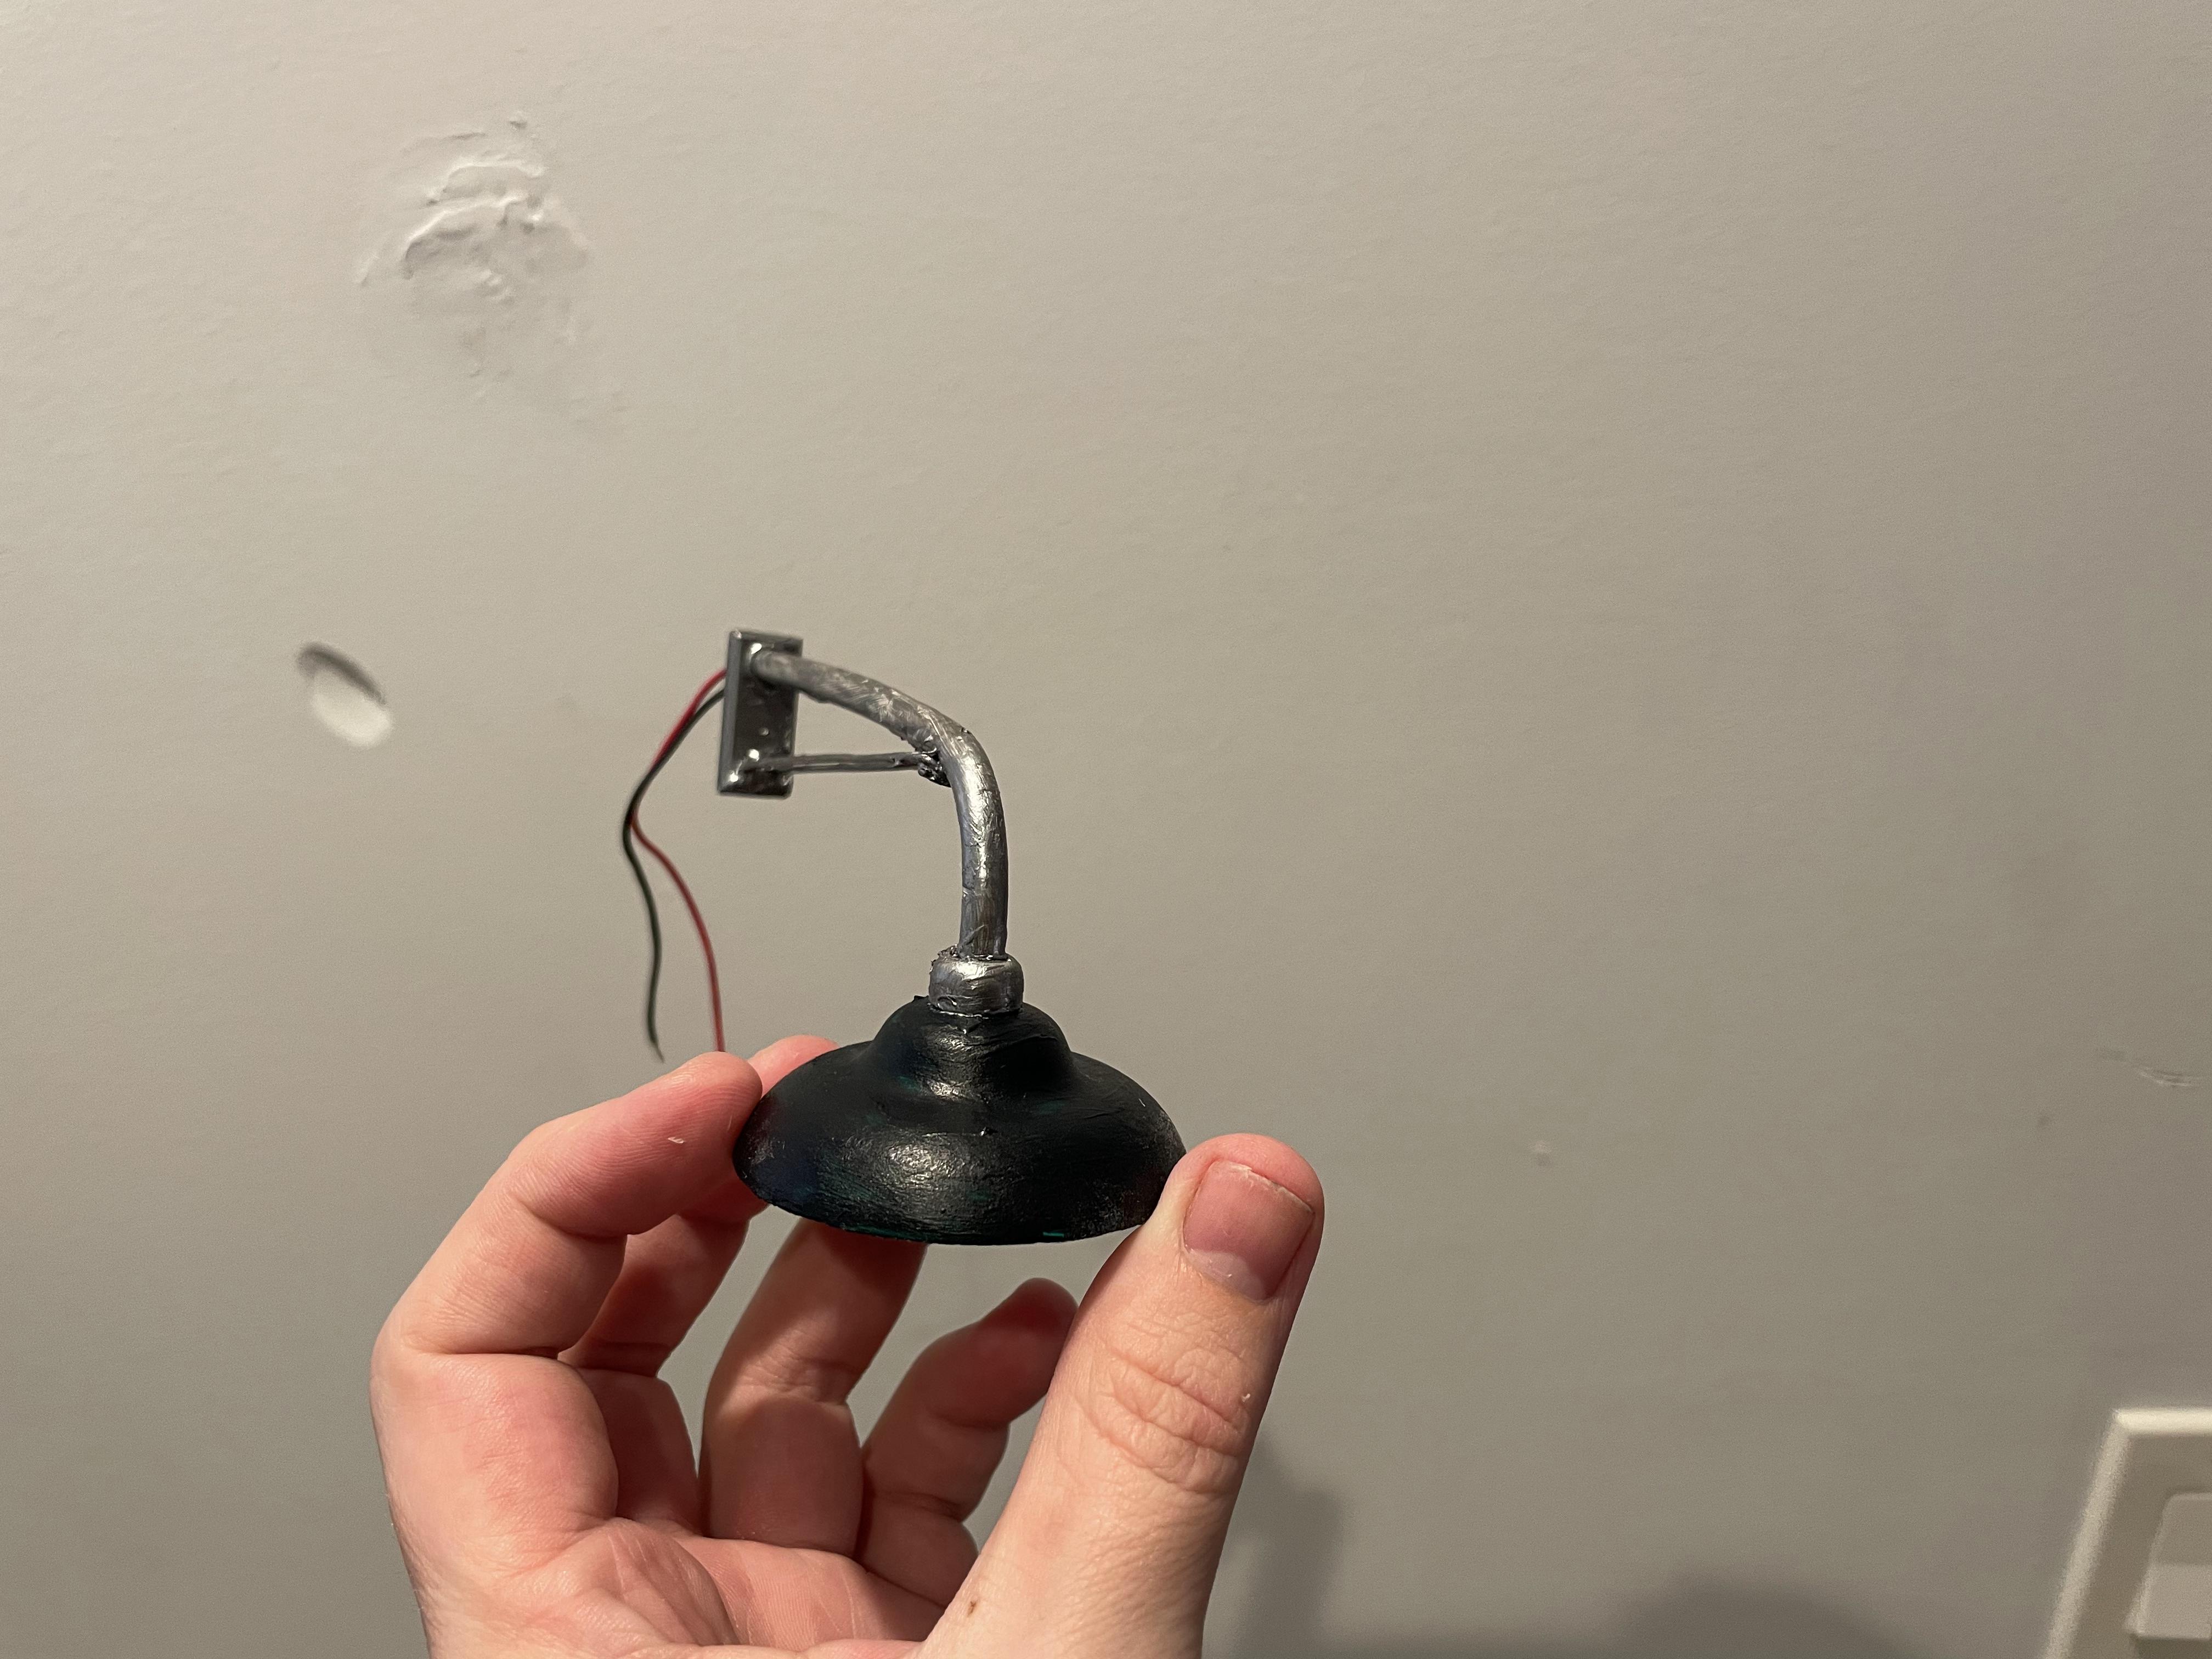
Next I wanted to add some lighting to the scene. In Blender I modeled a NYC style streetlamp base as well as a generic gooseneck lamp. I put channels in the model to hide wires & LEDs so they could really work. I used a straw to channel the wires as the main post for the street lamp.
For the opposite side of the store I wanted to make a graffiti covered roller gate. I used the same technique of carving foam core to make the shutter and used silver paint as a base coat. I then made a frame and roller cage on the top out of some thick card stock.
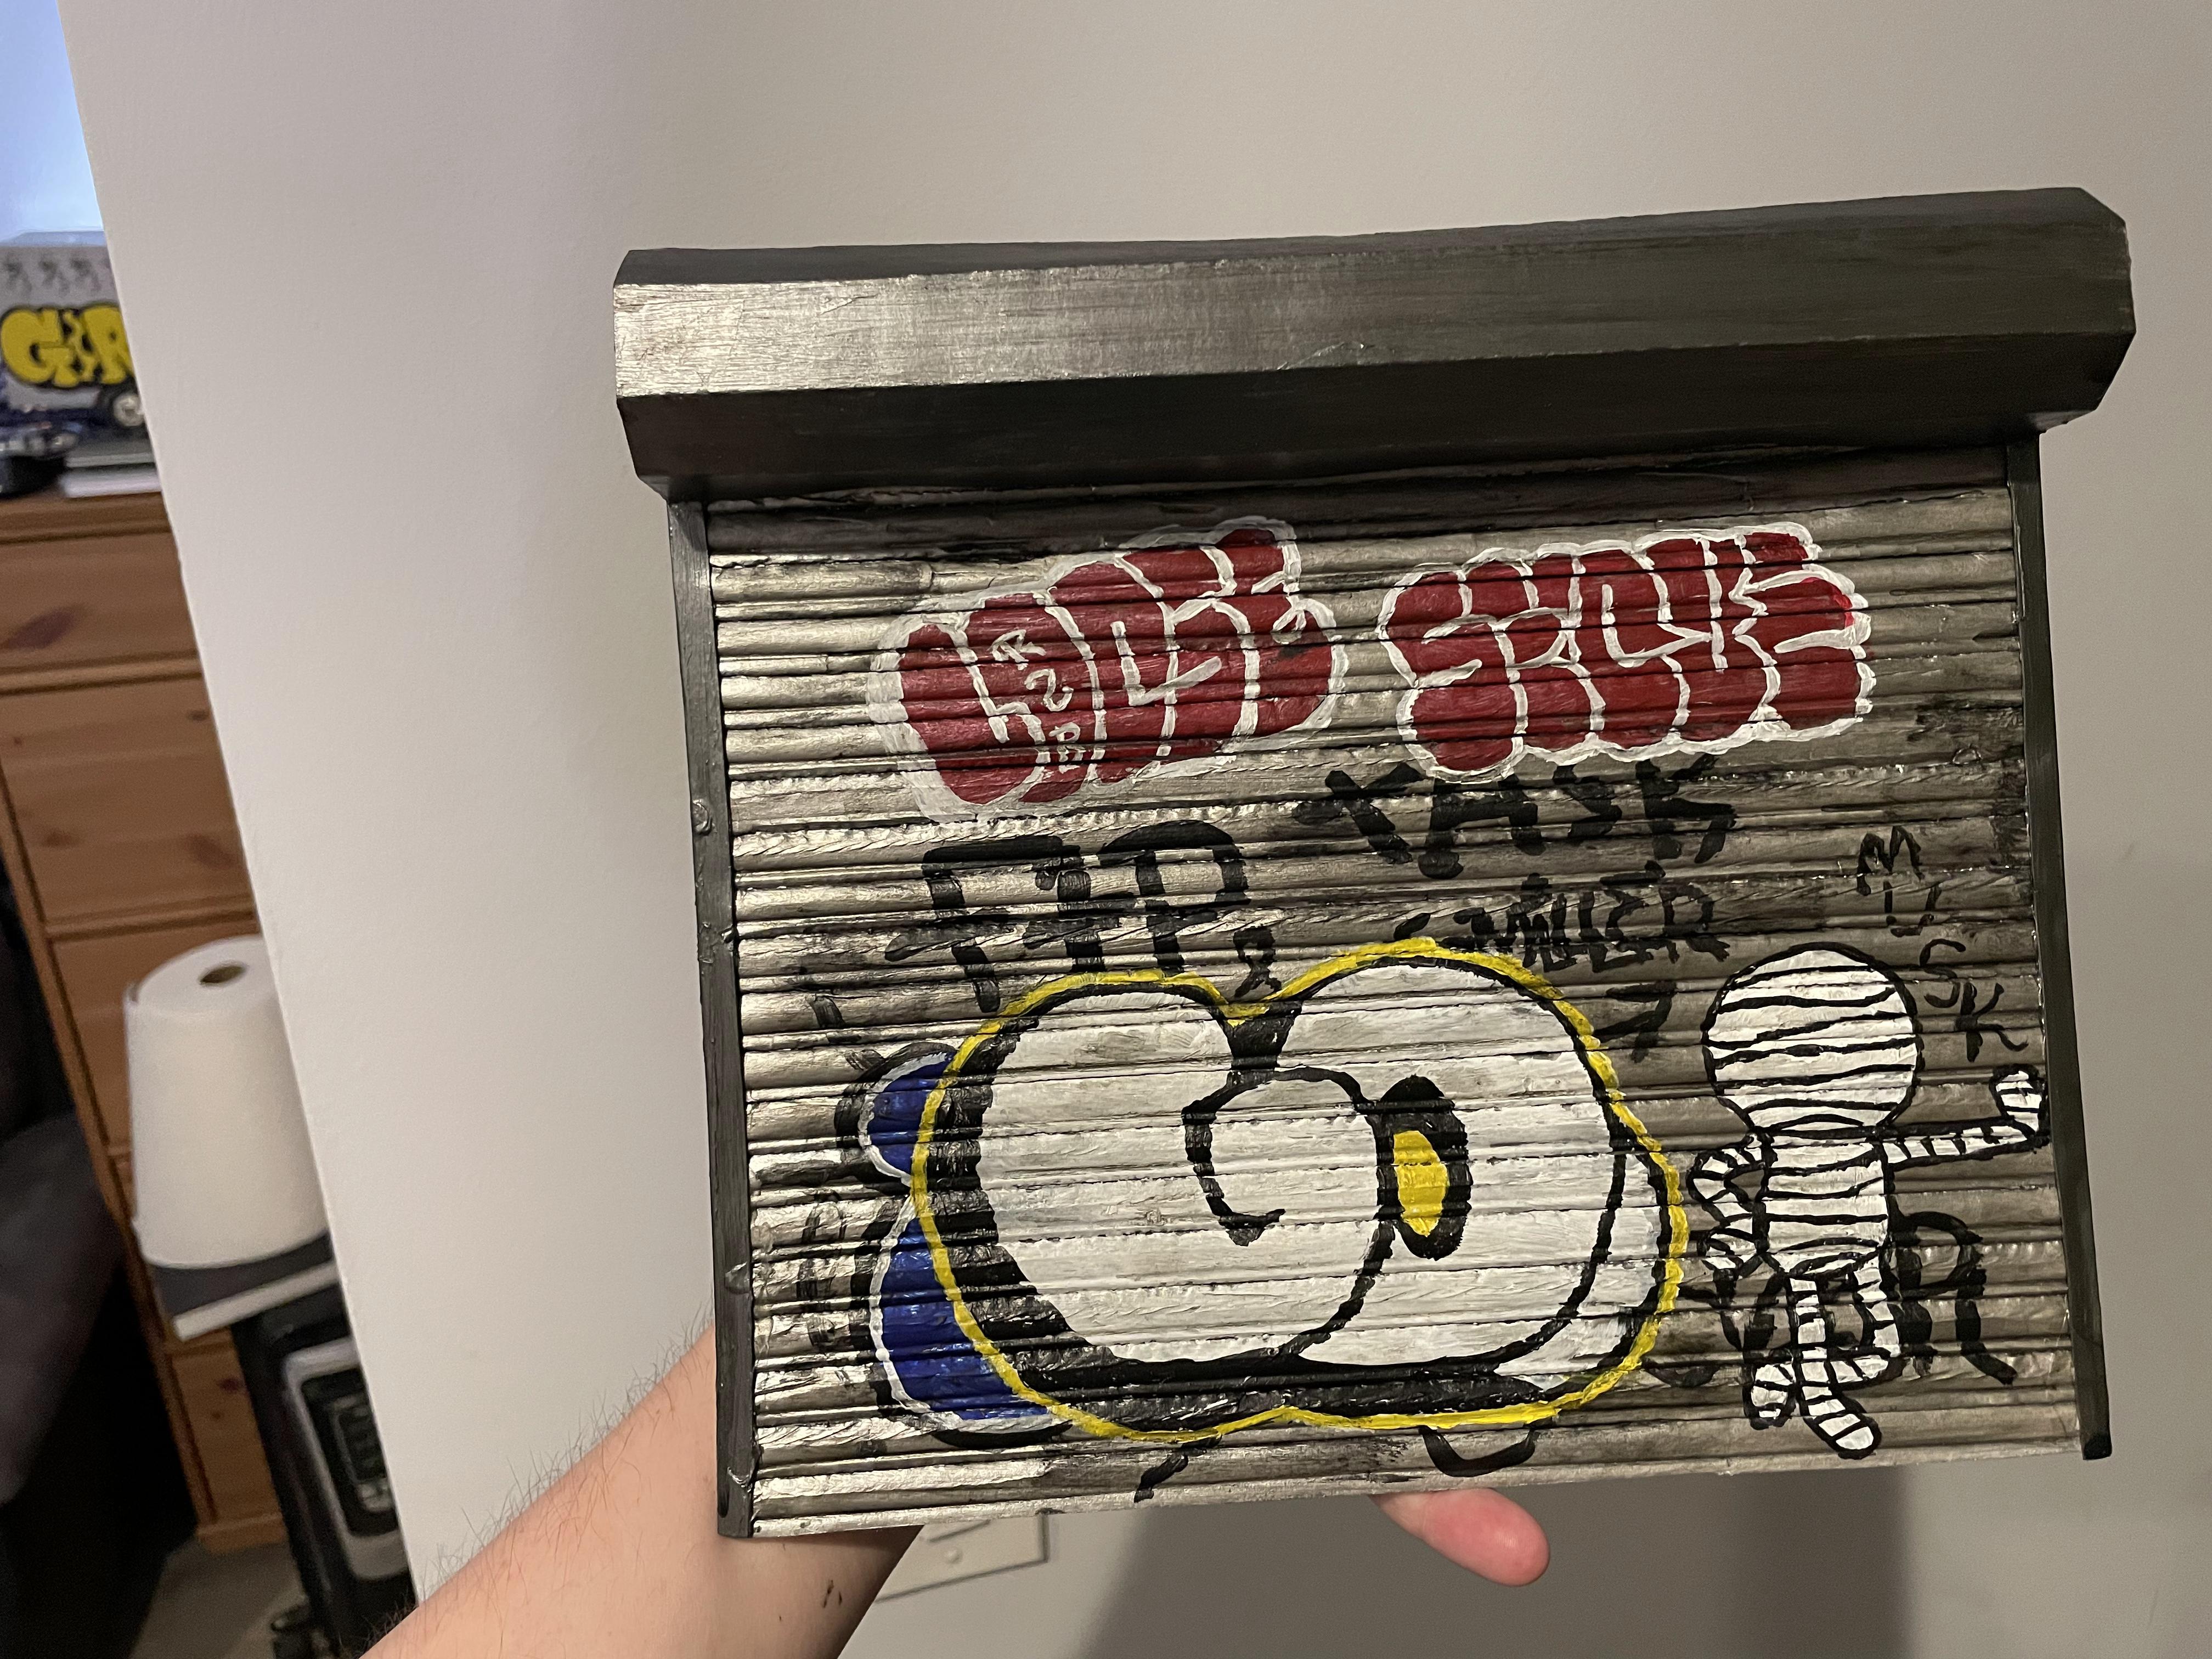
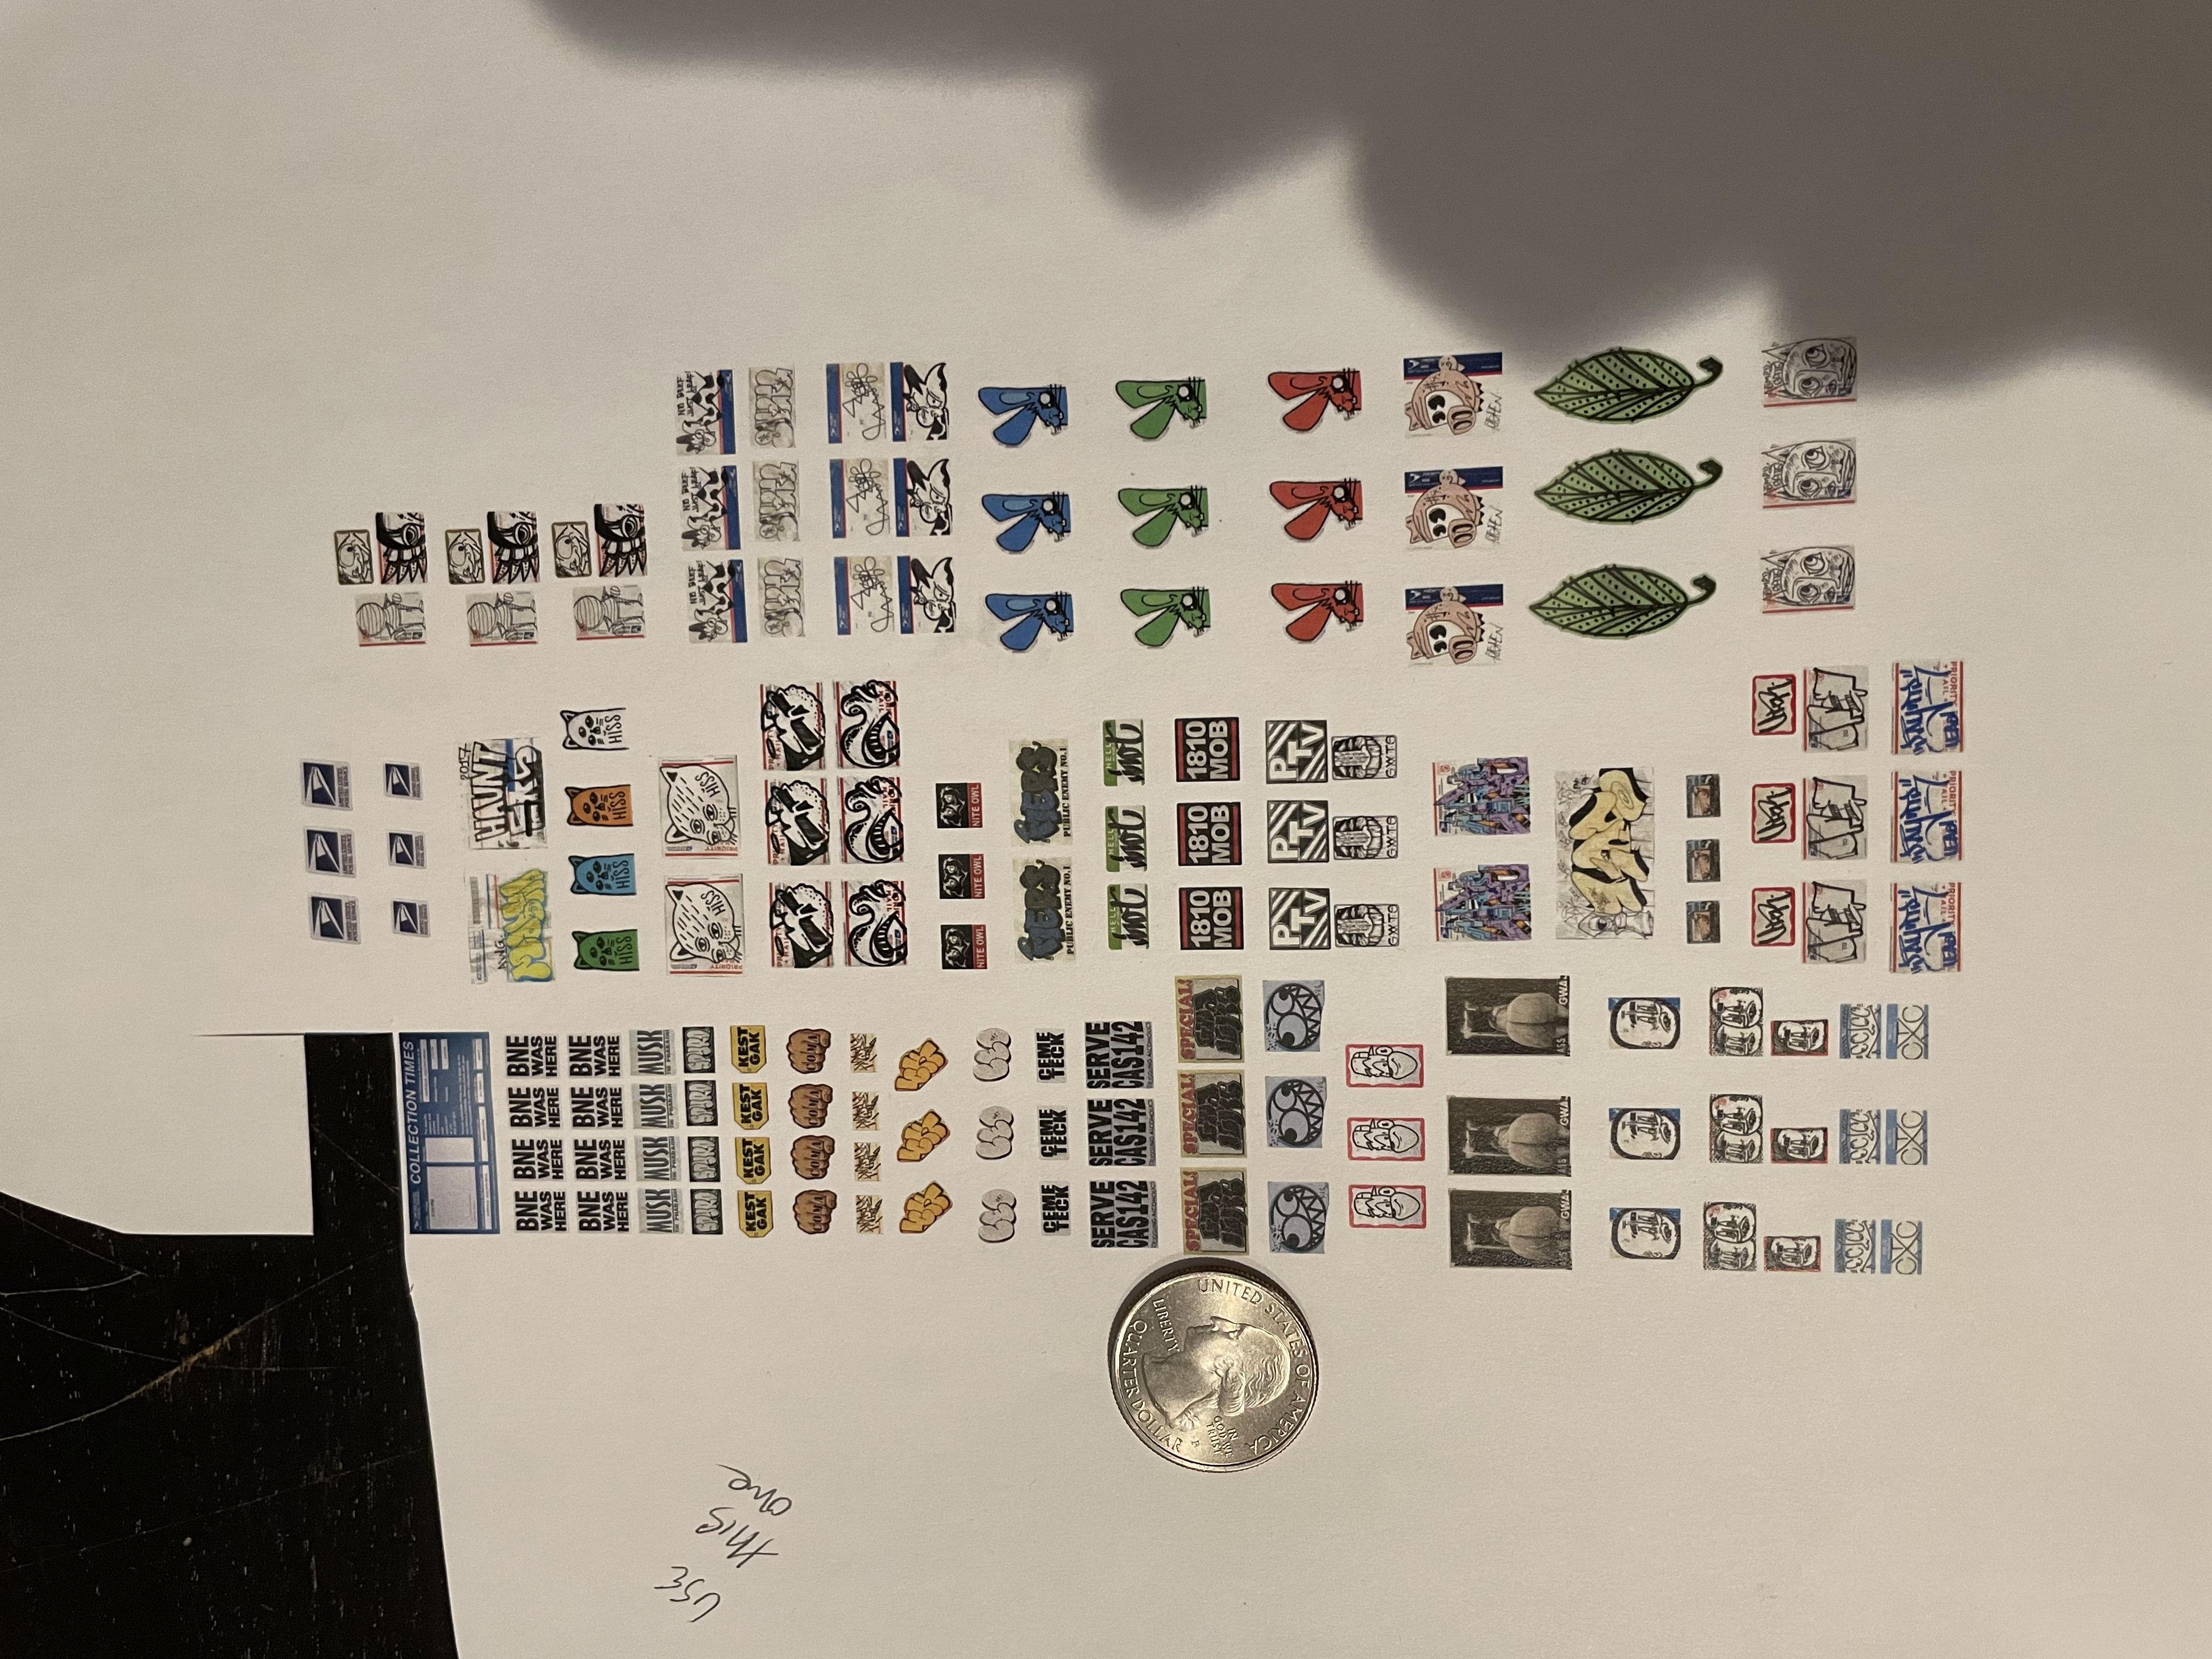
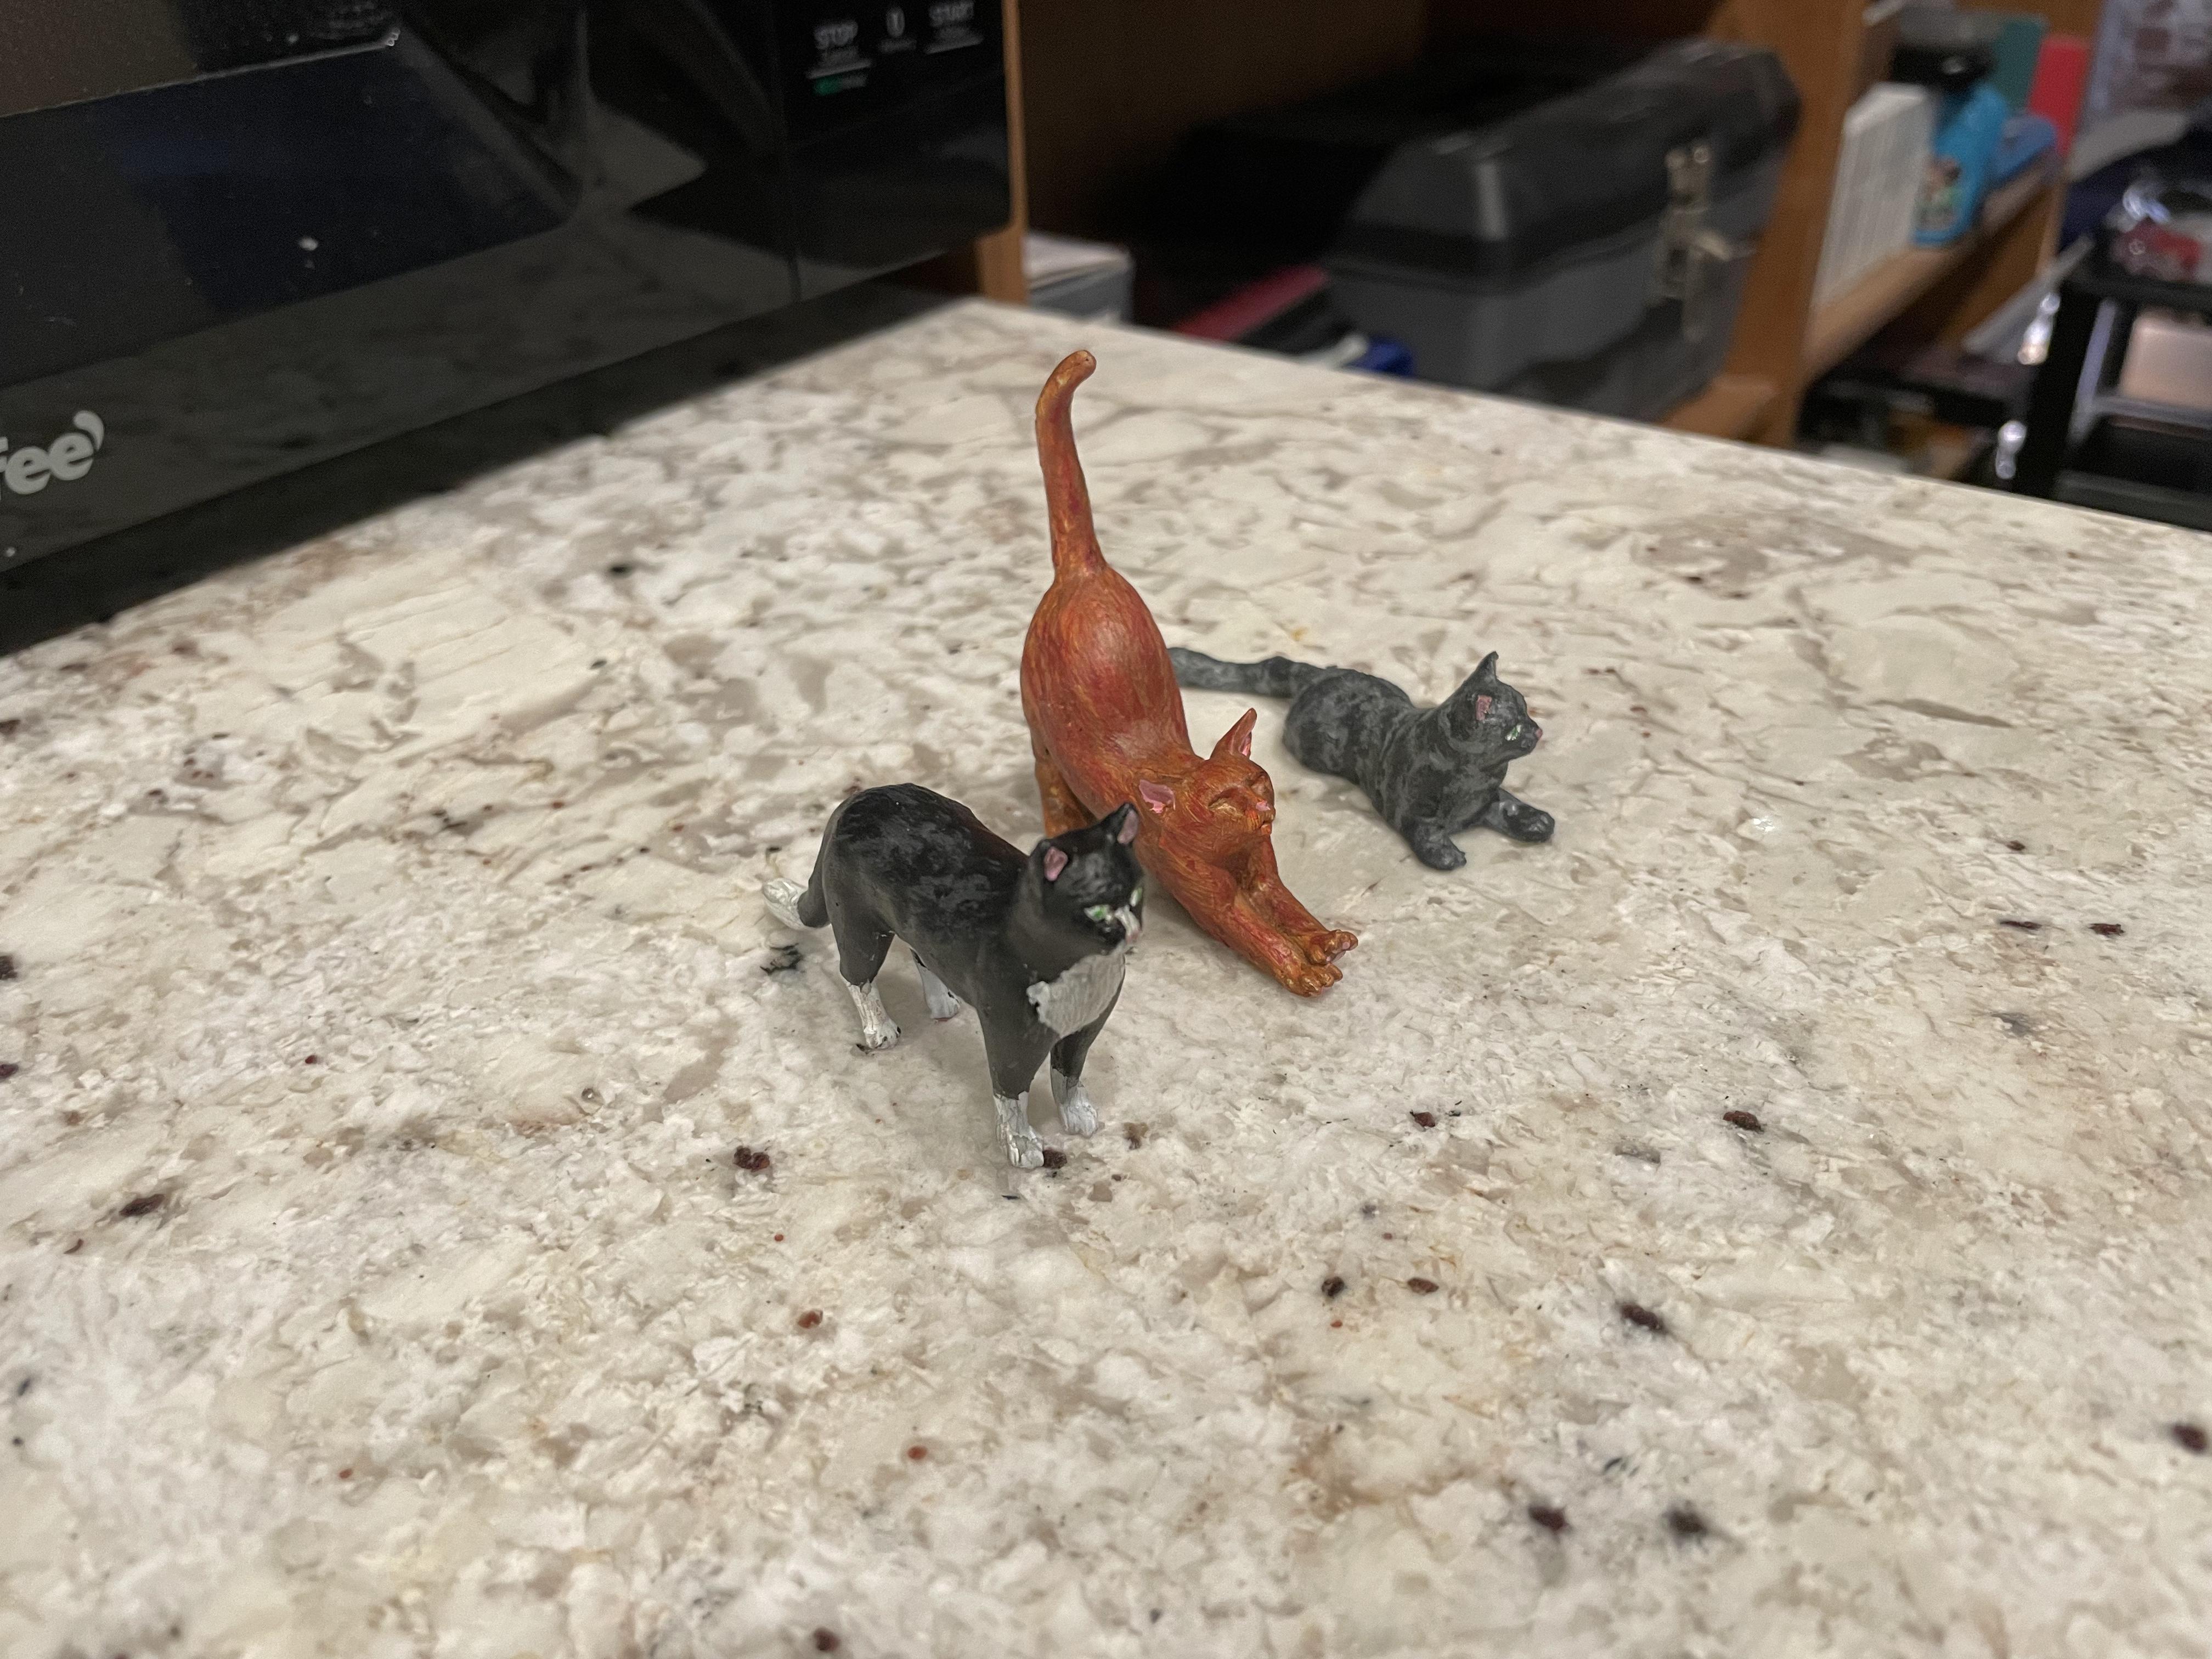
To add more details, I printed out a bunch of graffiti stickers seen all over NYC and the SF Bay Area. I also 3d printed and painted some kitties I found online.
With everything set, I assembled the final scene!